Hey you:
Did you know that I drill holes in this arcade cabinet because people subscribe to my Patreon? I also make fun software, tools to build games, and port games to Linux. If you like those things, give up the dough.
Previously:
If you missed them, I previously wrote up these other Arcade1Up cabinet mods:
- Wire up stock volume and power switches to the Raspberry Pi
- Run stereo speakers into the marquee
- Trim down a massive rom set to exactly what you want
- Run the amp's volume knob to the control panel
- Quickies: Power relay, HDMI resolution...and Sharpies!
- Put an LCD display in your marquee
Arcade1Up kill switches
I was looking back at old blog entries and noticed that by the time I did the LCD marquee, I had already replaced the stock power switch, but never wrote about it.
This happened because I was tired of having an on/off switch for a mechanism that actually wants a momentary switch. So I removed the stock power switch, drilled a hole in the case with the usual step bit, and fit one of the stock arcade buttons into the spot (white, so it wouldn't look like the red or blue buttons). Once in place, I just had to run the wires to the same place I had the original switch wired up on the GPIO pins.
And then, I let a bunch of six-year olds play Street Fighter 2.
Kids take the button-mashing strategy to a new level. They kept slapping the white button, along with all the others, promptly turning off the arcade machine in the middle of a fight. So this had to change.
There was one other problem I wanted to solve: if you initiate a formal shutdown, Emulation Station might not save changes you've made (favorite games you marked, last played, etc), so I wanted a way to formally quit ES before the rest of the system shutdown.
So I took this line out of /boot/config ...
dtoverlay=gpio-shutdown
...which tells the system to listen for that button on GPIO3 and trigger a shutdown when the button is pressed. I had added this when I wired the stock power switch to the GPIO pins, it won't be there by default.
Then I wrote some C code to listen on that pin but only trigger a shutdown when the button is pressed for at least 2 full seconds. That code is arcade1up-power-gpio.c, which you can download to your Pi and compile:
cd /home/pi
sudo apt-get install wiringpi
wget https://icculus.org/~icculus/dotplan/arcade1up/arcade1up-power-gpio.c
gcc -Wall -Os -s -o arcade1up-power-gpio arcade1up-power-gpio.c -lwiringPi
Once that's compiled, stick it in /etc/rc.local so it runs on startup:
/home/pi/arcade1up-power-gpio &
...and now you can hold down your power button for 2 seconds to initiate a clean shutdown. Before the shutdown begins, a SIGINT signal is sent to Emulation Station, which it treats by writing out favorites and such and cleanly terminating.
As for starting back up, this is hardware magic that happens on the Pi itself when it sees that button press on GPIO3, so our software changes won't affect our ability to restart from the power switch.
Exiting any game with a kill switch.
We know that not all emulators were created equal. Some use RetroArch, so your joysticks magically work across all of them, including the magic hotkeys, but outside of there, it's the wild west. Each emulator and game have their own configs, bindings, etc. It's not uncommon to find yourself trying to quit out of a game without access to a keyboard, and it's also not uncommon to find yourself unable to do it. More than once I've had to reboot the Pi to get out of something.
People have talked about tweaking xboxdrv and how to configure each and every game to cooperate, but I took a much more aggressive approach. I added a physical button to act as a kill switch that isn't part of the USB joysticks.
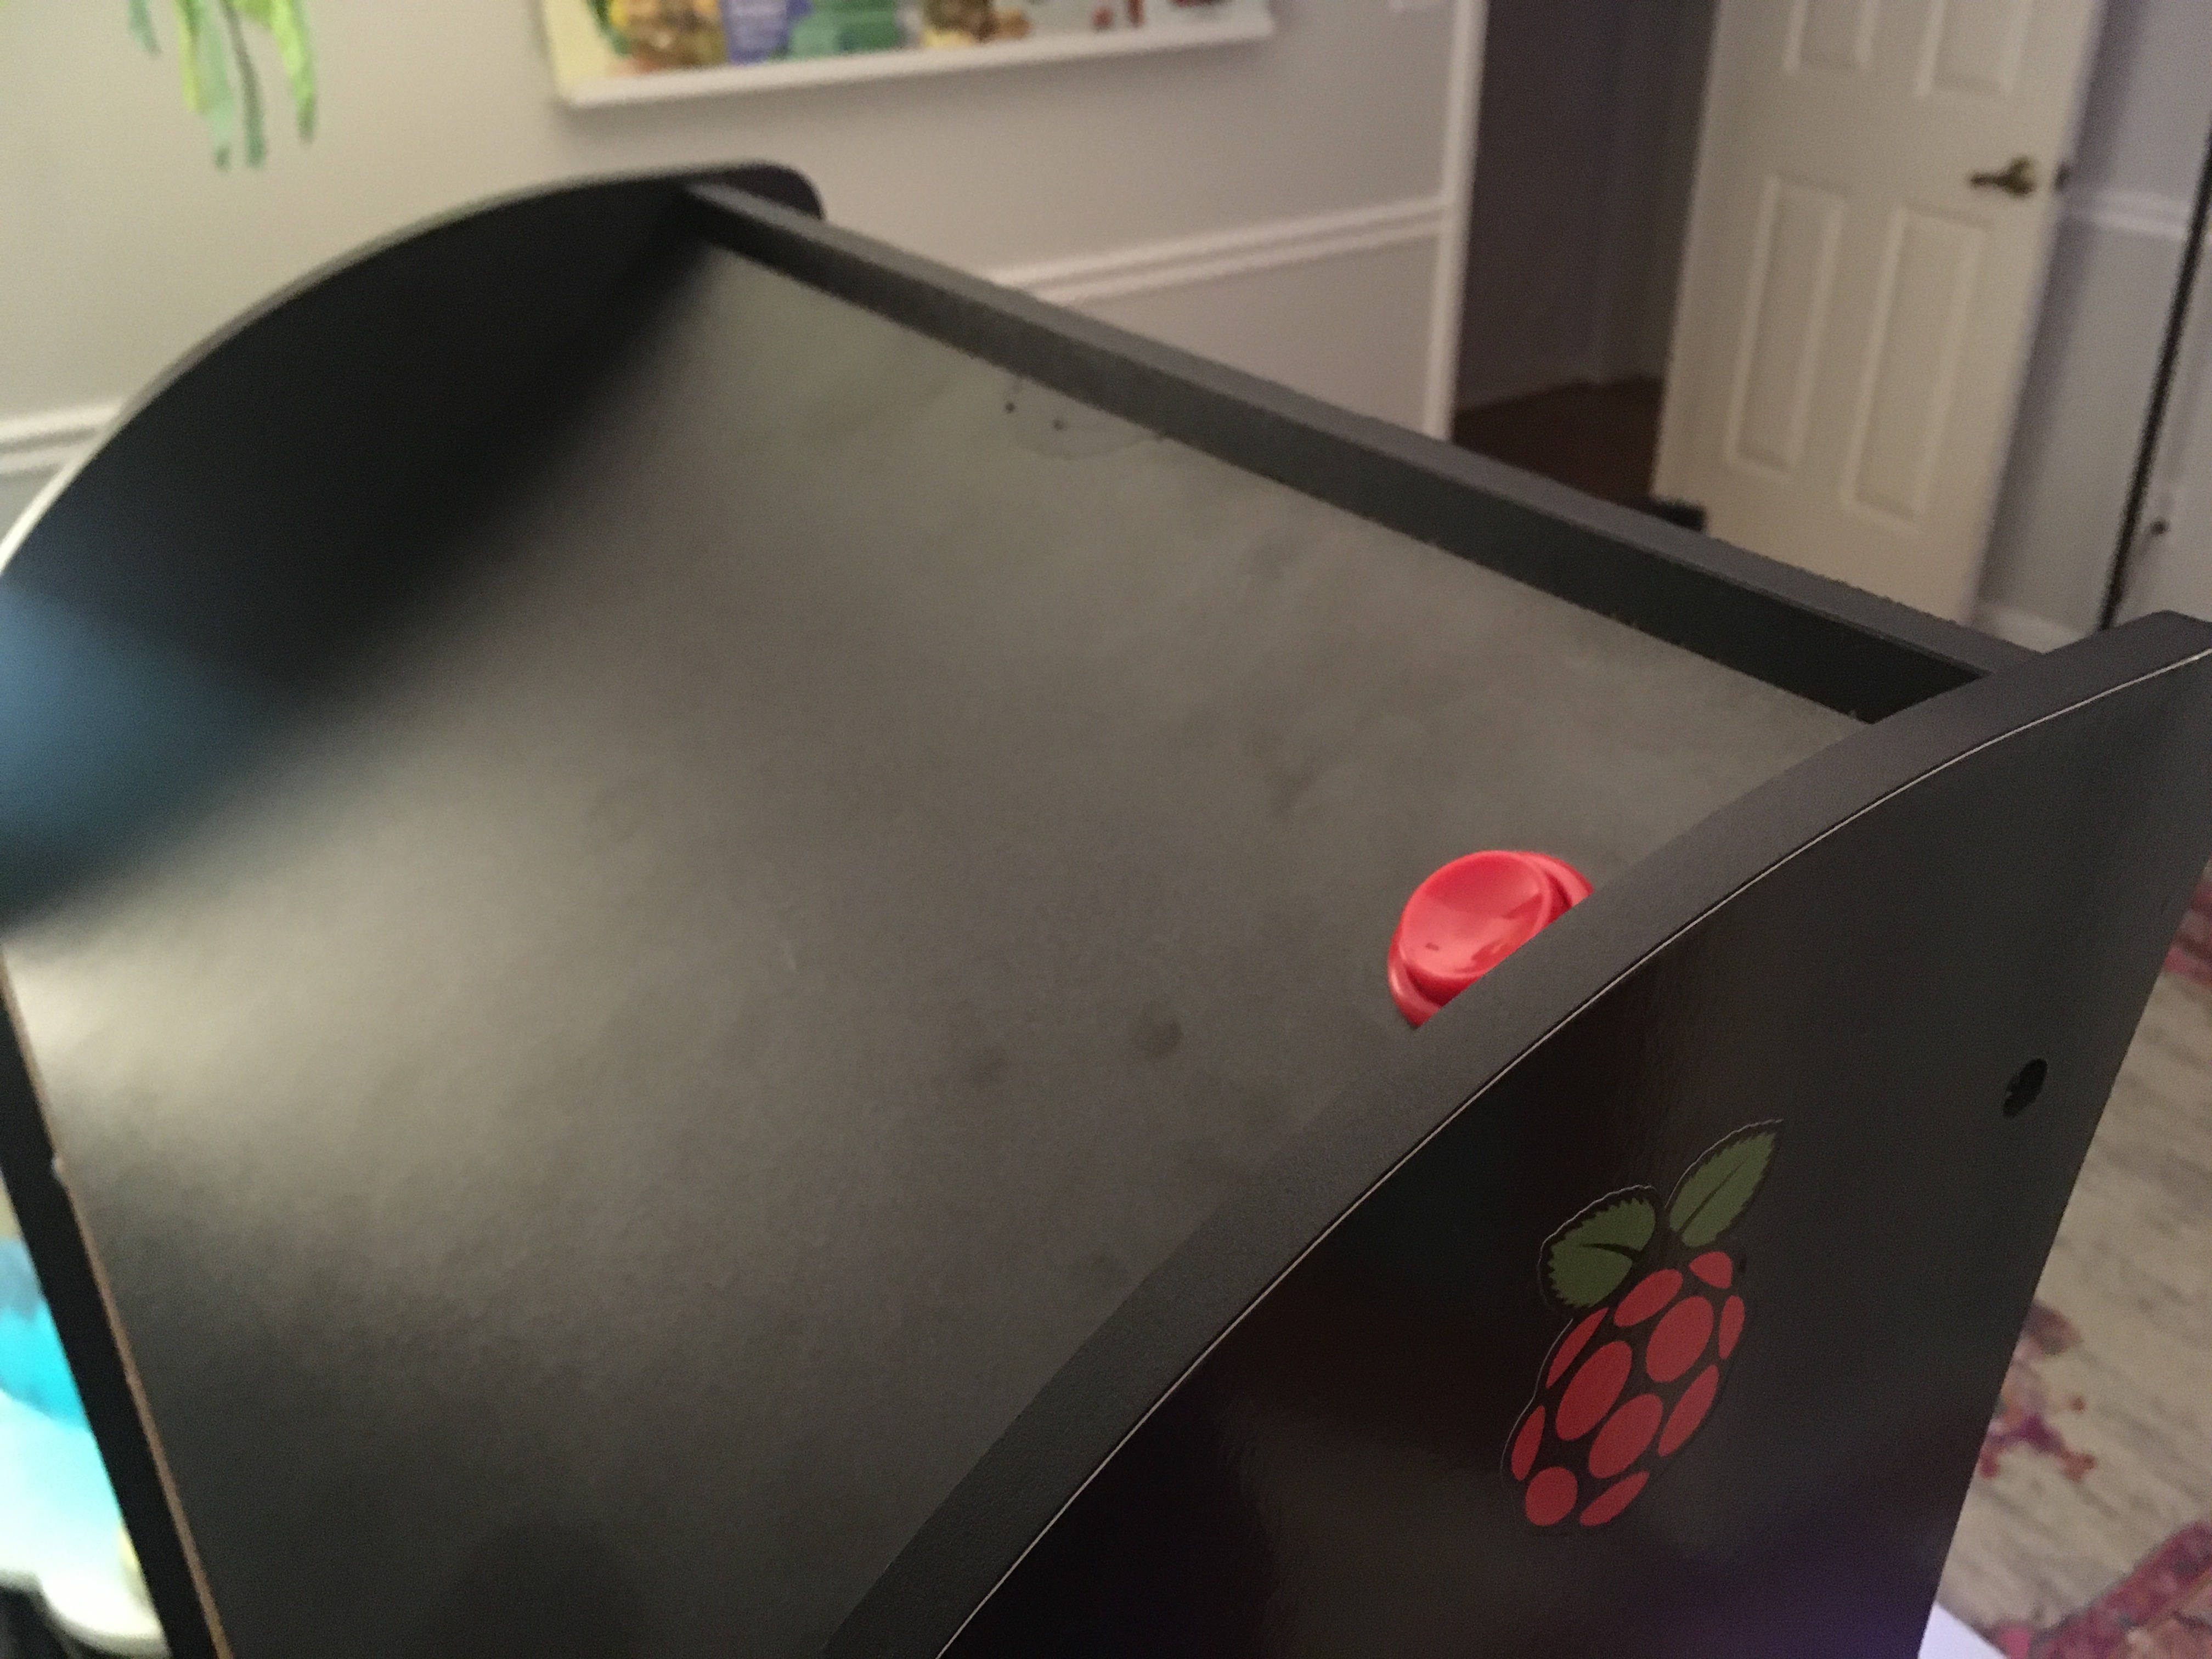
First: find a place on the cabinet to drill a hole. Yes, this is my solution to everything. We're going to use another one of the stock arcade buttons we replaced when doing the initial ETAPrime mod. I decided to put this on the top back panel (it was panel 'H' in the Street Fighter II unit), and run some extra wire length, but arguments could be made for putting it on the side or back, or even next to the power switch on the control console. I wanted it out of view, to be used as a panic button in emergencies.
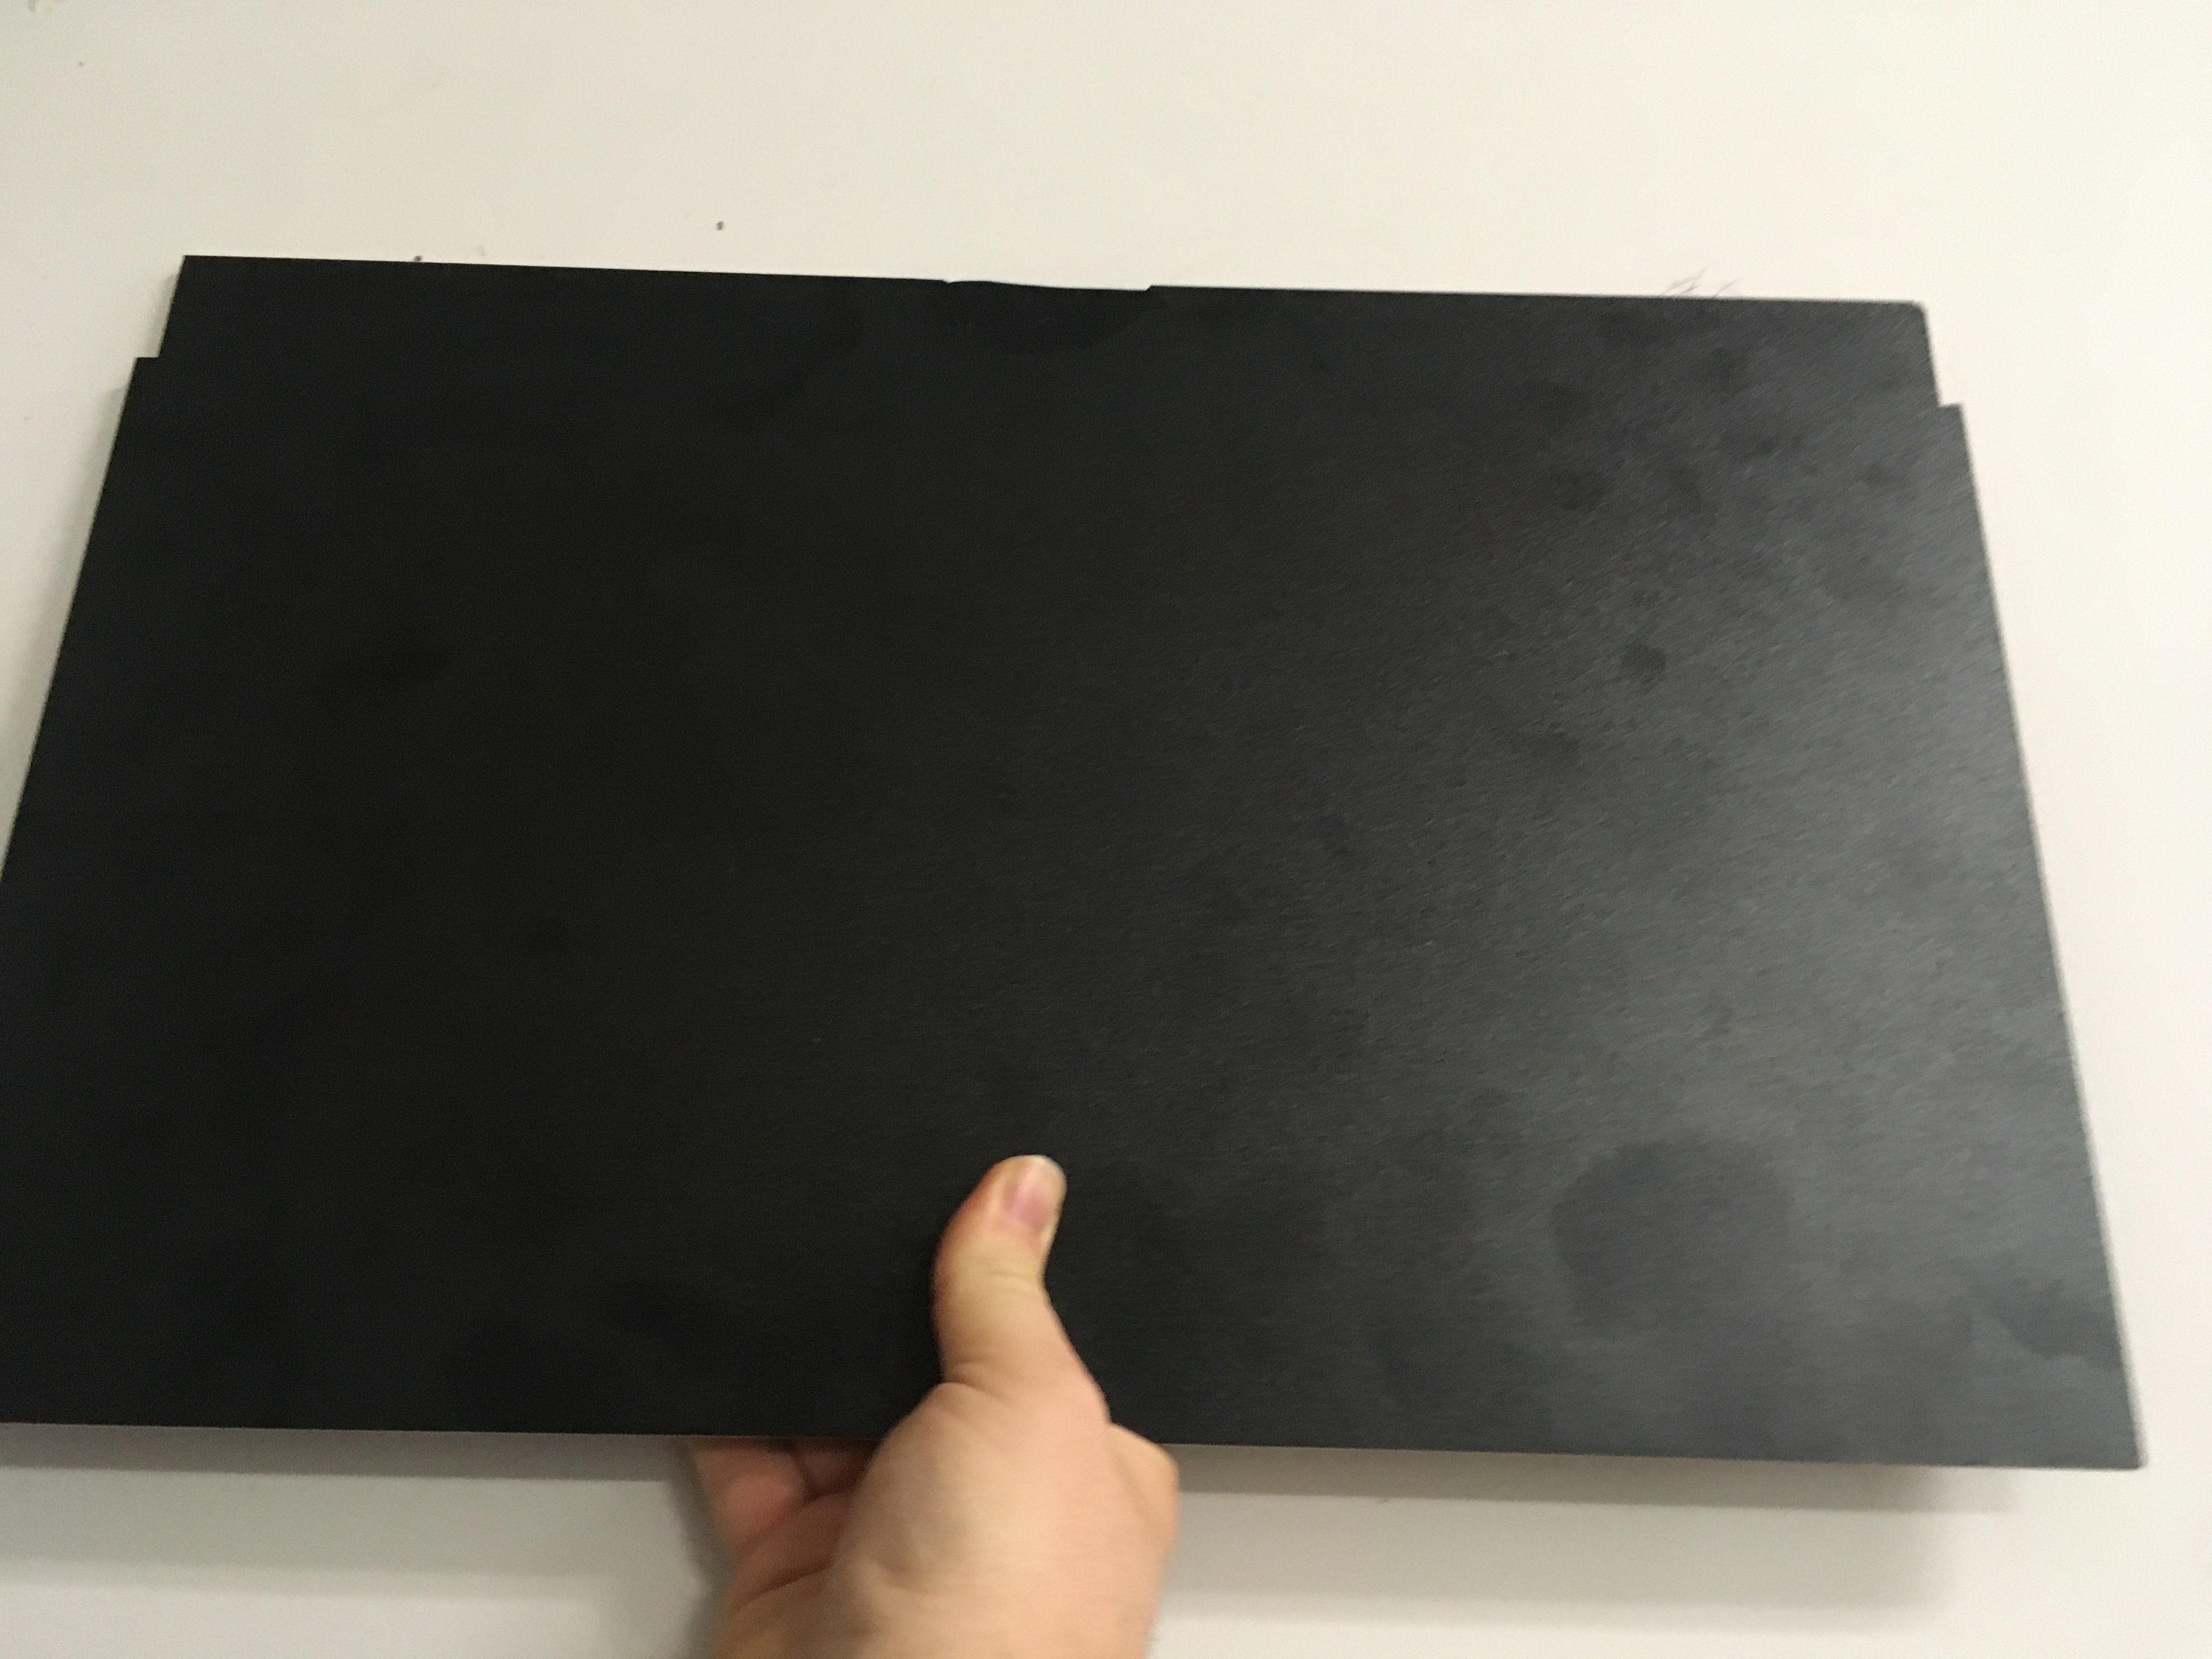
(I flipped this panel over because I like all the disgusting fingerprints more than the giant Arcade1Up legal disclaimer sticker.)
You know the drill: go get the drill. And the step bit.
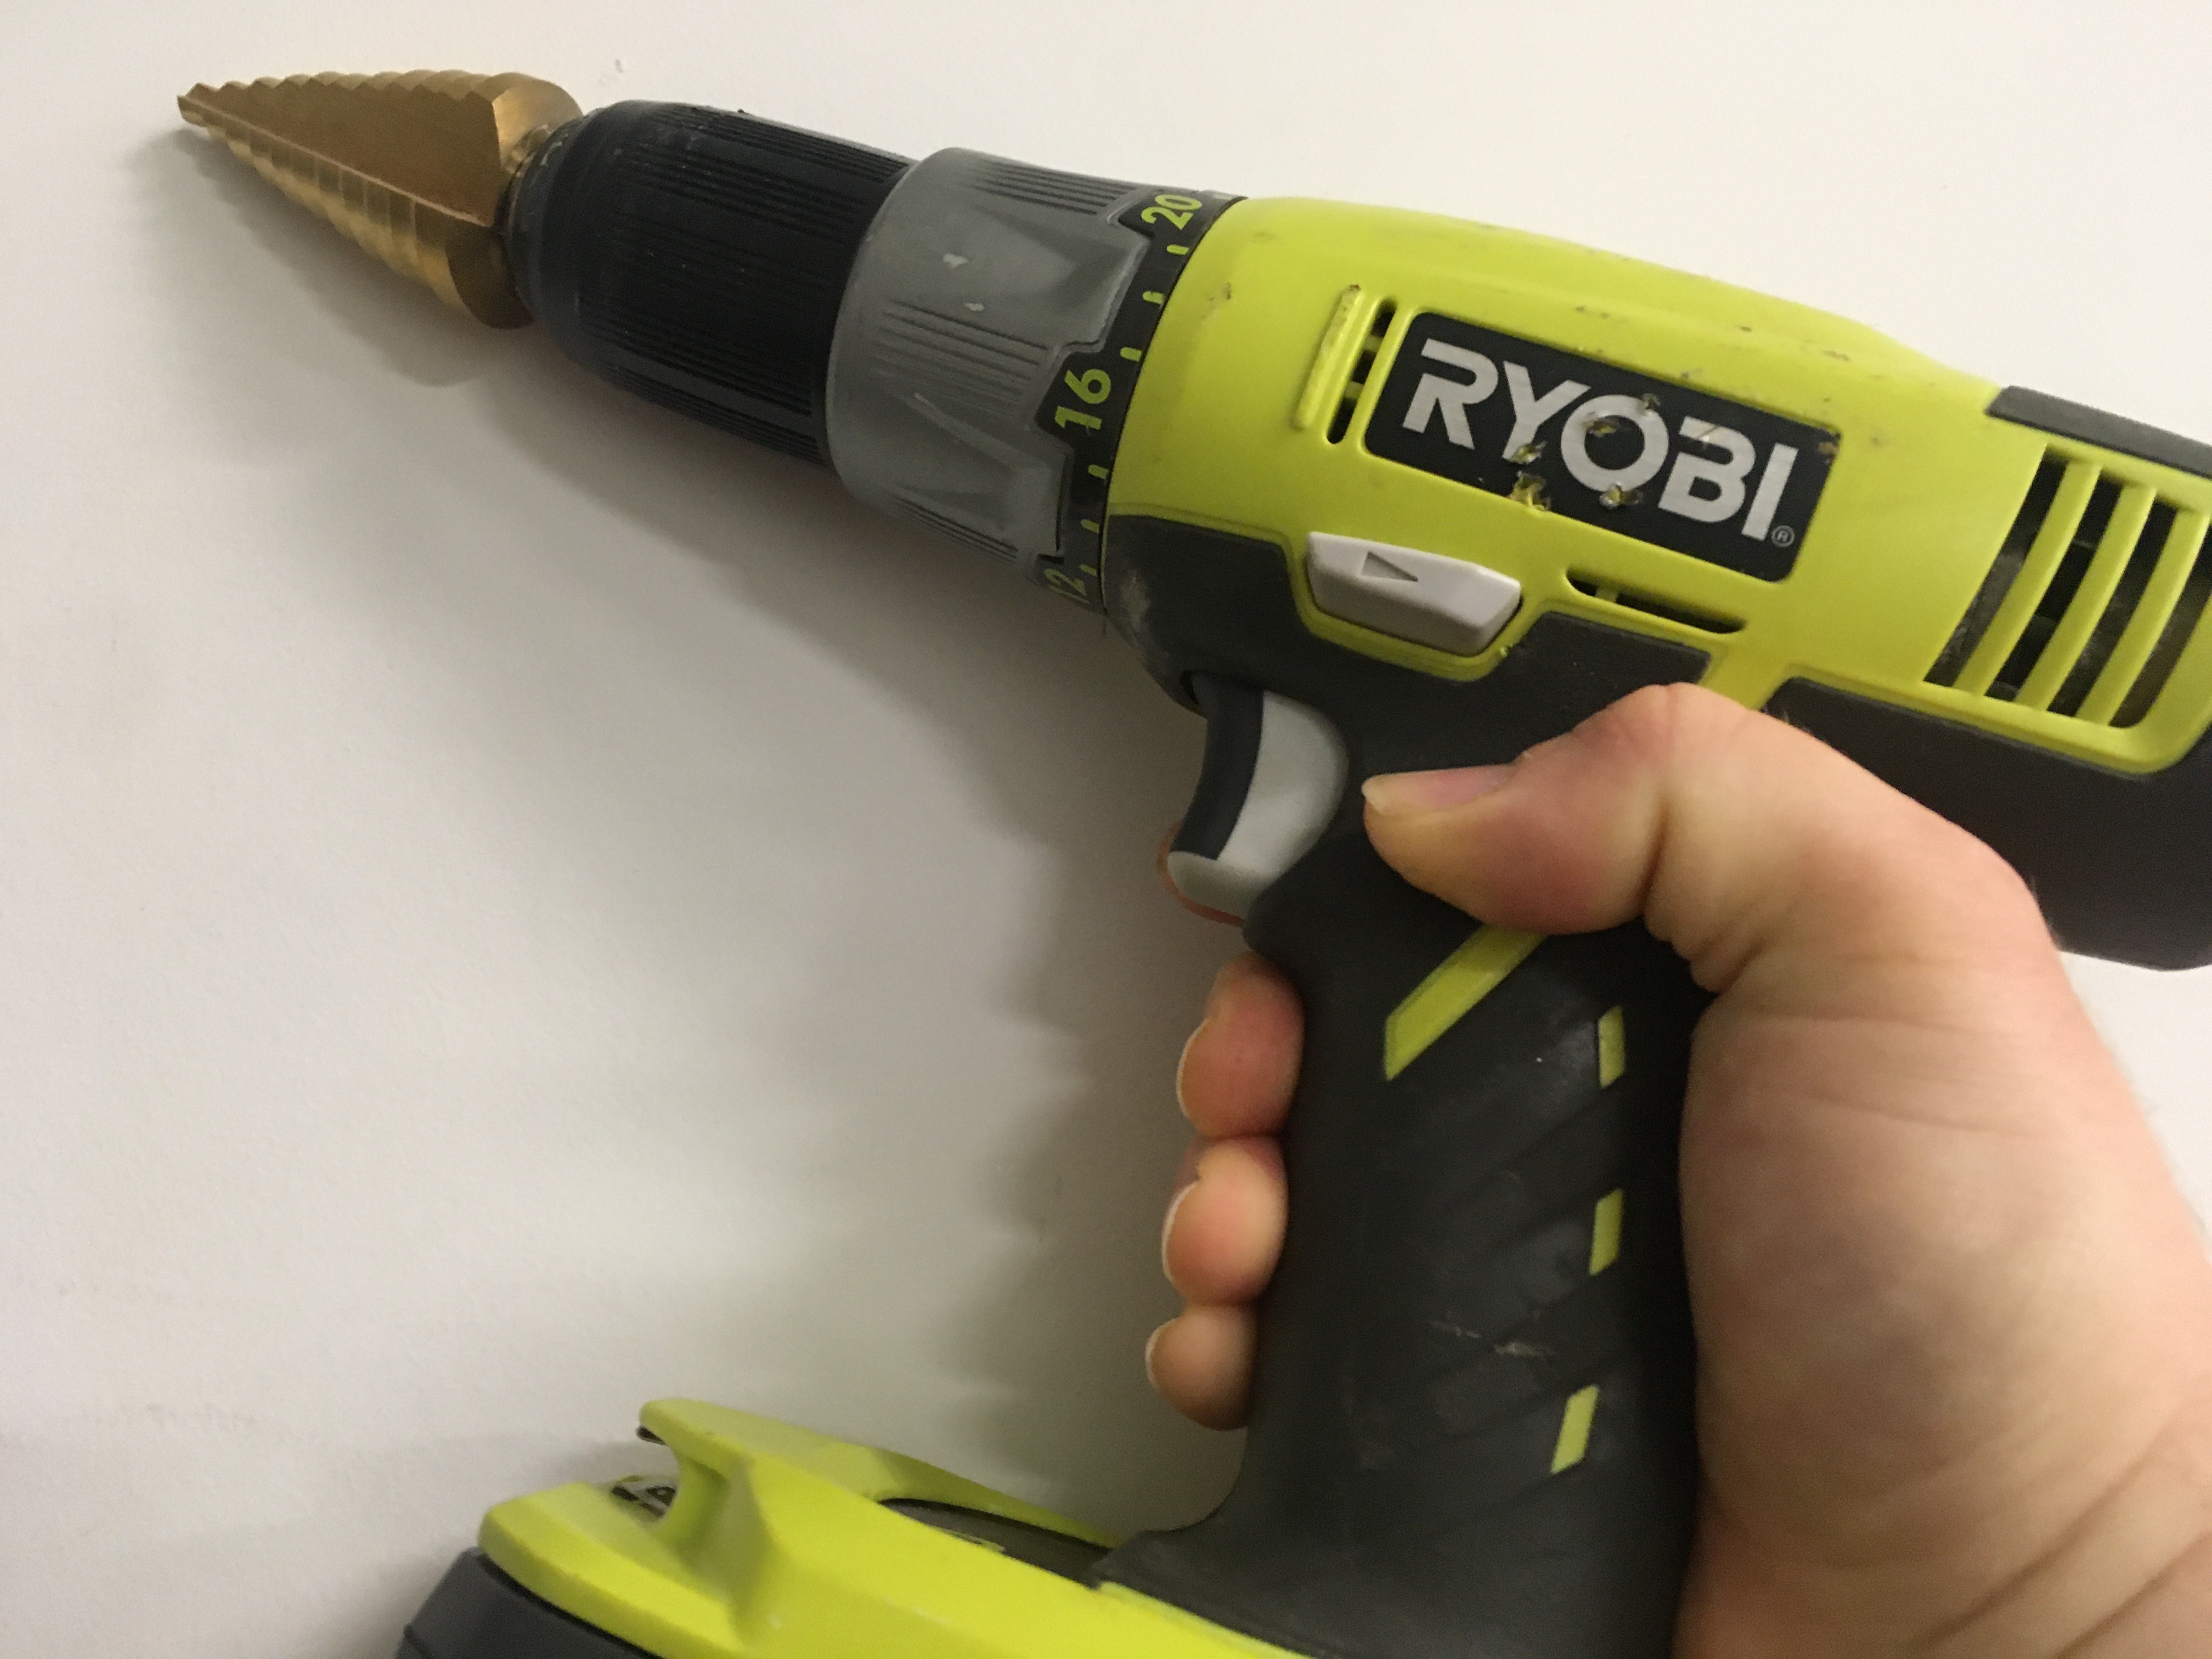
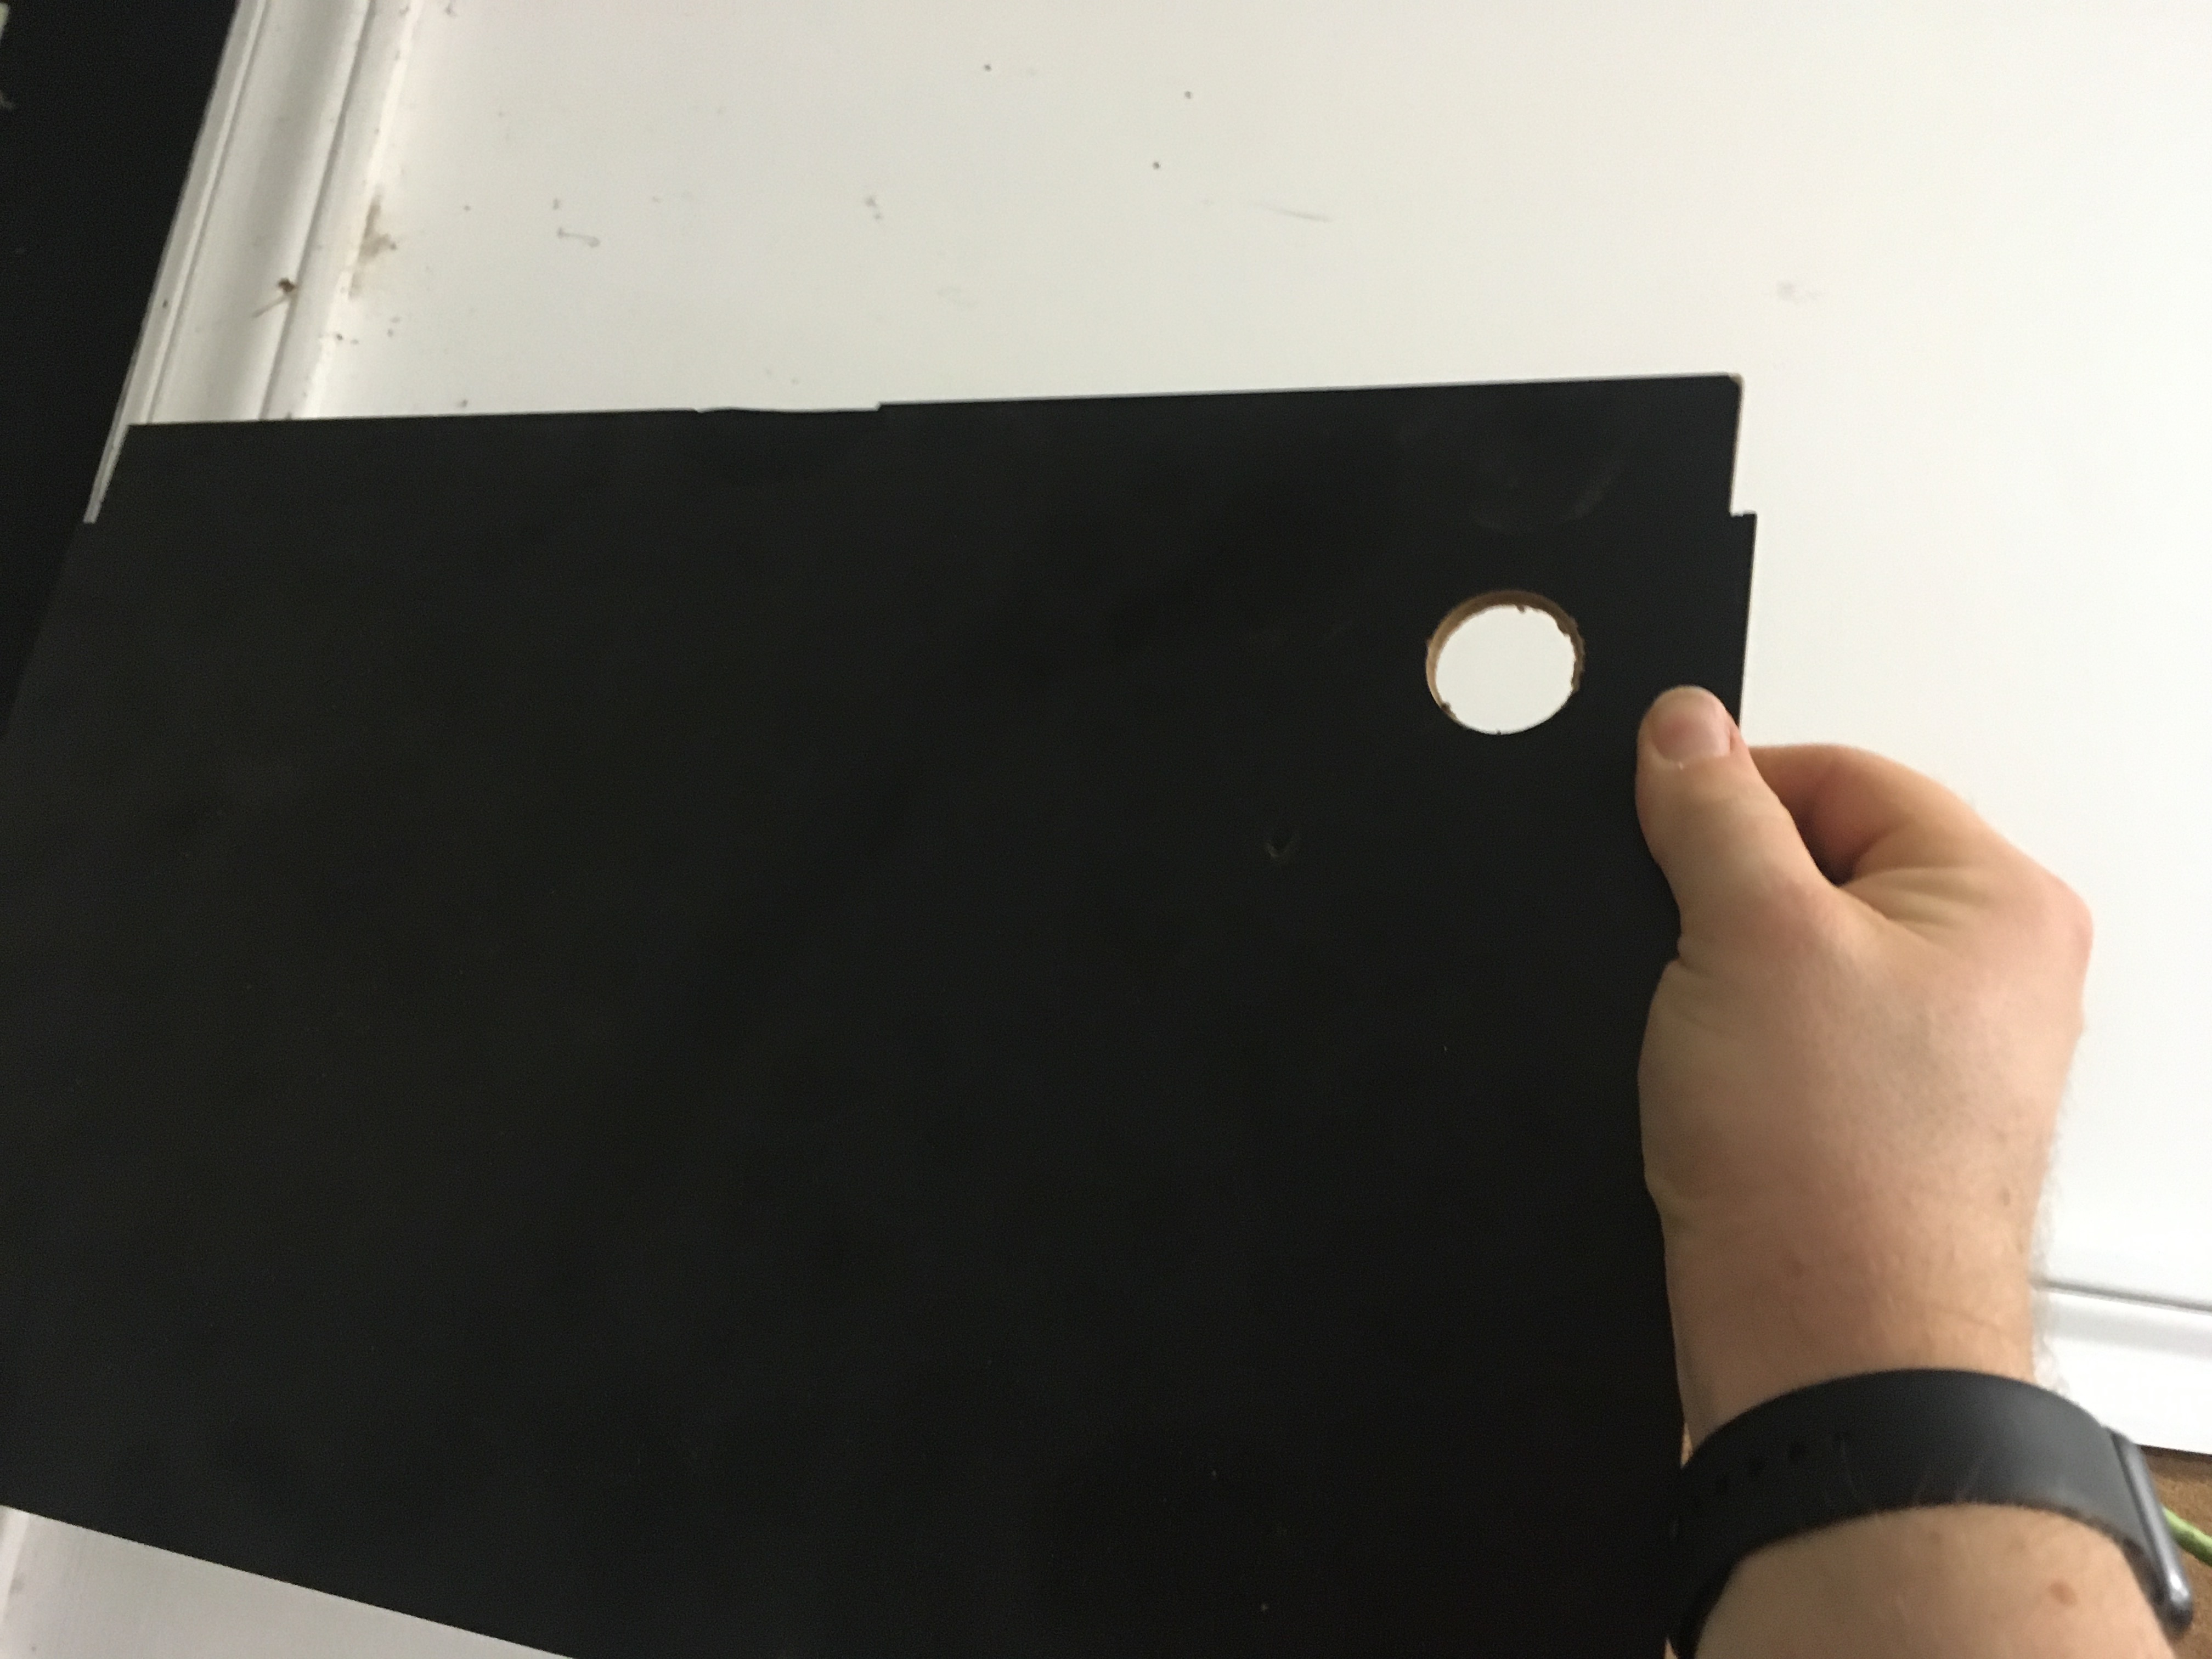
Go slow until the button just fits. If you put speakers in the marquee like me, be careful that the button has room in this panel when installed.
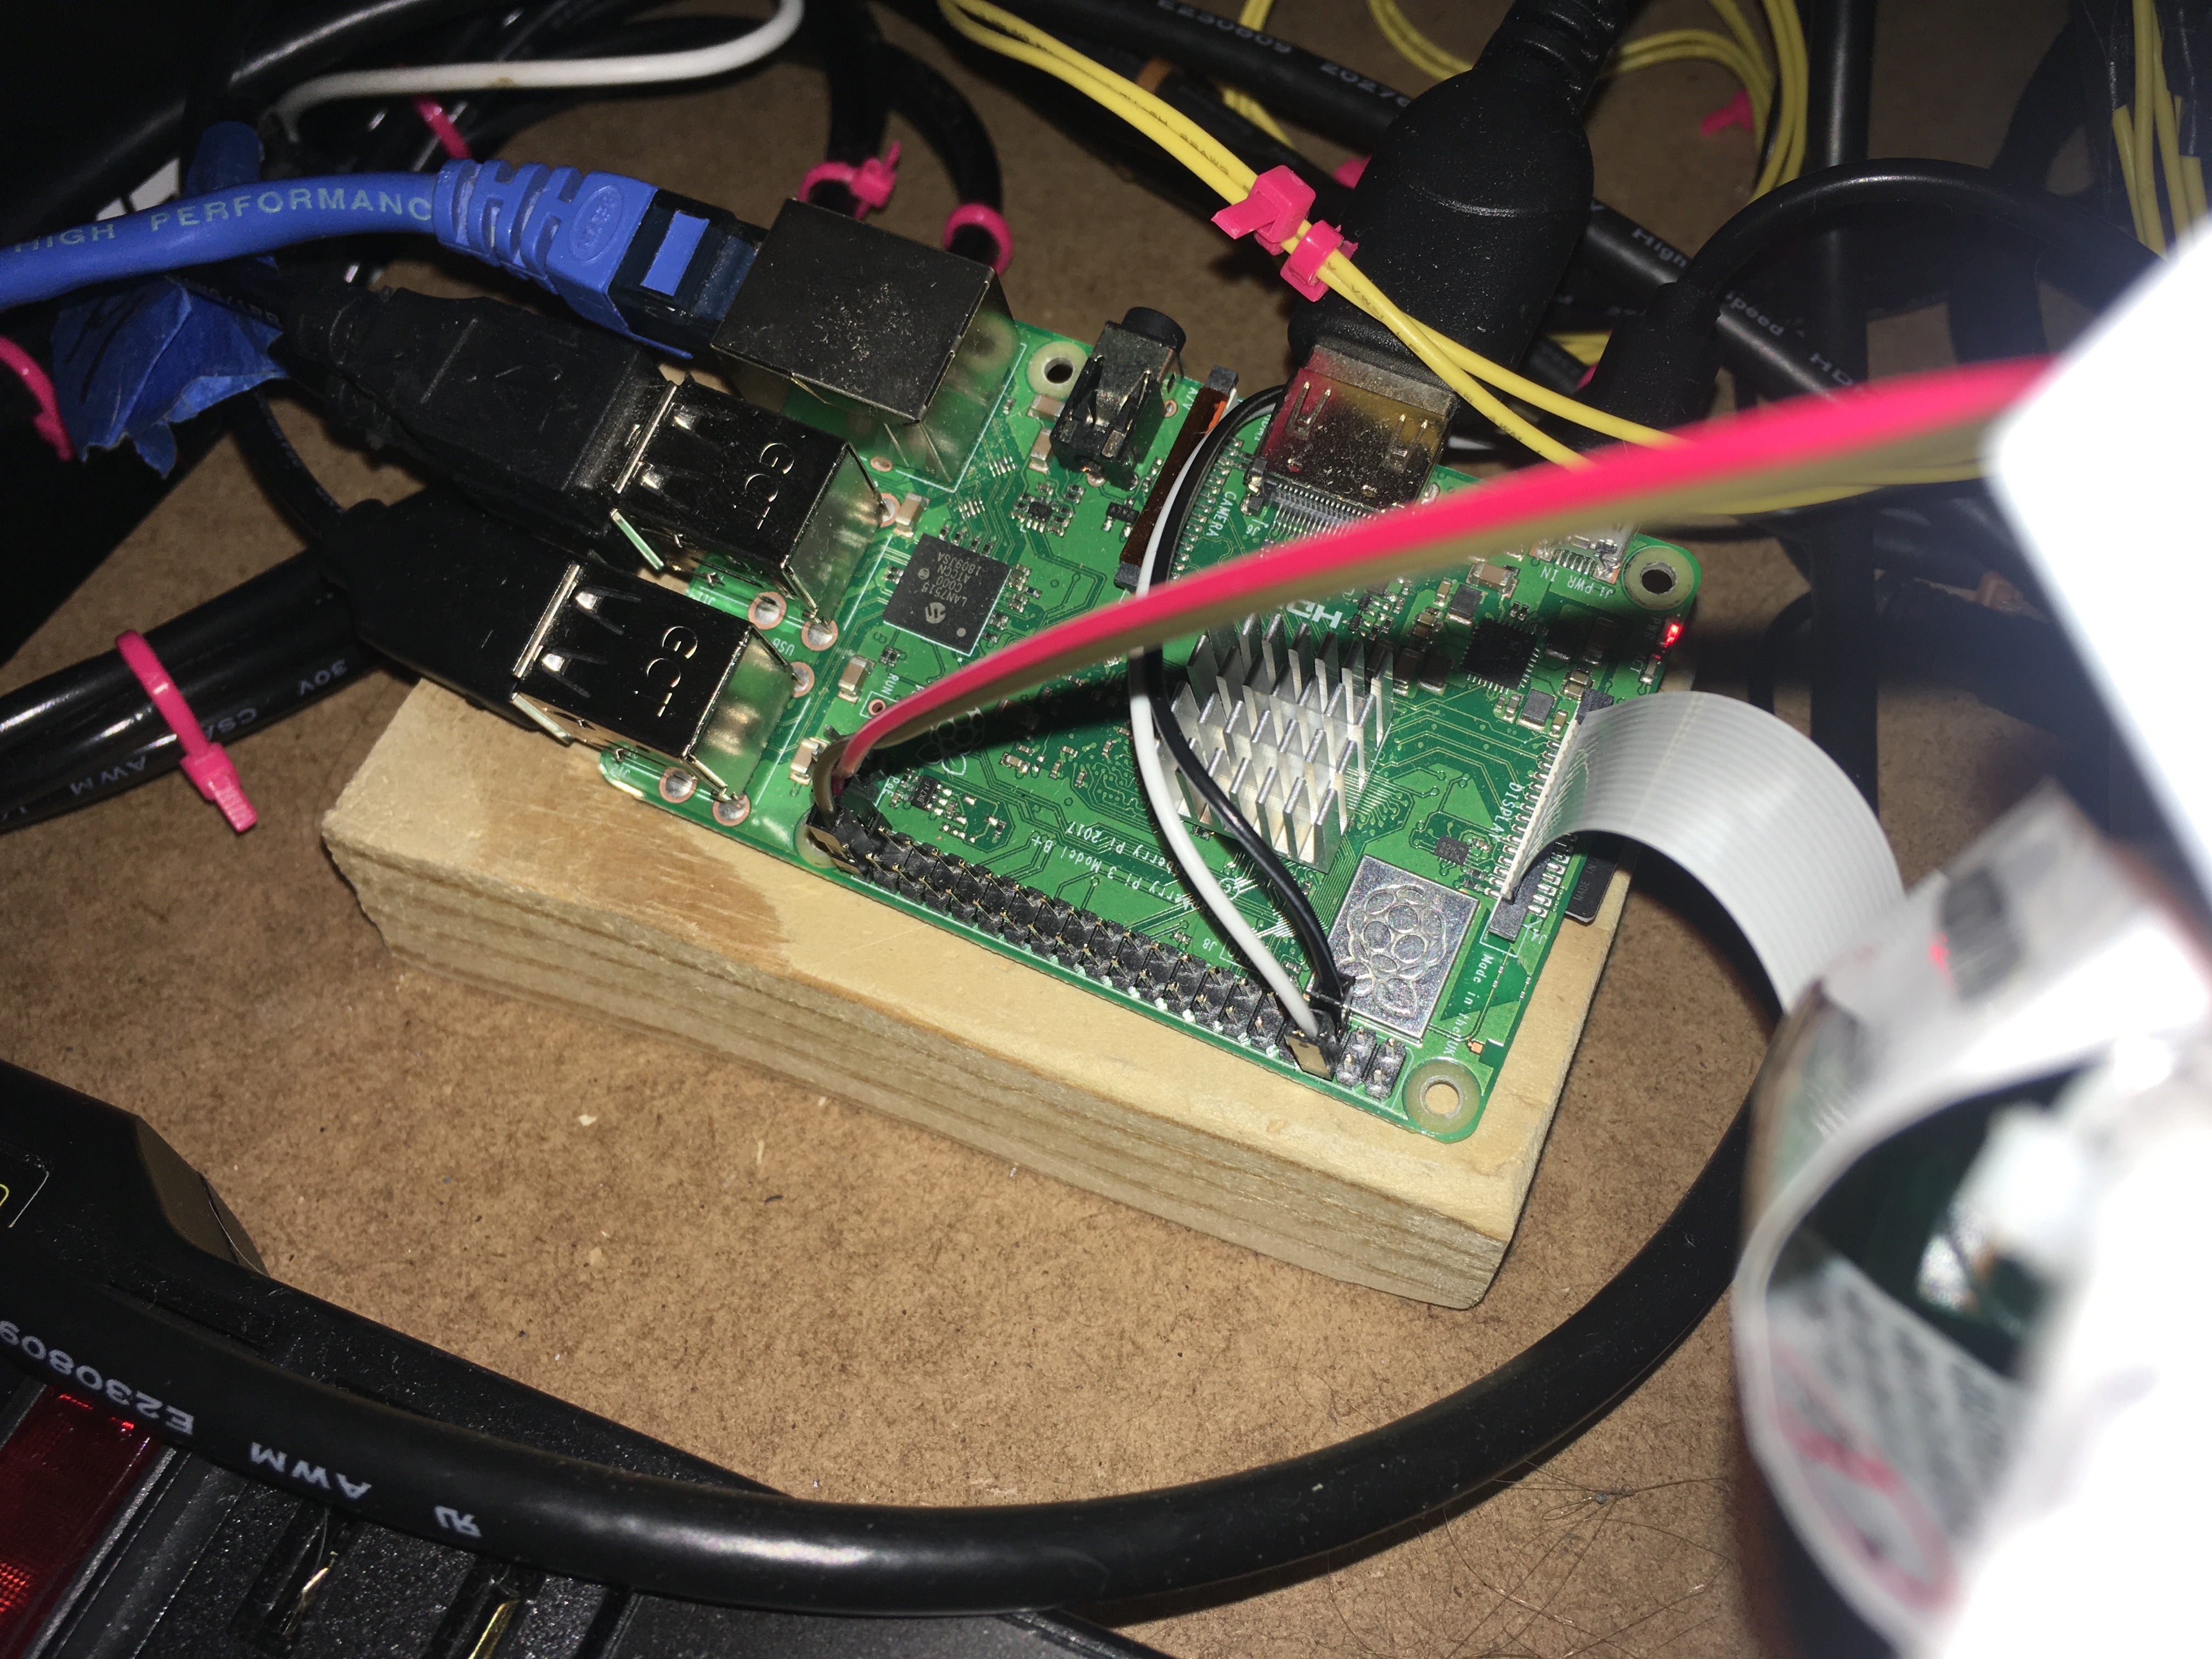
Then take that button and wire it up to a GPIO pin and a ground pin. I used pins 39 and 40 (the bottom most pins, the two closest to the USB ports. It doesn't matter which wire is connected to which of those two pins, since all you need is the button to complete the circuit when pressed. If you are putting this button close enough that you can use the original wire, the original plug will fit on these pins and you don't have to cut it off.
Now, reassemble everything, and get this program on your Pi, and compile it the same as the other one I mentioned: arcade1up-killswitch-gpio.c
cd /home/pi
sudo apt-get install wiringpi
wget https://icculus.org/~icculus/dotplan/arcade1up/arcade1up-killswitch-gpio.c
gcc -Wall -Os -s -o arcade1up-killswitch-gpio arcade1up-killswitch-gpio.c -lwiringPi
This also goes in /etc/rc.local so it runs on startup:
/home/pi/arcade1up-killswitch-gpio &
Both this and the power switch program from before can both be used at the same time without problems.
This program works roughly the same, but when the killswitch is pressed for 2 full seconds, it'll look for children of the Emulation Station process and kill them. When they die, Emulation Station carries on as if you had cleanly exited the game, and comes back up and all is right in the world. In theory, this should Just Work for any scenario you run into.
--ryan.