Hey you:
Did you know that fun things like this are funded by my Patreon? I also make fun software, tools to build games, and port games to Linux. If you like those things, feel free to promptly make it rain.
Previously:
If you missed them, I previously wrote up these other Arcade1Up cabinet mods:
- Wire up stock volume and power switches to the Raspberry Pi
- Run stereo speakers into the marquee
- Trim down a massive rom set to exactly what you want
- Run the amp's volume knob to the control panel
- Quickies: Power relay, HDMI resolution...and Sharpies!
Pimp my Arcade1Up marquee!
/r/Arcade1Up is kind of funny. Someone comes up with a smart idea for a mod, then a dozen YouTube videos pop up of people doing it, confidence grows, and then you get a million photos of everyone's, I don't know, cabinet with blue electrical tape trimming.
Don't get me wrong, I'm no different. I sat here for a few weeks thinking, "I should really make a lighted marquee for this cabinet, like I remember on the real machines of my youth," and then someone did it, and now, it's just a thing you see all over.
I decided to go in a different direction.
I wanted a lighted marquee because I thought it might look nice, but it sort of bothered me that it would always say "GALAGA" or "SPACE INVADERS" or some other game that is legit "classic" but not my personal style. Even something I love--bring me a Dragon's Lair marquee!--doesn't really make much sense to be in my peripheral vision when I'm playing Marvel vs Street Fighter.
Also, eternal tinkerer that I am, I'm constantly reaching for a USB keyboard, to mess around at a command prompt, or even just play King's Quest or whatever, and it was becoming a pain, so I decided to kill a few birds with one liquid crystal display.
And that display is this one right here:
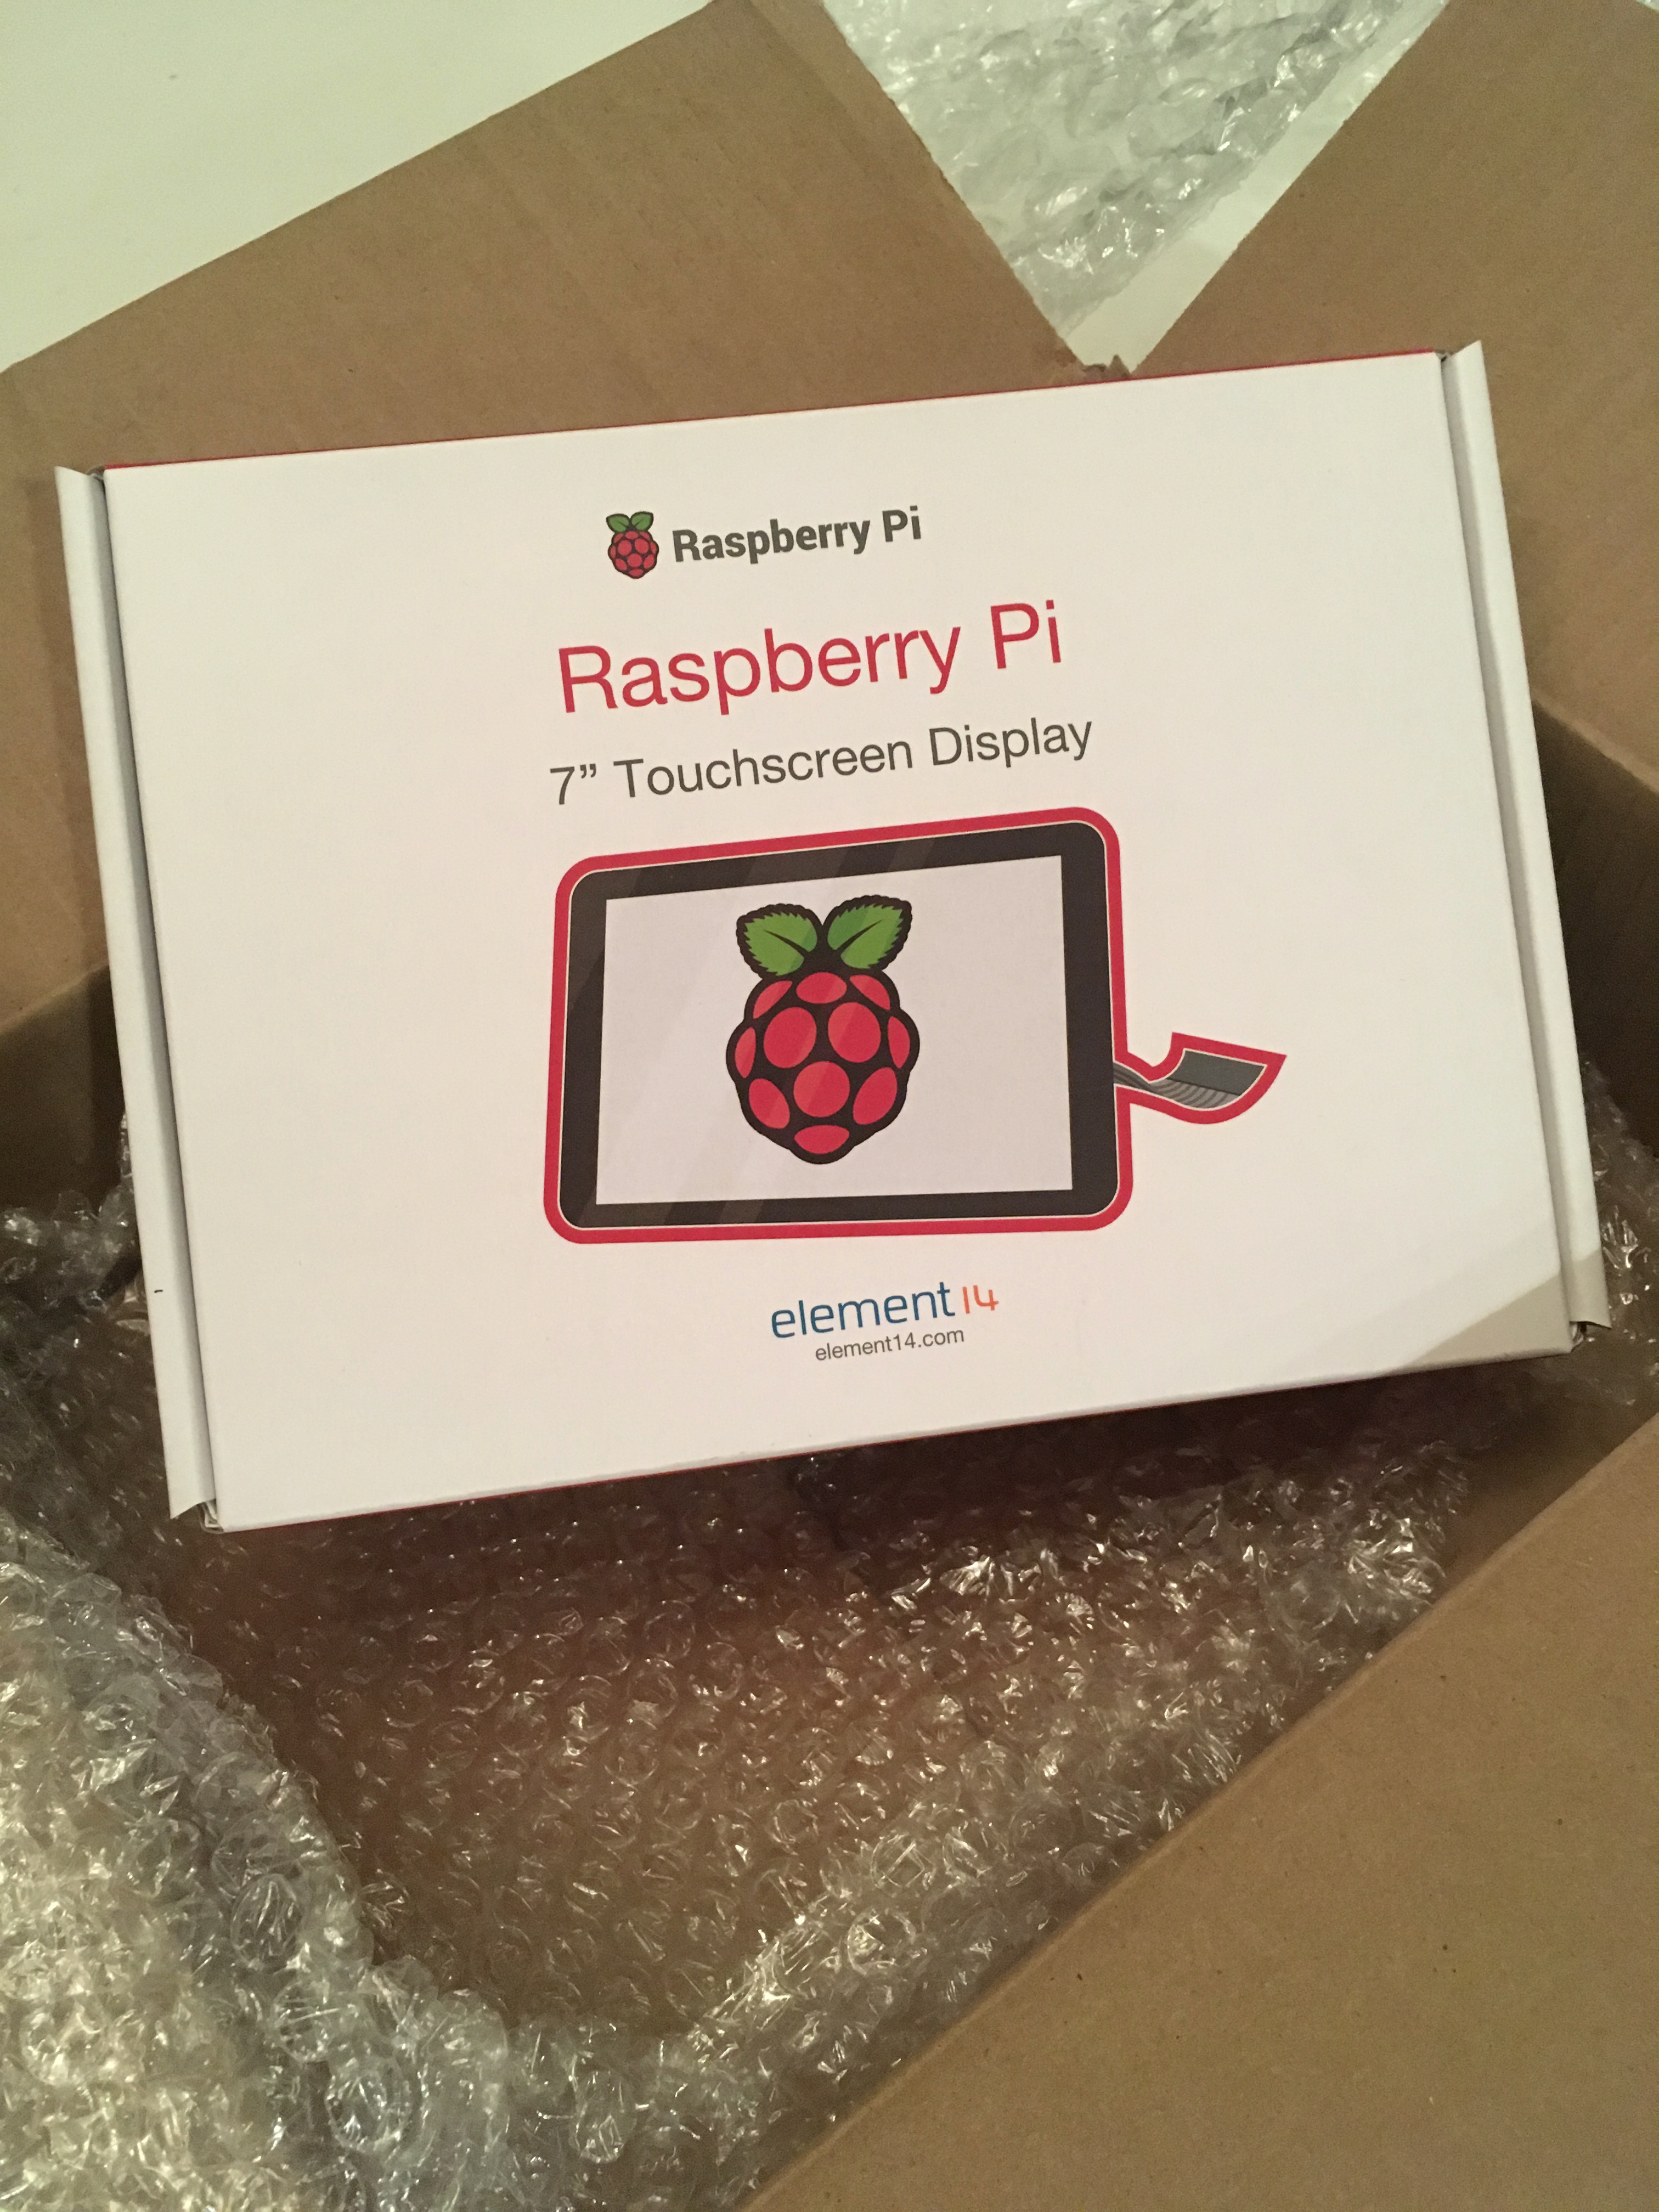
I got this from Adafruit, as I tend to, but this is the touchscreen from the people that make the Raspberry Pi itself, so you can get them just about anywhere that Pi accessories are sold. Amazon has it for a few dollars cheaper and with Prime shipping, but Adafruit has something very important to this endeavor: while you're shopping, also get one of these cables.
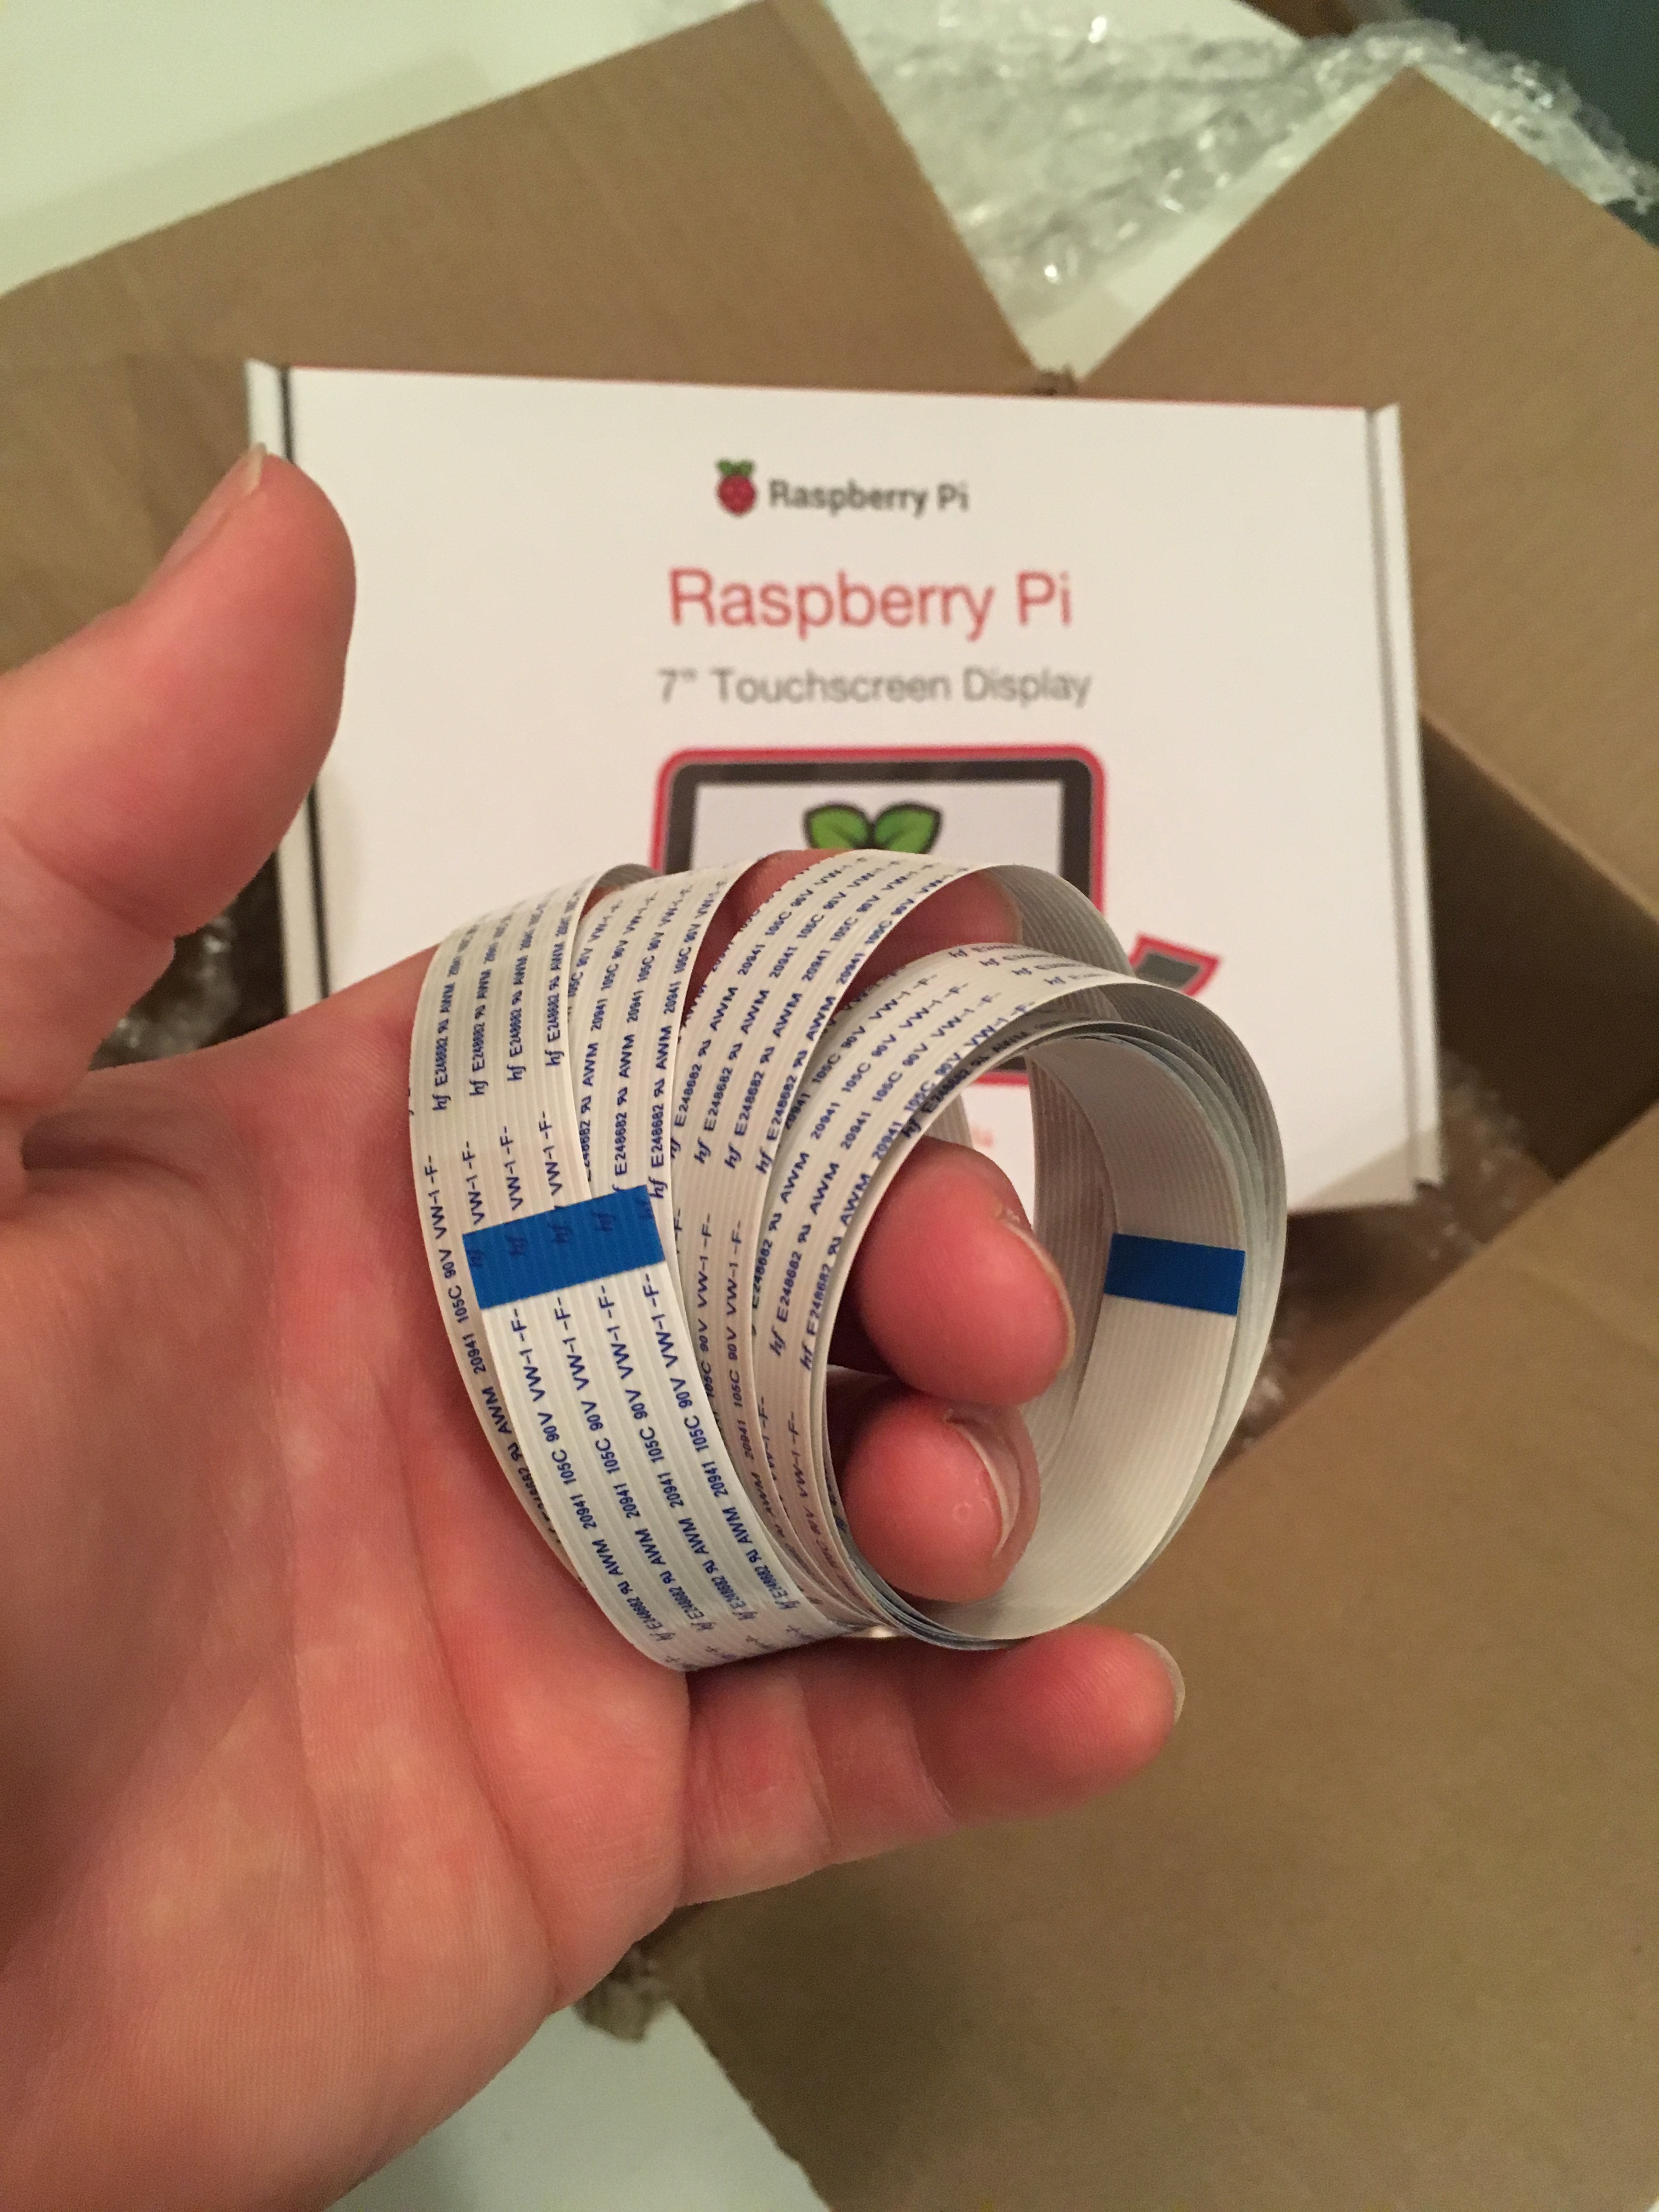
If you built a little 4-dollar shelf, then you can use a 1 meter cable, but if your Pi is on the floor of the cabinet, you'll need the 2 meter one, which is loooooooong.
The cable that comes with the screen is like three inches long. Amazingly, it still works across six feet! You'll also need a second micro-USB cable to power the screen. You can use the Pi's power source and run power from the screen to the Pi in a few different ways, but you are going to need to get a USB cable from a power source to the marquee no matter what, so plan ahead.
This display has a few interesting qualities that I liked:
- It's a known quantity, well-supported, coming from the Pi Foundation itself.
- It embeds really well, so your marquee footprint is paper-thin. It's not like we're velcroing an iPad to the front of the cabinet here.
- It uses the Pi's DSI port, which you probably never even knew you had. Which means connecting it is trivial and doesn't eat otherwise-valuable ports, and
- ...It can be driven by the Pi's GPU with OpenGL ES.
- Oh, and: it's a touchscreen, too!
The downside is that while it fits super nicely into the space of the stock Arcade1Up marquee, it's not going to be a thing that covers the entire area, if you were hoping to have a legit competitor to all those light-up marquee mods out there. But what we lack in width, we'll make up in speakers.
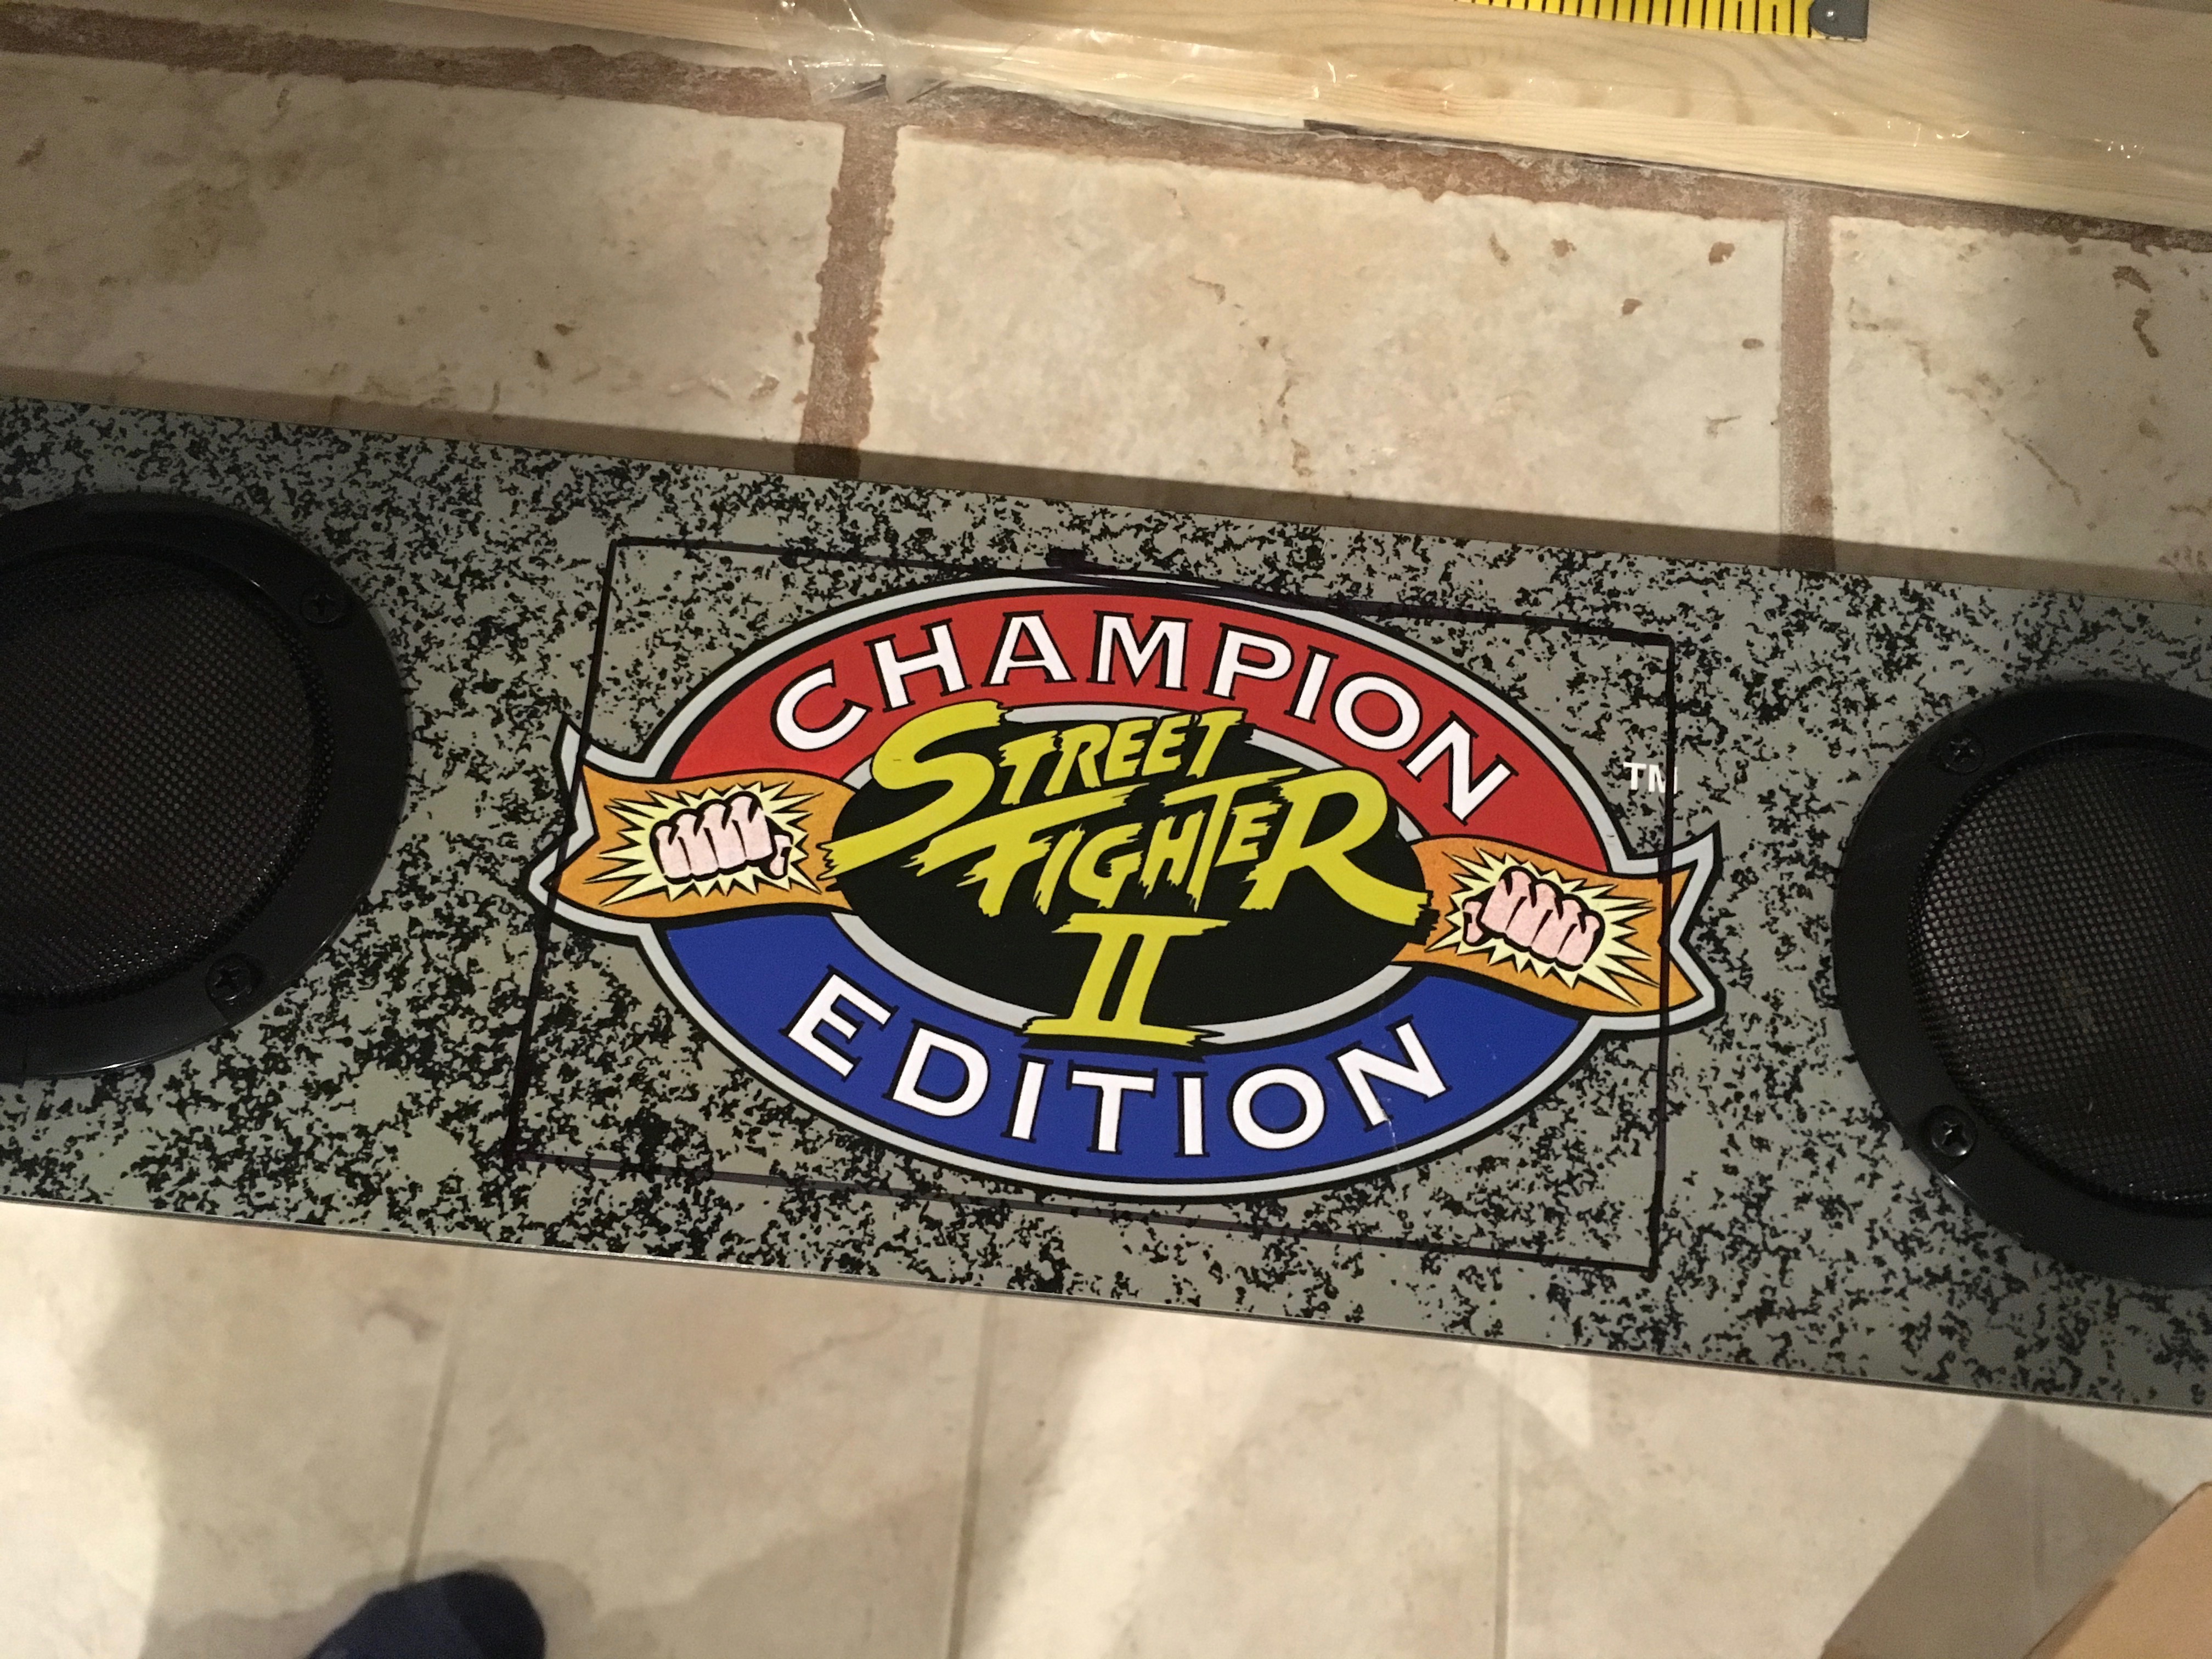
You might recall that I had done this to the marquee previously:
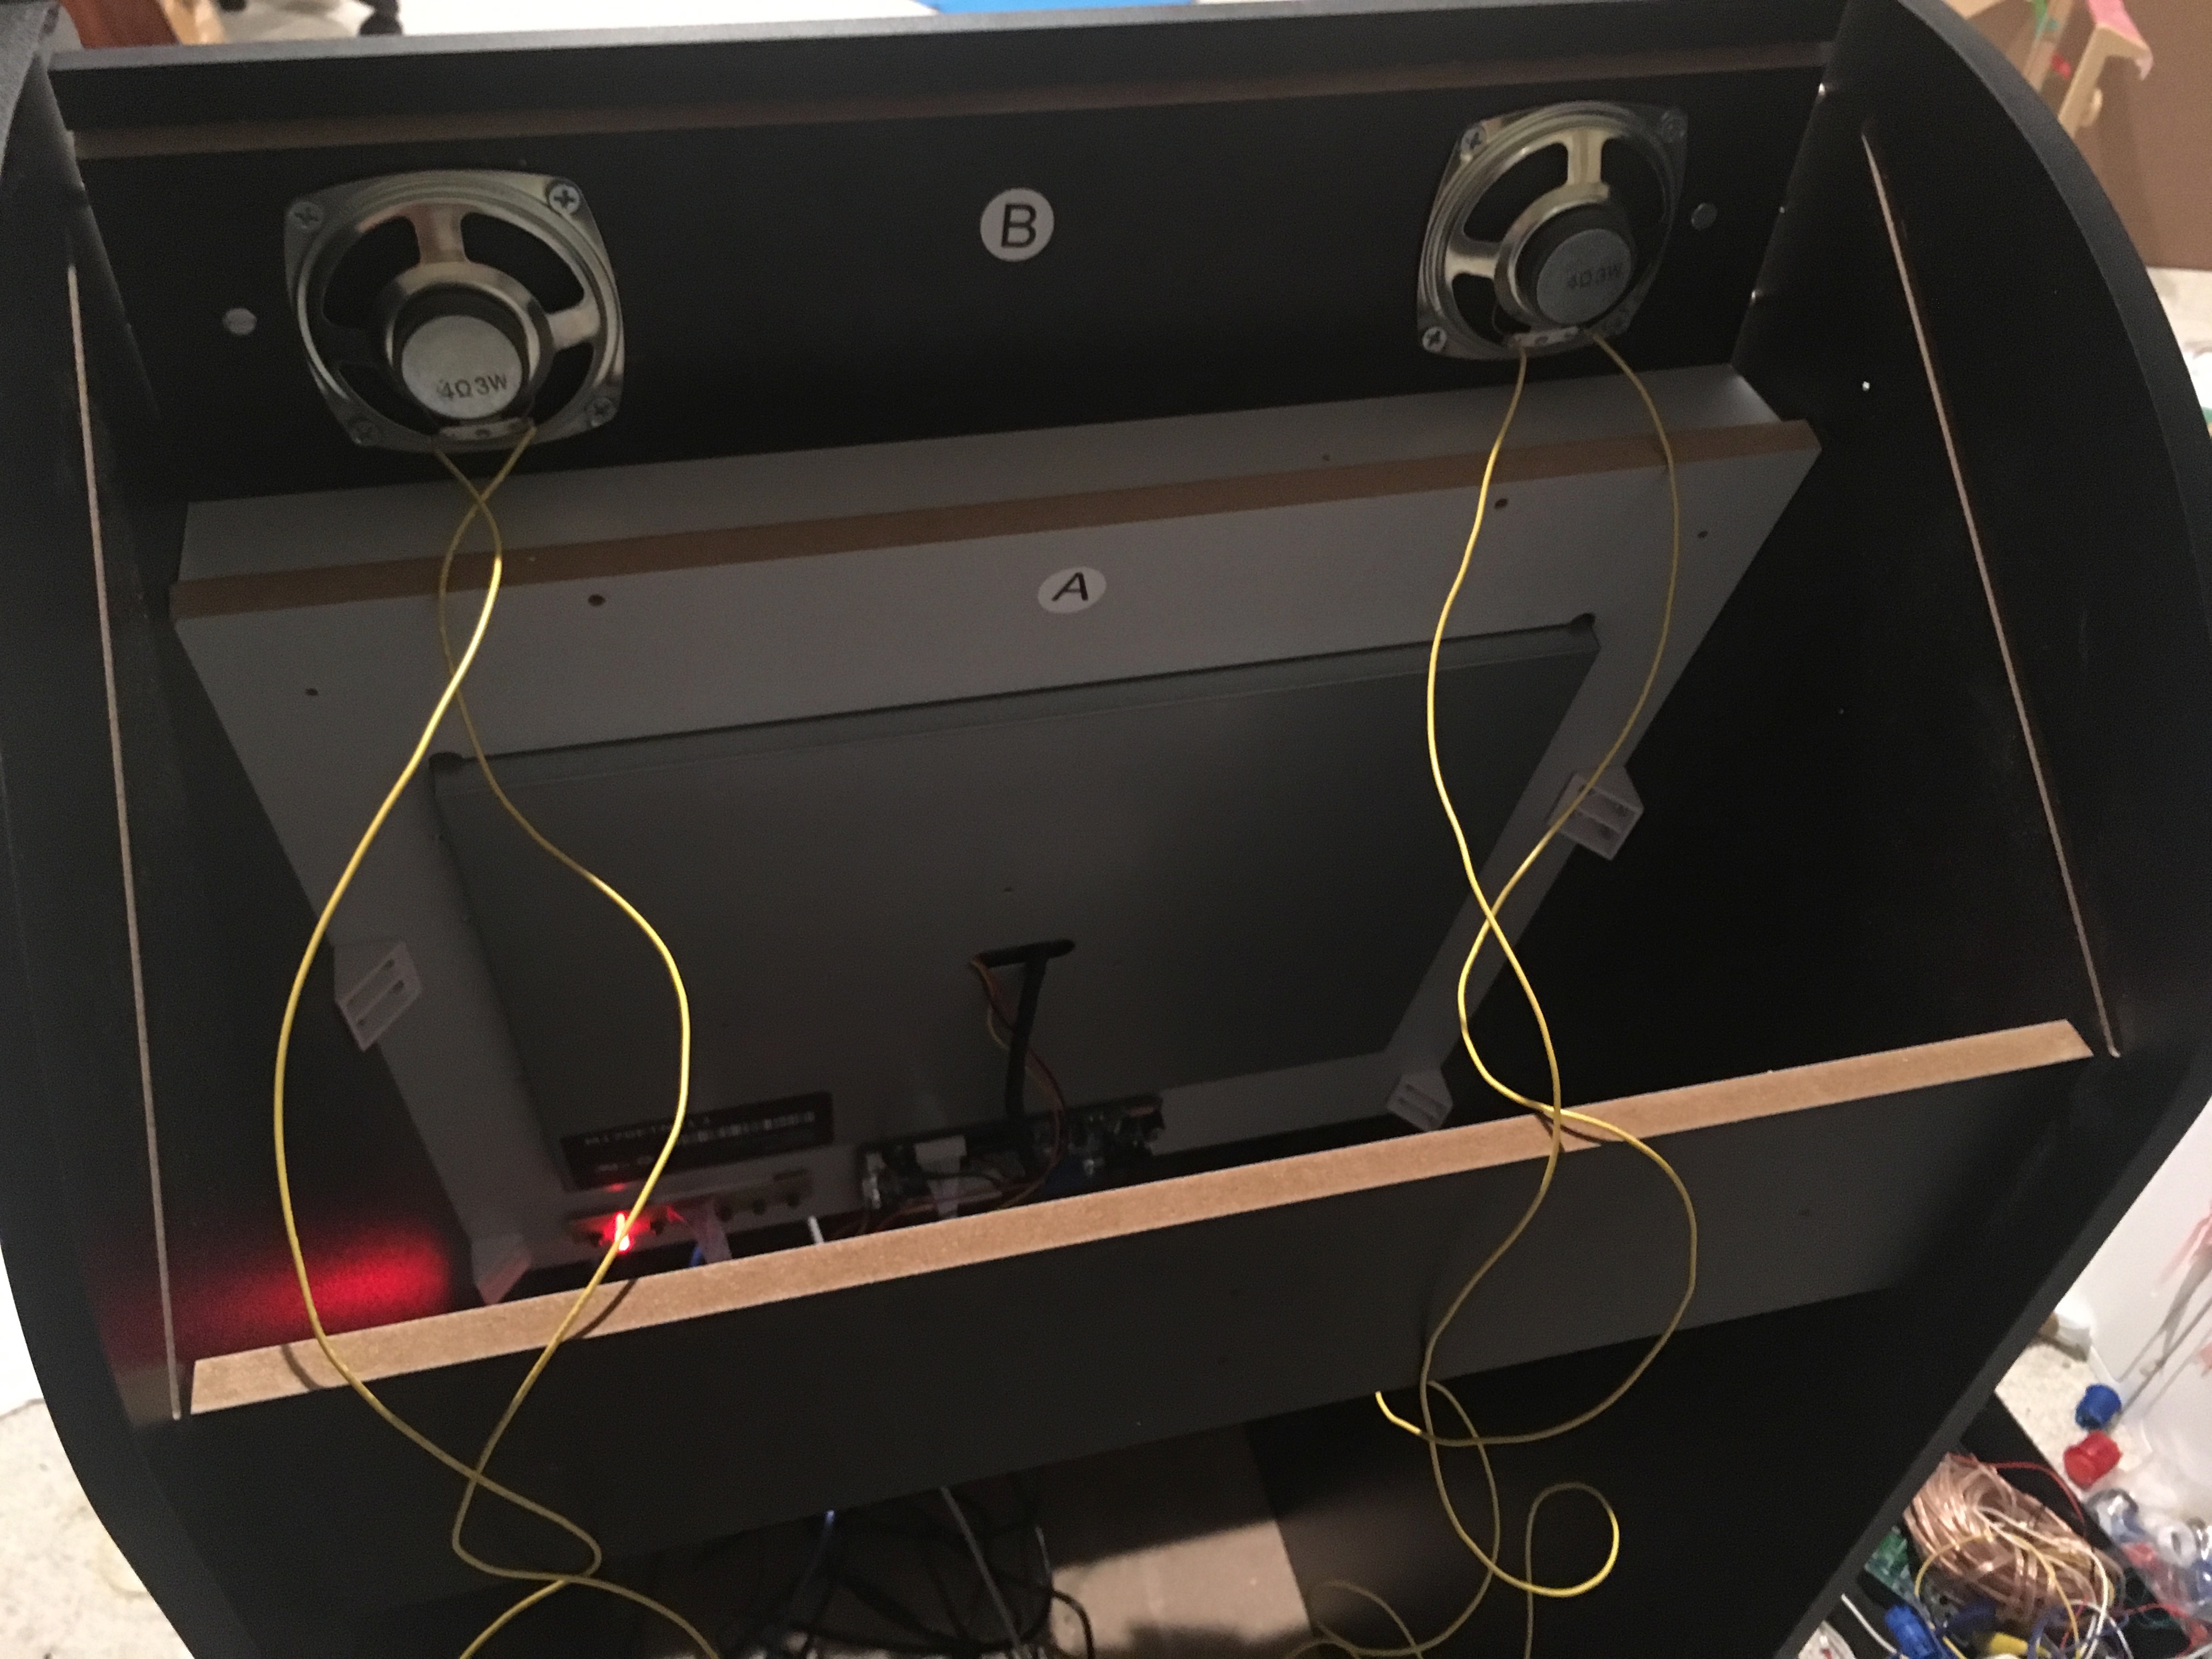
I've been pretty happy with the stereo speakers there, but I did a terrible job of drilling holes for them, and since we have all this marquee real estate not covered by the display, I took the time to clean that up. I drilled a big hole, so there's no wood blocking the sound now, and put speaker grills over it to make it look clean and professional, as a testament to the lofty idea that no matter how bad you fuck something up, you can usually cover your failures later with a little extra effort.
I'm going to document this here so you learn from my mistakes.
Say hello to my little friend:
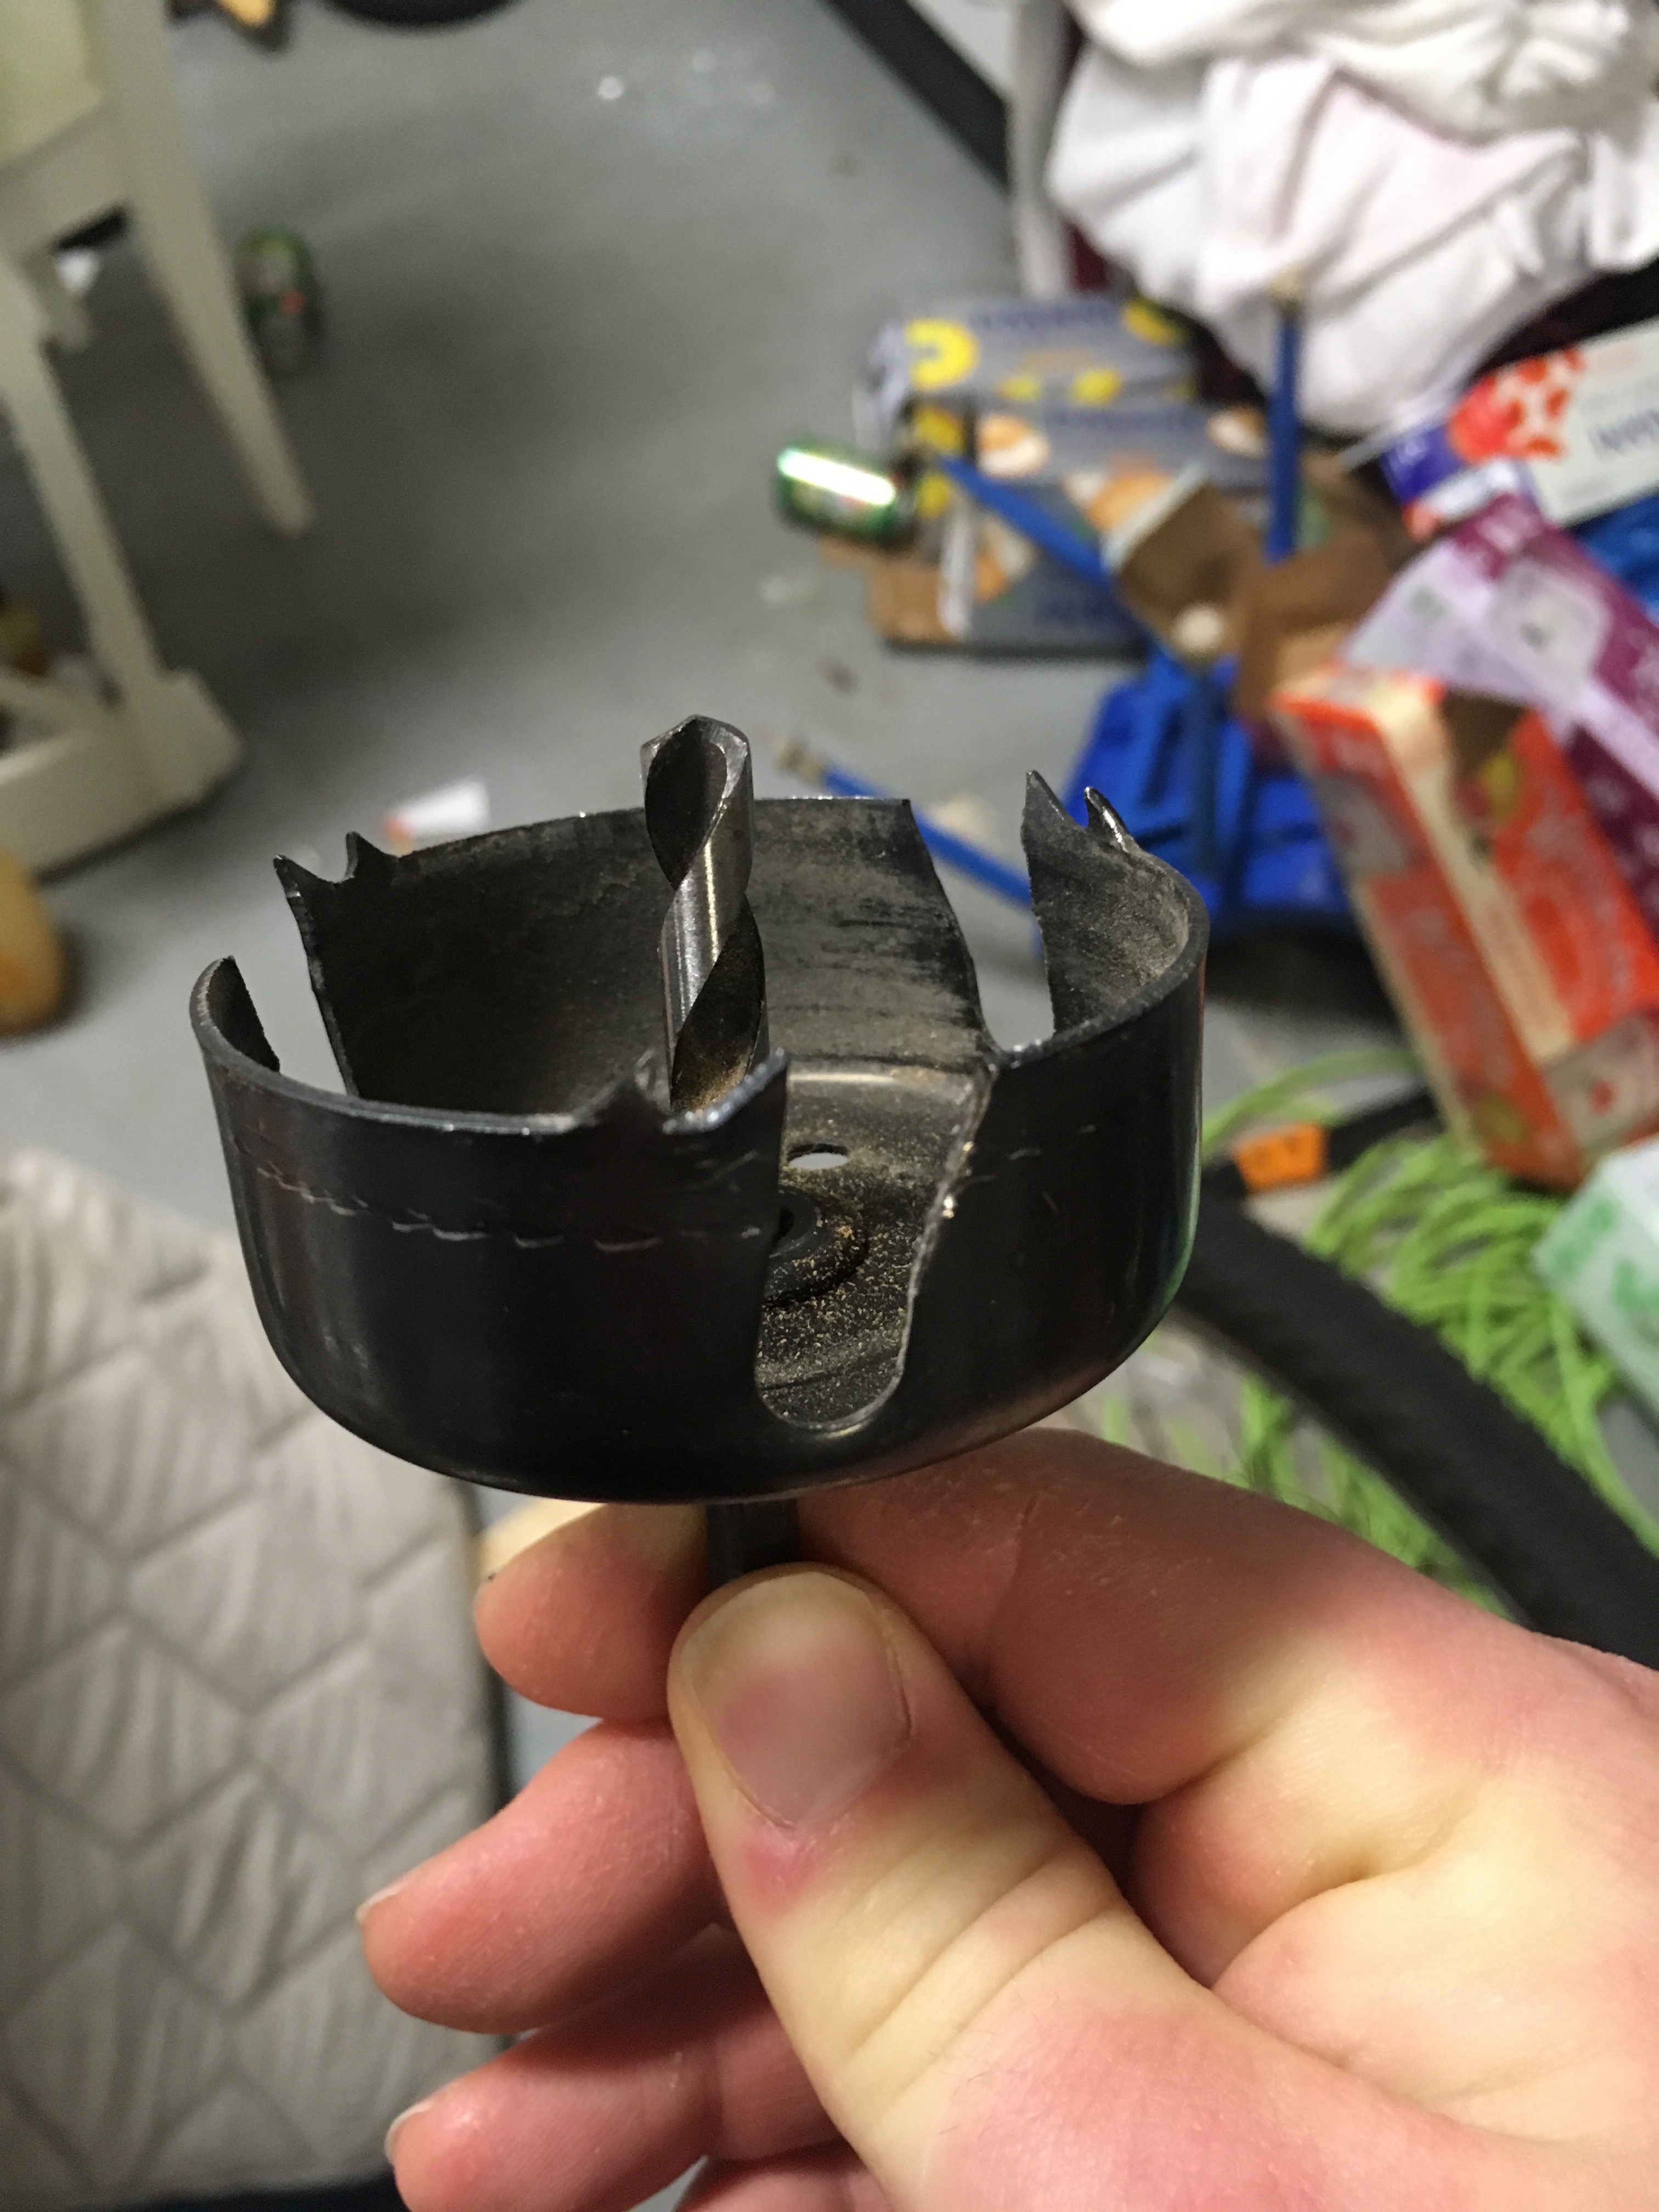
This is a hole saw. You put it on a drill and it makes big, beautiful, perfectly circular holes. Walk into a Home Depot and pay about ten bucks for a 2.5 inch unit. The price on these vary wildly, but aim for cheap here since you'll use it exactly twice in your life. Three times when you realize your desk could use a hole to feed all the cables from your computer through.
Take that thing and drill through the marquee. You want to go as close to the sides as you can, but be aware that there's a piece of metal in there if you go too far: not only do you not want the hole saw to hit that, you 100% don't want to accidentally cut it out, since that metal holds the screw that binds the marquee to the side of the cabinet. You can see where it is clearly from the back of the marquee, and I cut the hole right up against it, successfully removing my crappy little drill holes from before.
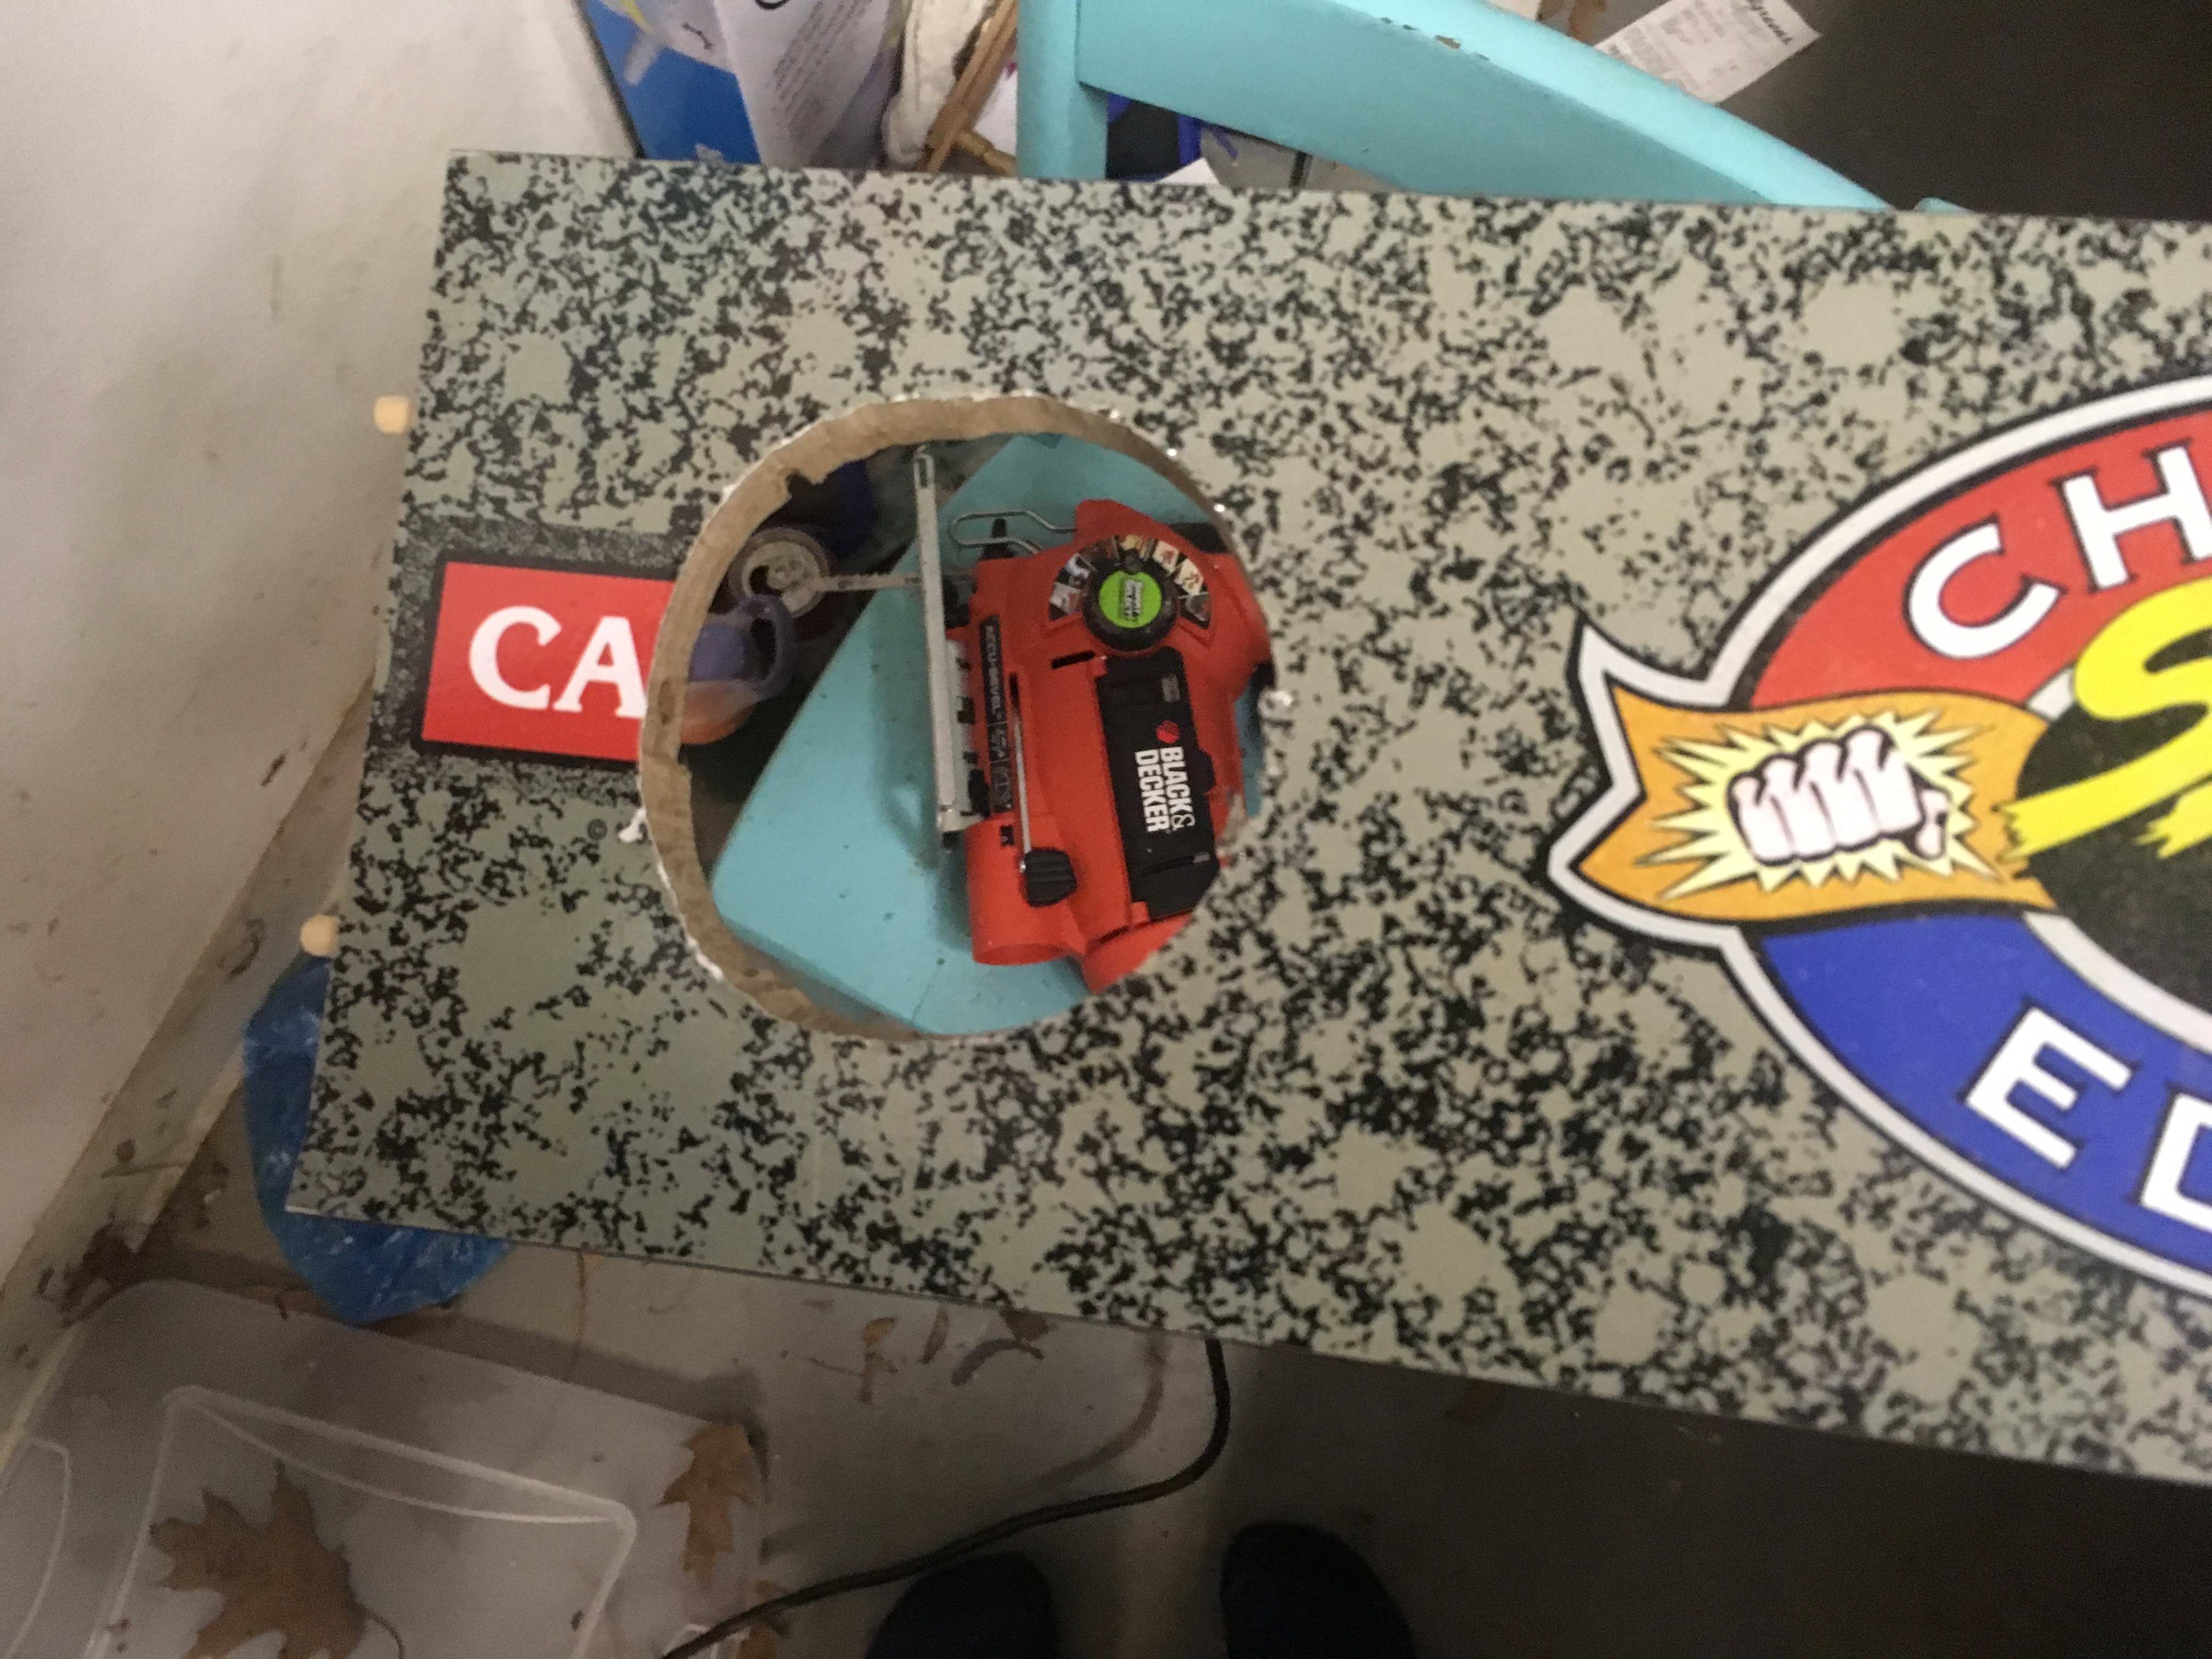
Next, I did something stupid.
My thinking is that I would mount the speakers on the front of the marquee, with the backs going through the holes I just cut, and then mount the grills on top of them using the same screw to hold both things. This was dumb. First: the holes were too small for that, so I took a jigsaw to them to roughly enlarge them, so even though no one but me knows: now they're ugly.
But also: mounting the speakers on the front ended up not looking too nice. The grills didn't lay as flat. So I ended up trying to mount the speakers behind the holes--probably how it was always meant to be anyhow--wherever I could find some wood to hold screws.
The nice thing about all this is you can usually cover your mistakes and misdeeds by the time you're done.
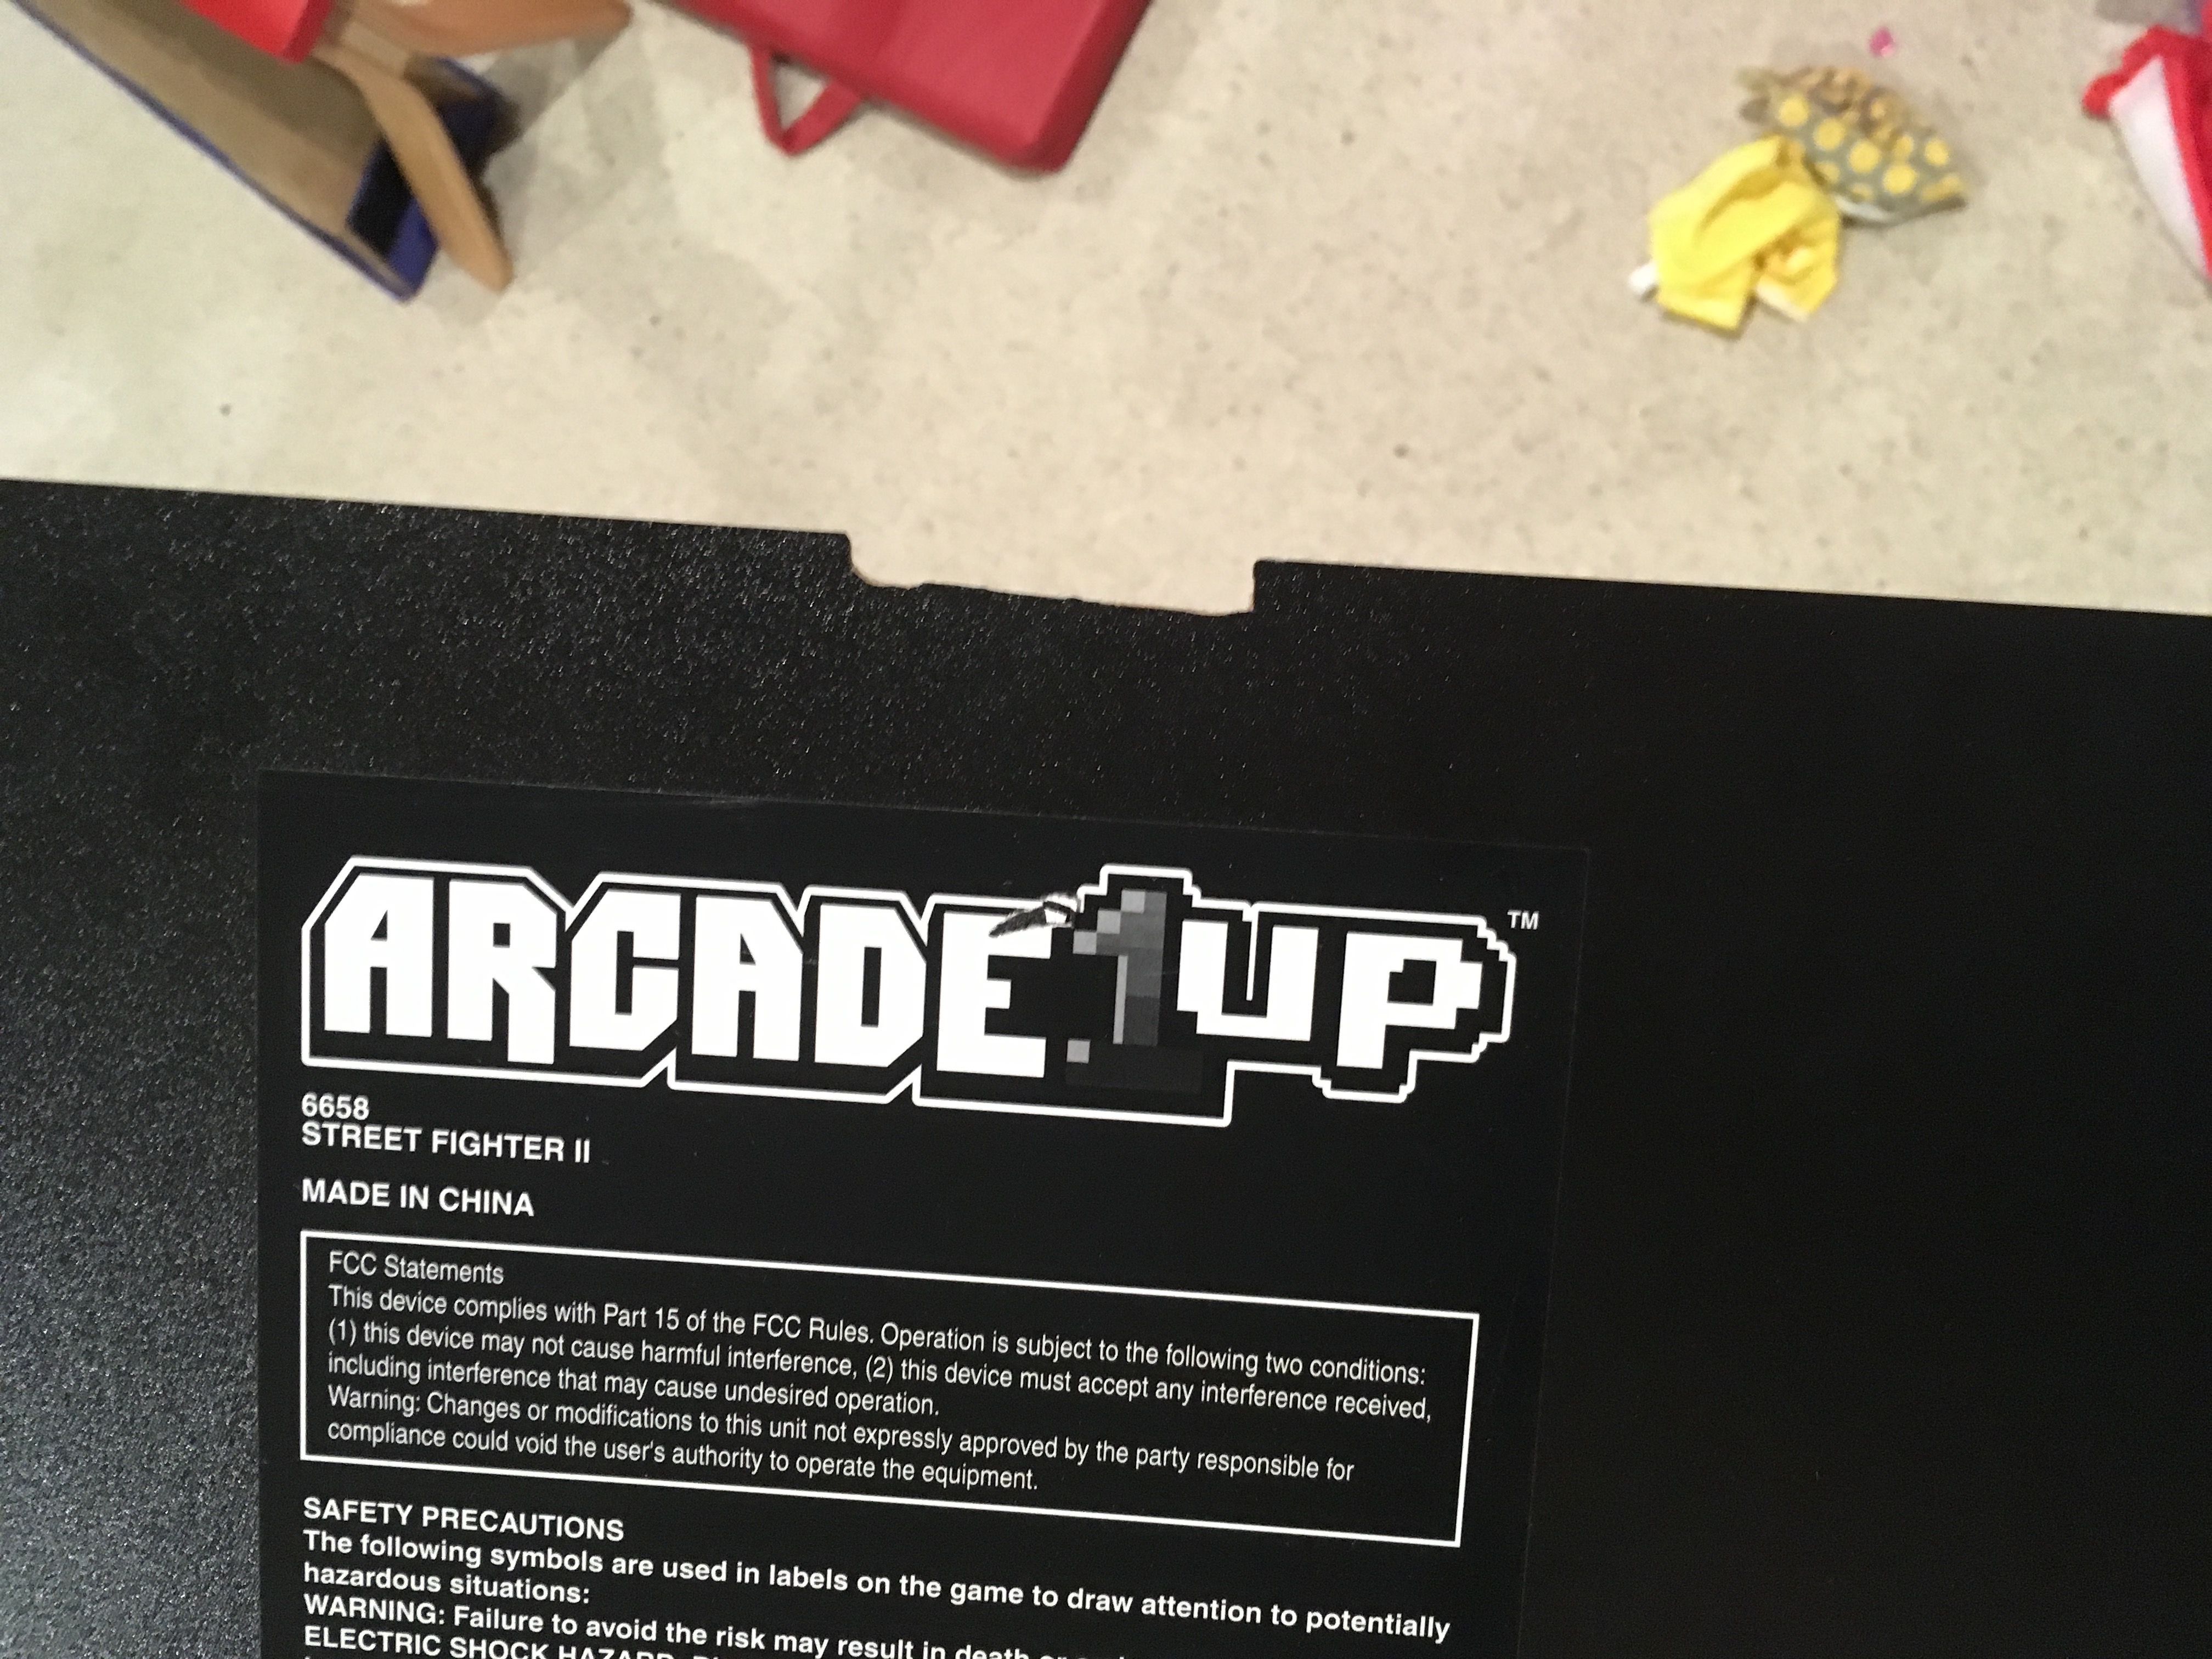
I got the grills off eBay, the 3 inch size, and despite the sticker on the packaging...
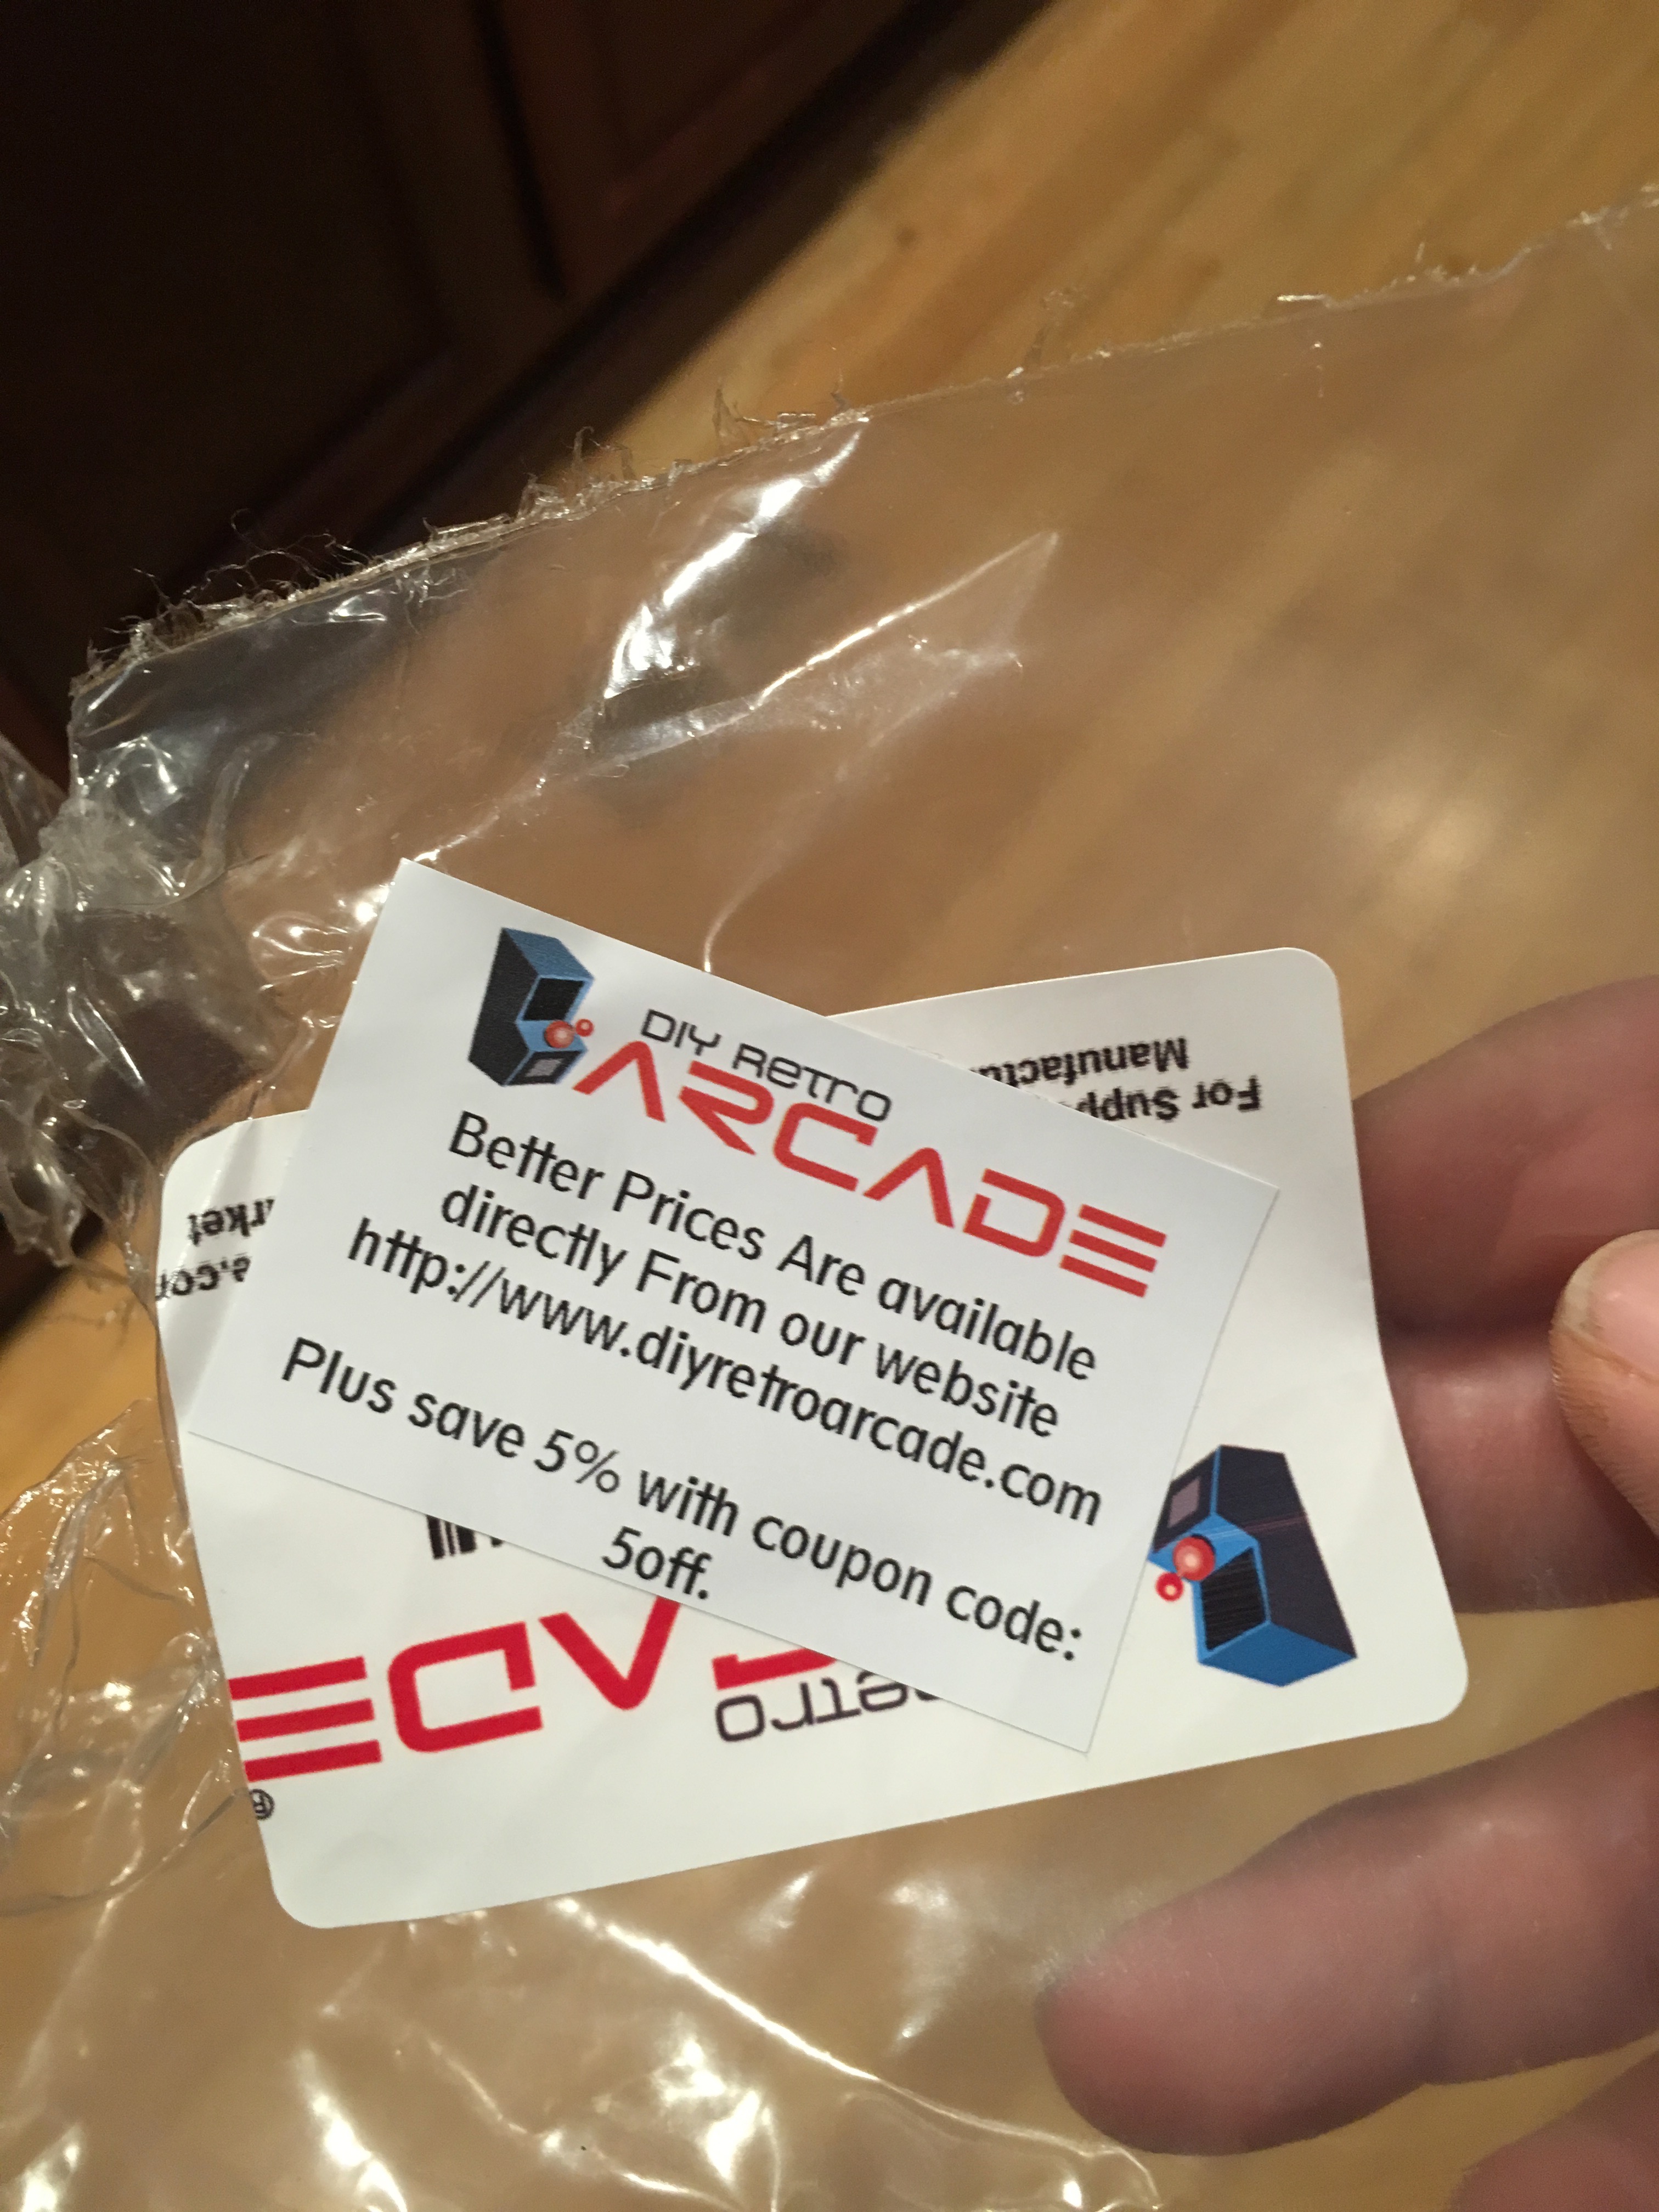
...the shipping was more expensive from diyretroarcade. But you're looking at just a few bucks for these no matter where you get them.
After Olive modelled them for me, they just screw on over the holes we cut.
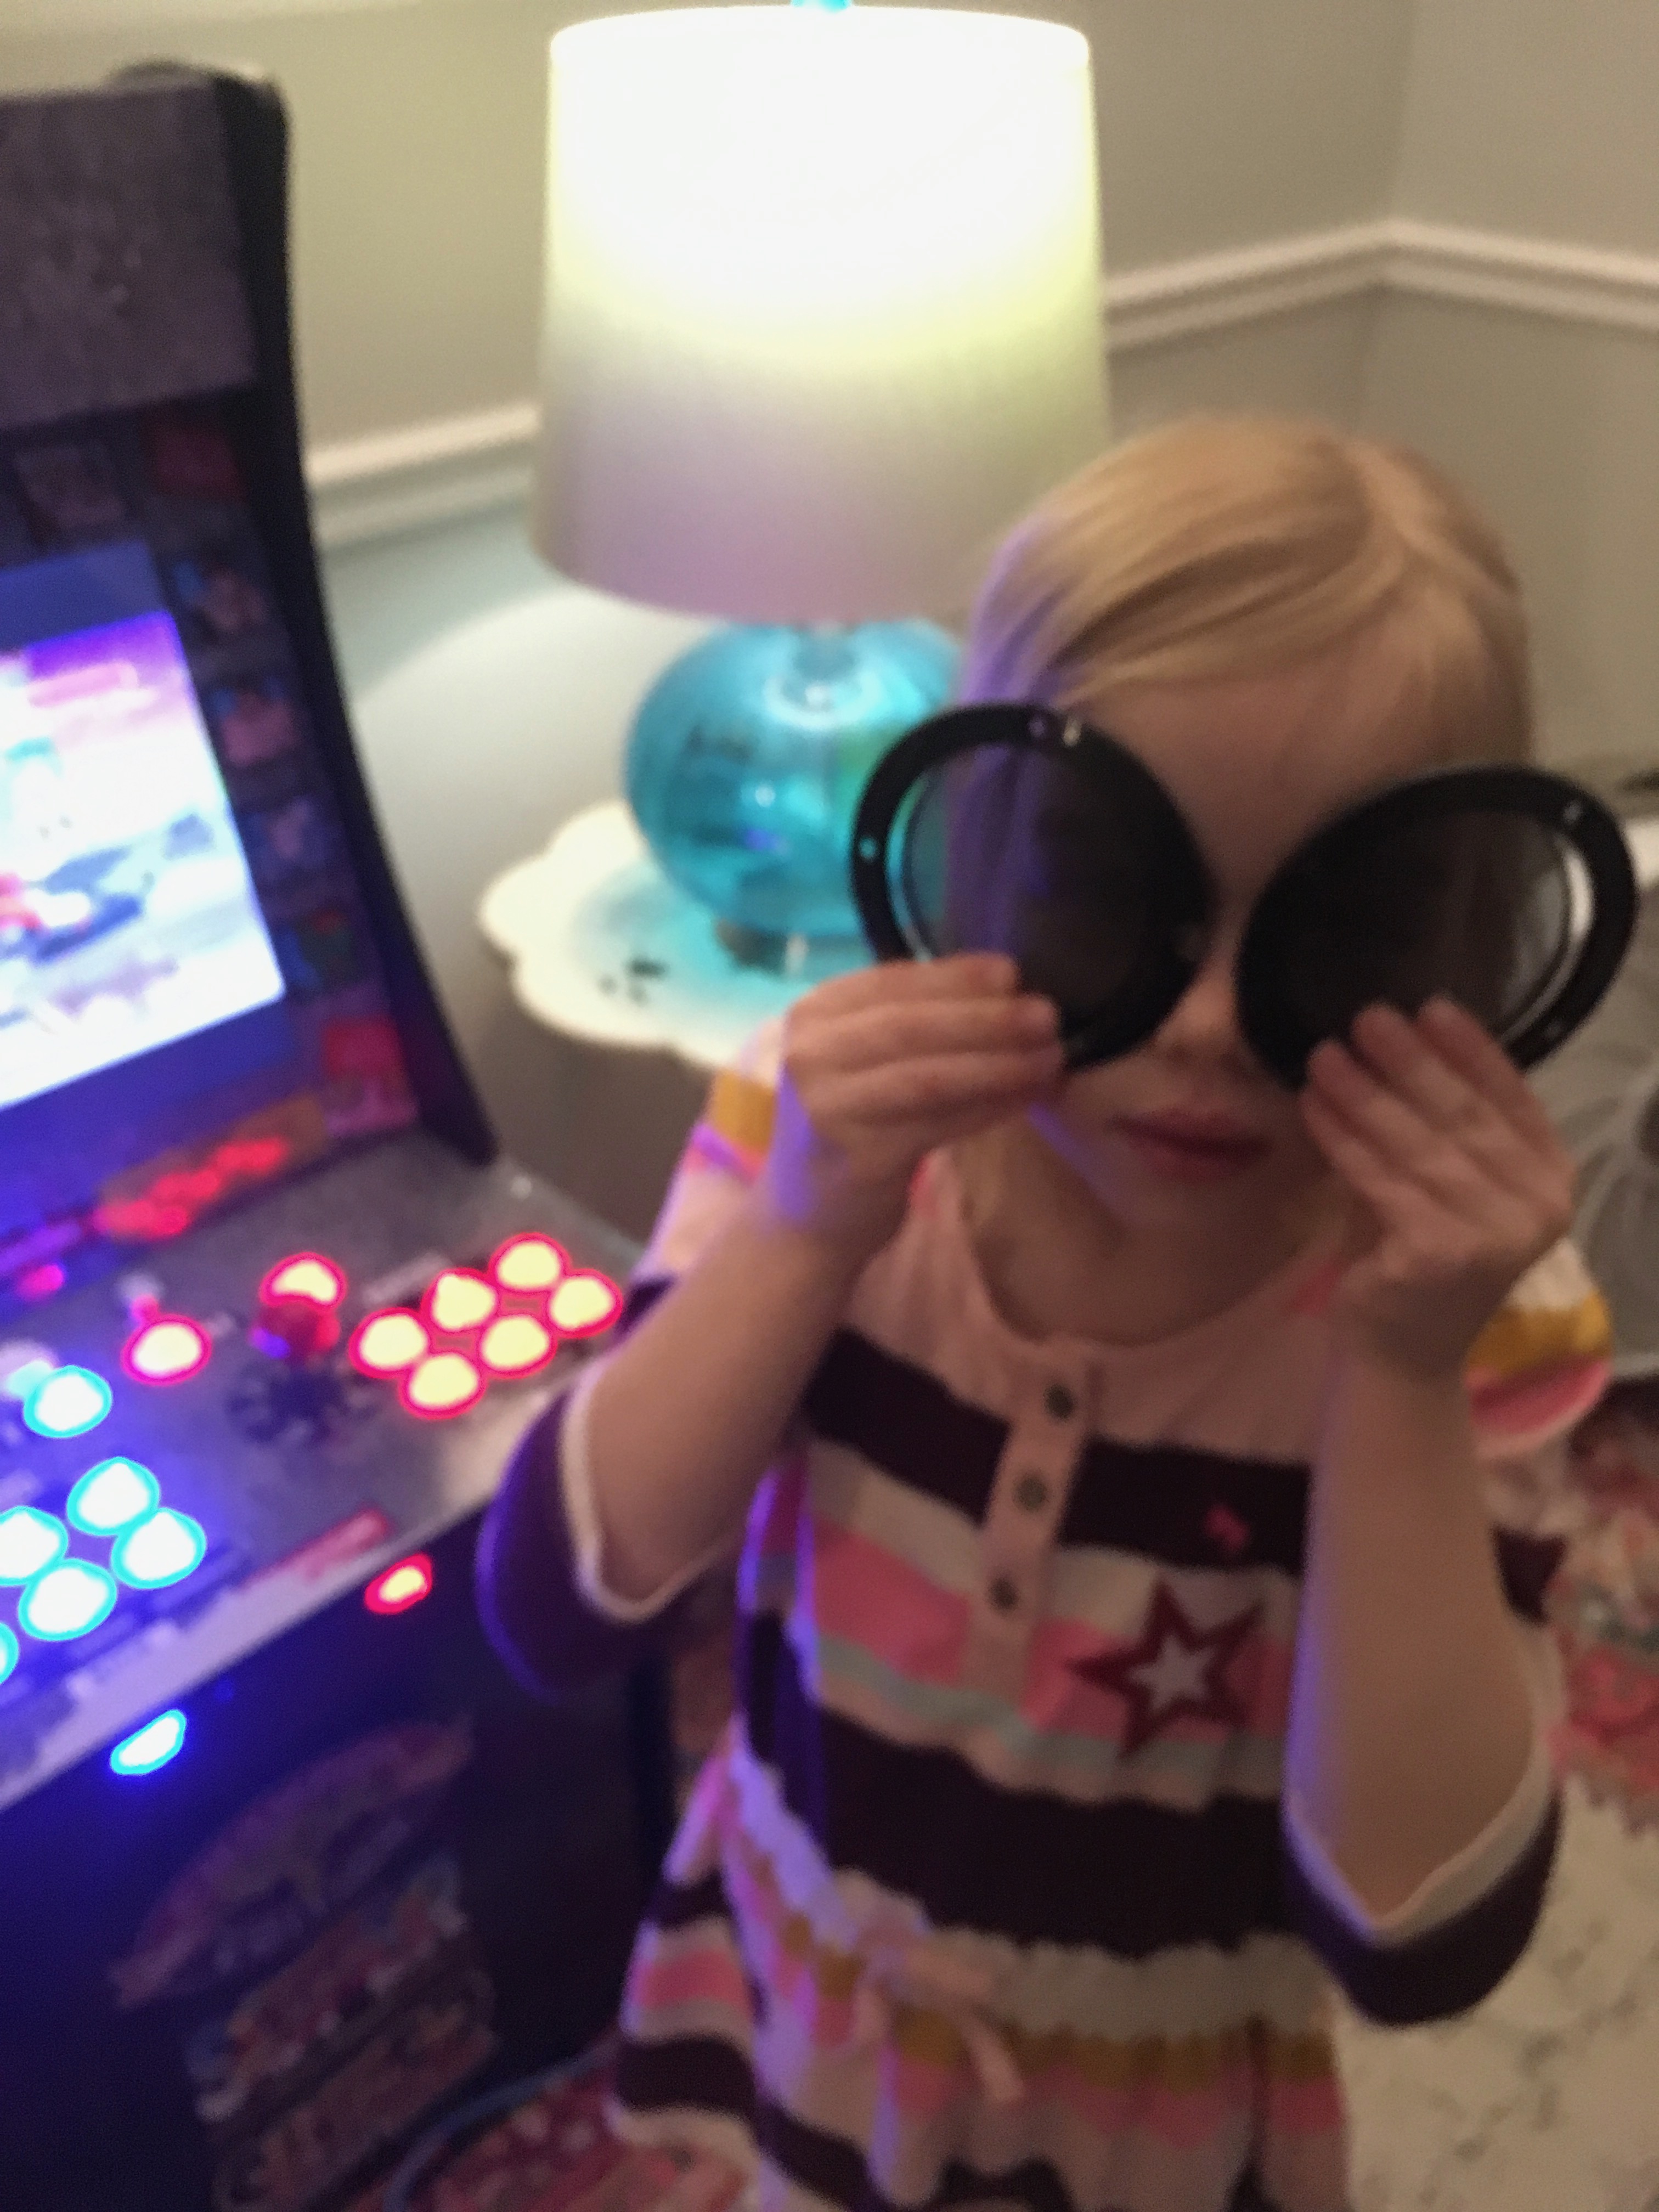
Put these on with a manual screwdriver; go too fast with a drill and you'll probably crack the plastic rings...like I did. Back to eBay for another one...
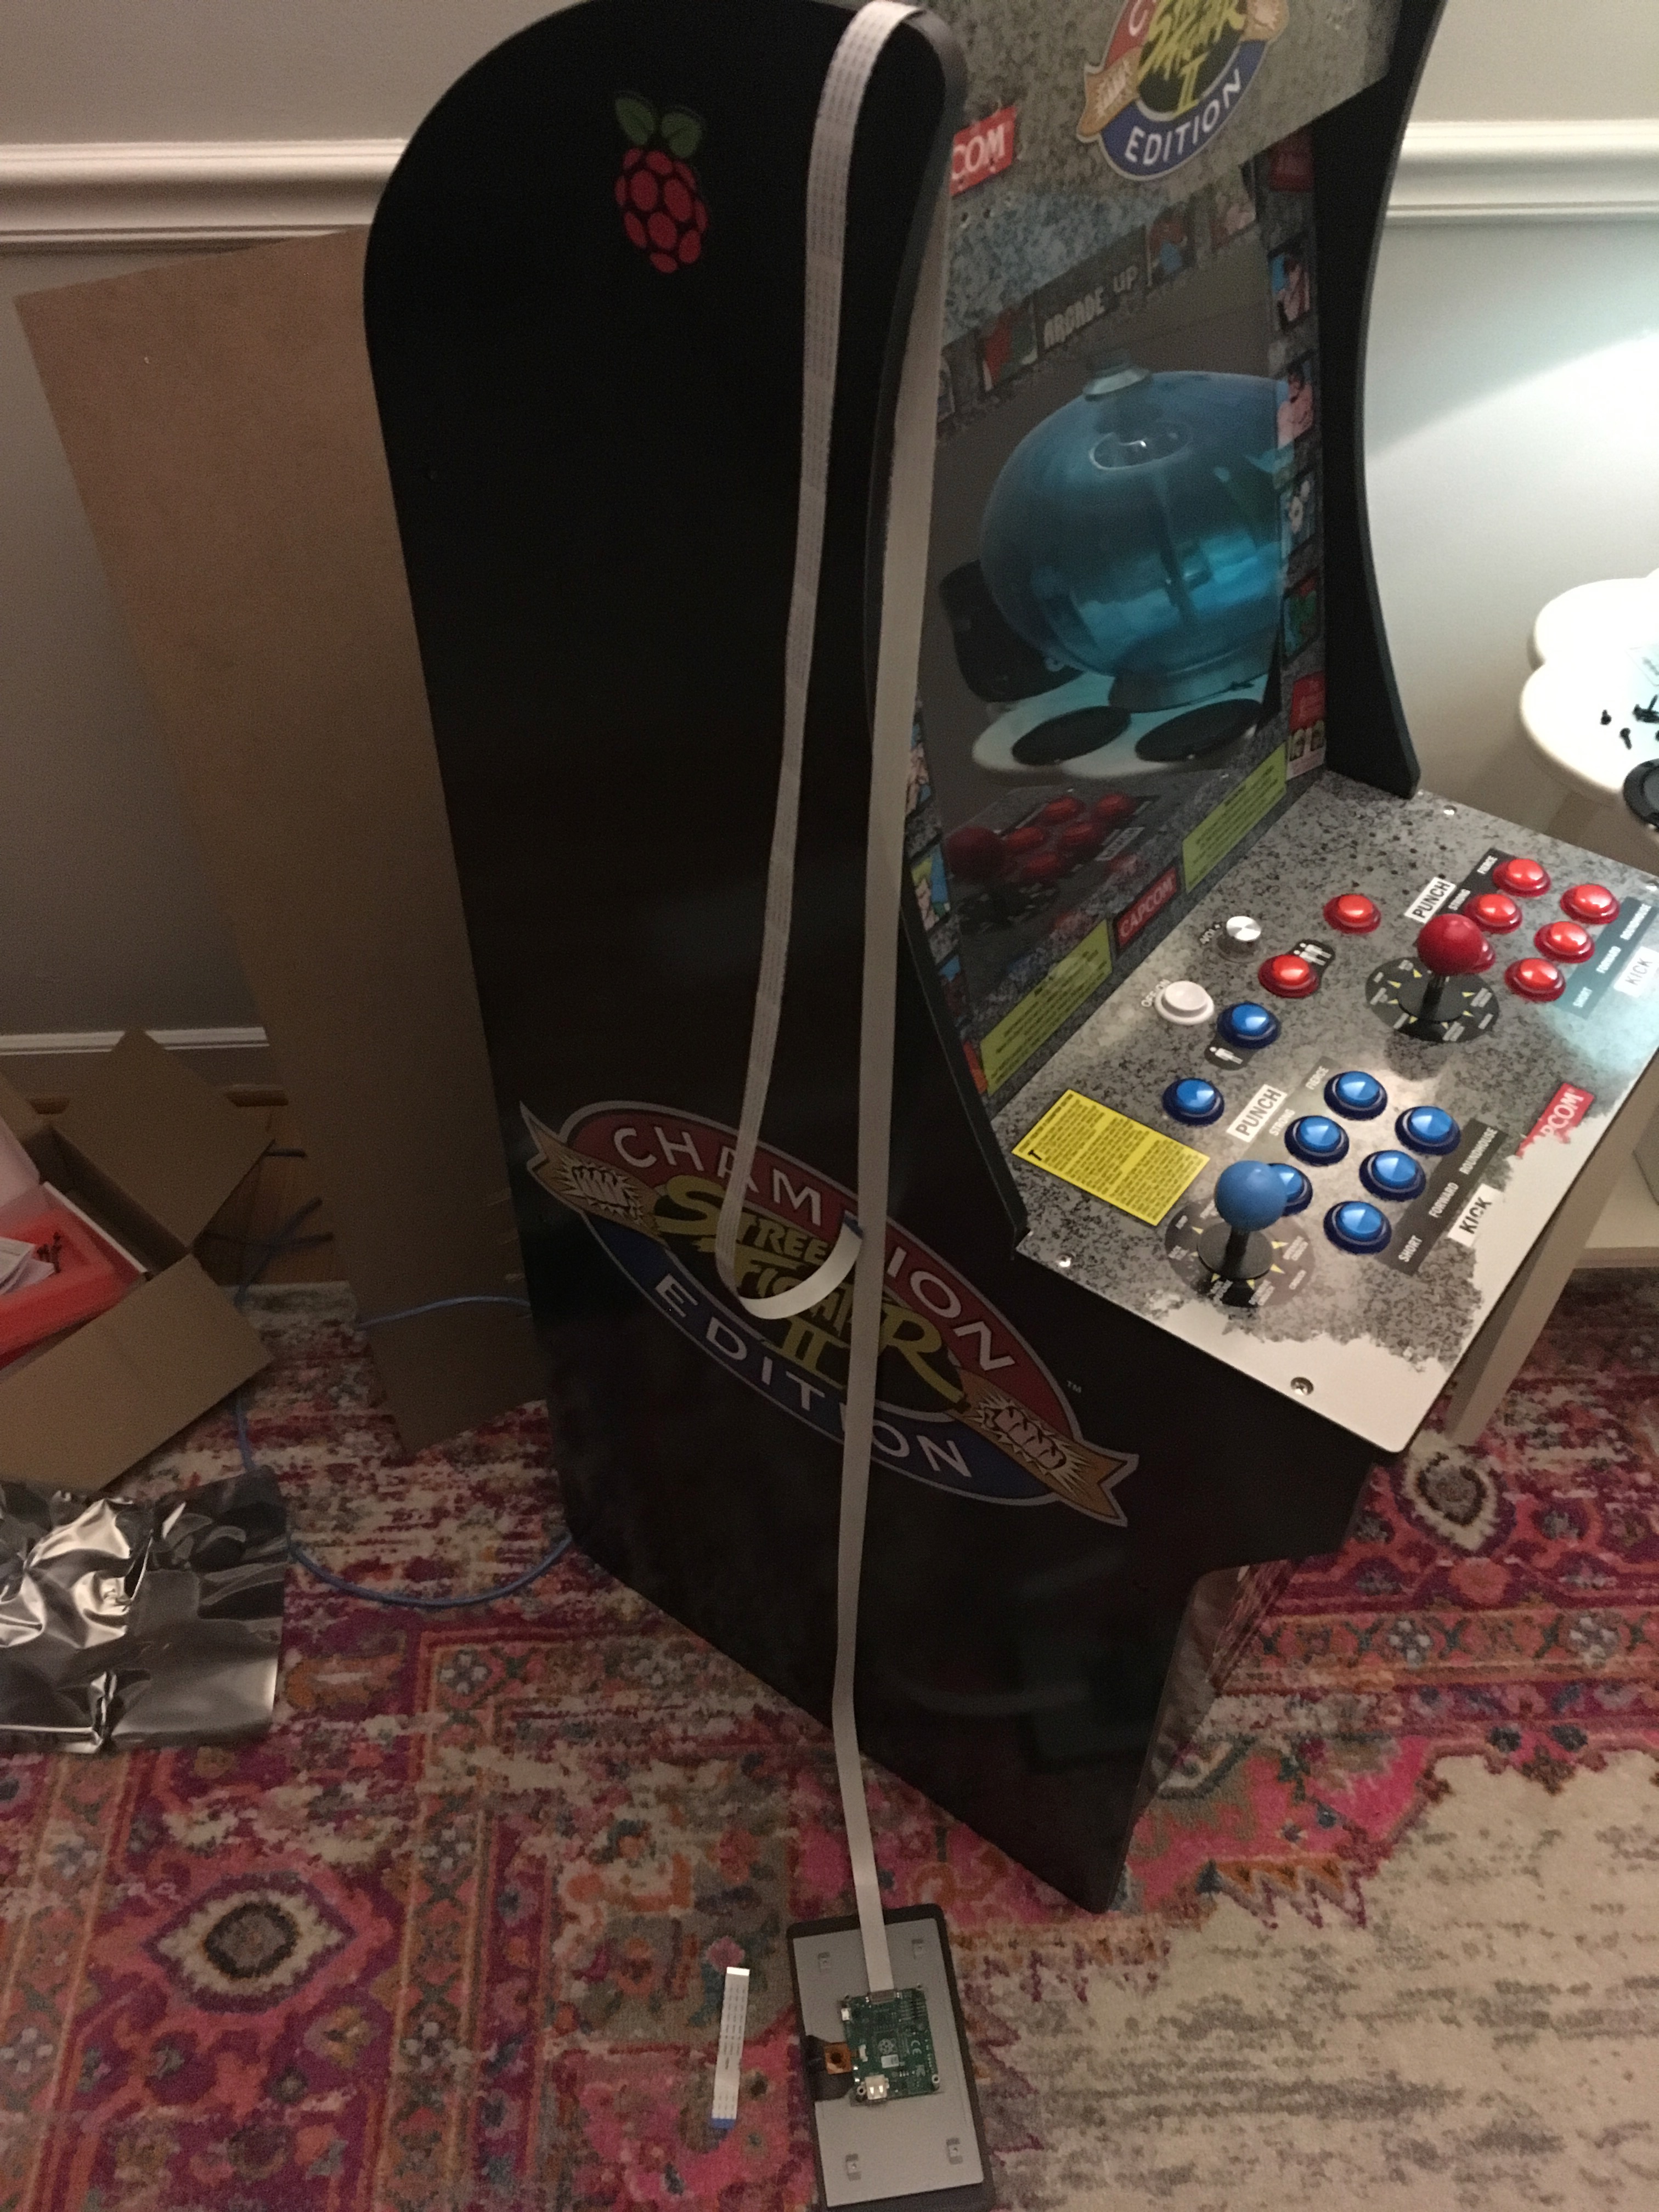
Okay, so now that mess is cleaned up, we could start on the screen. Take it out of the box and plug it in to your Pi per the instructions. The first display I ordered had a busted circuit board, and that would have been frustrating to discover at the end of this project, so better to test this up front. You'll hopefully see RetroPie correctly on the touchscreen. HDMI won't work if you still have that plugged in (we'll deal with that later).
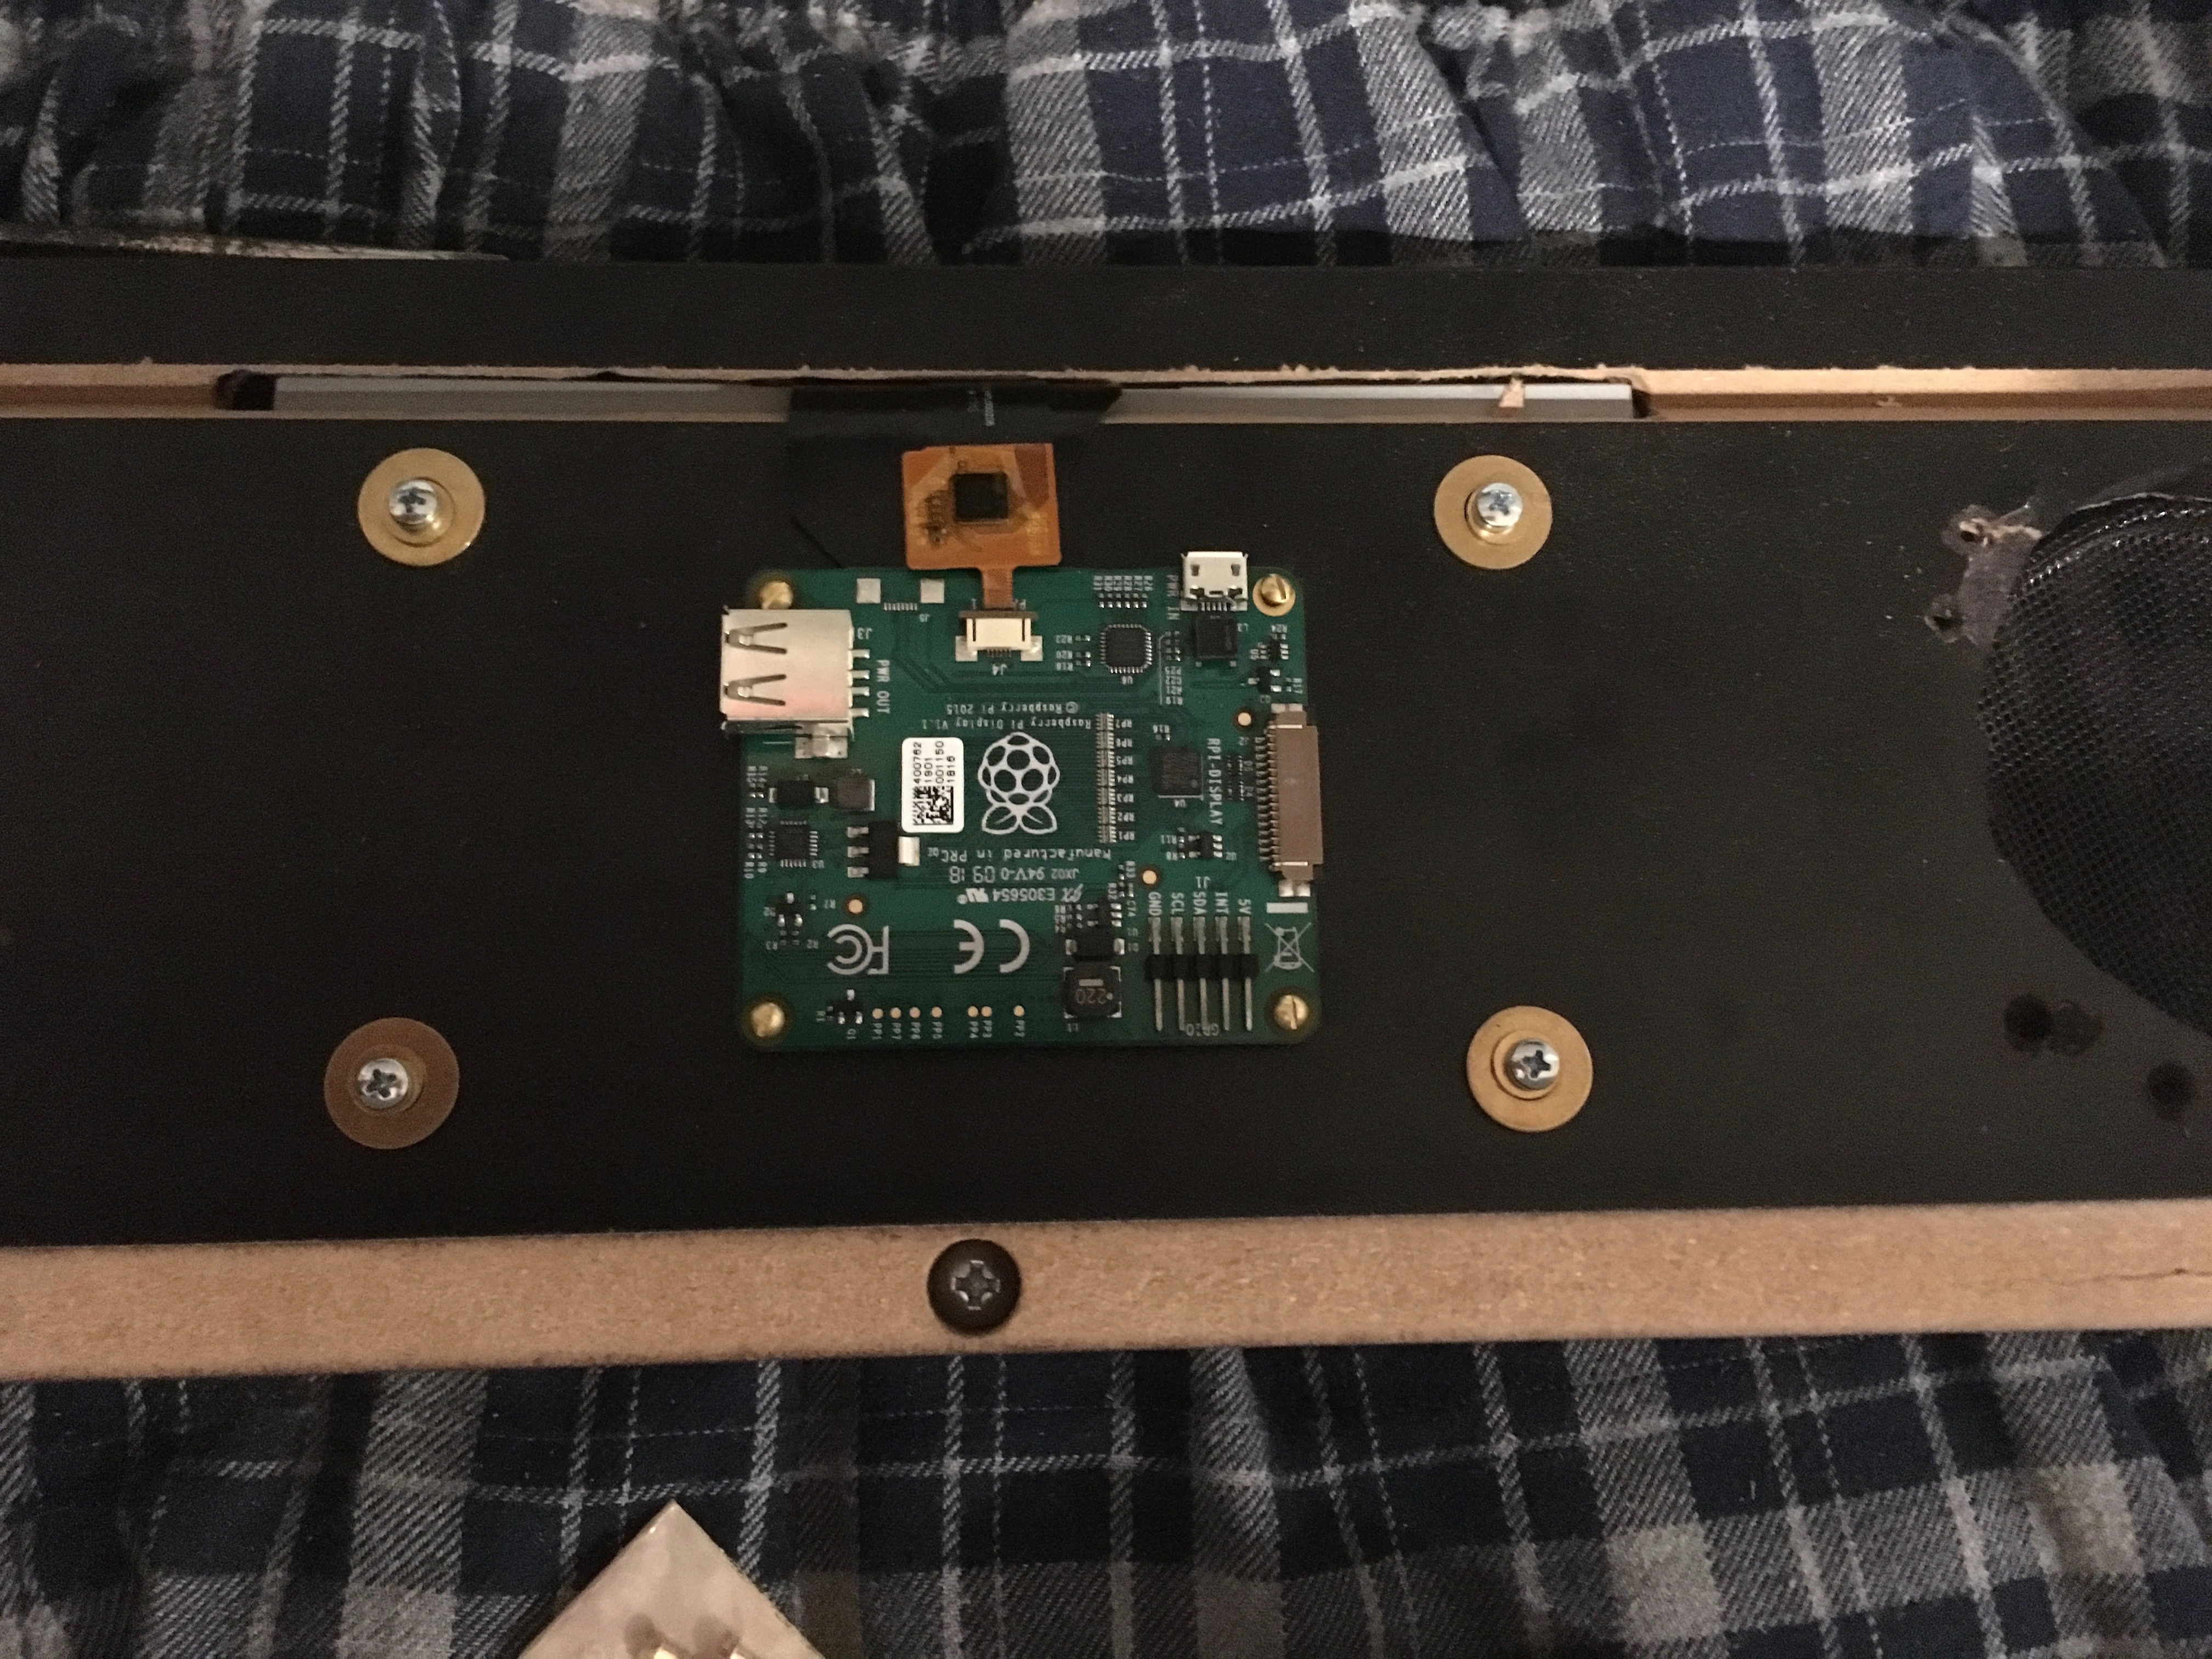
Once it's good to go, take it apart. If there's a circuit board attached to the back, take out the four poster screws and disconnect the two ribbon cables that attach it to the screen. Put all this aside for later.
The display has a metal back that houses the guts and some mounting brackets, and a very thin piece of glass that extends out past the edge of the metal part. We want to cut out space in the marquee for the metal, so the glass lays flat on the wood and covers any imperfections in our cutting.
We also want to leave some wood so we have something to mount to, which is to say we want to carve out a rectangle but not cut all the way through.
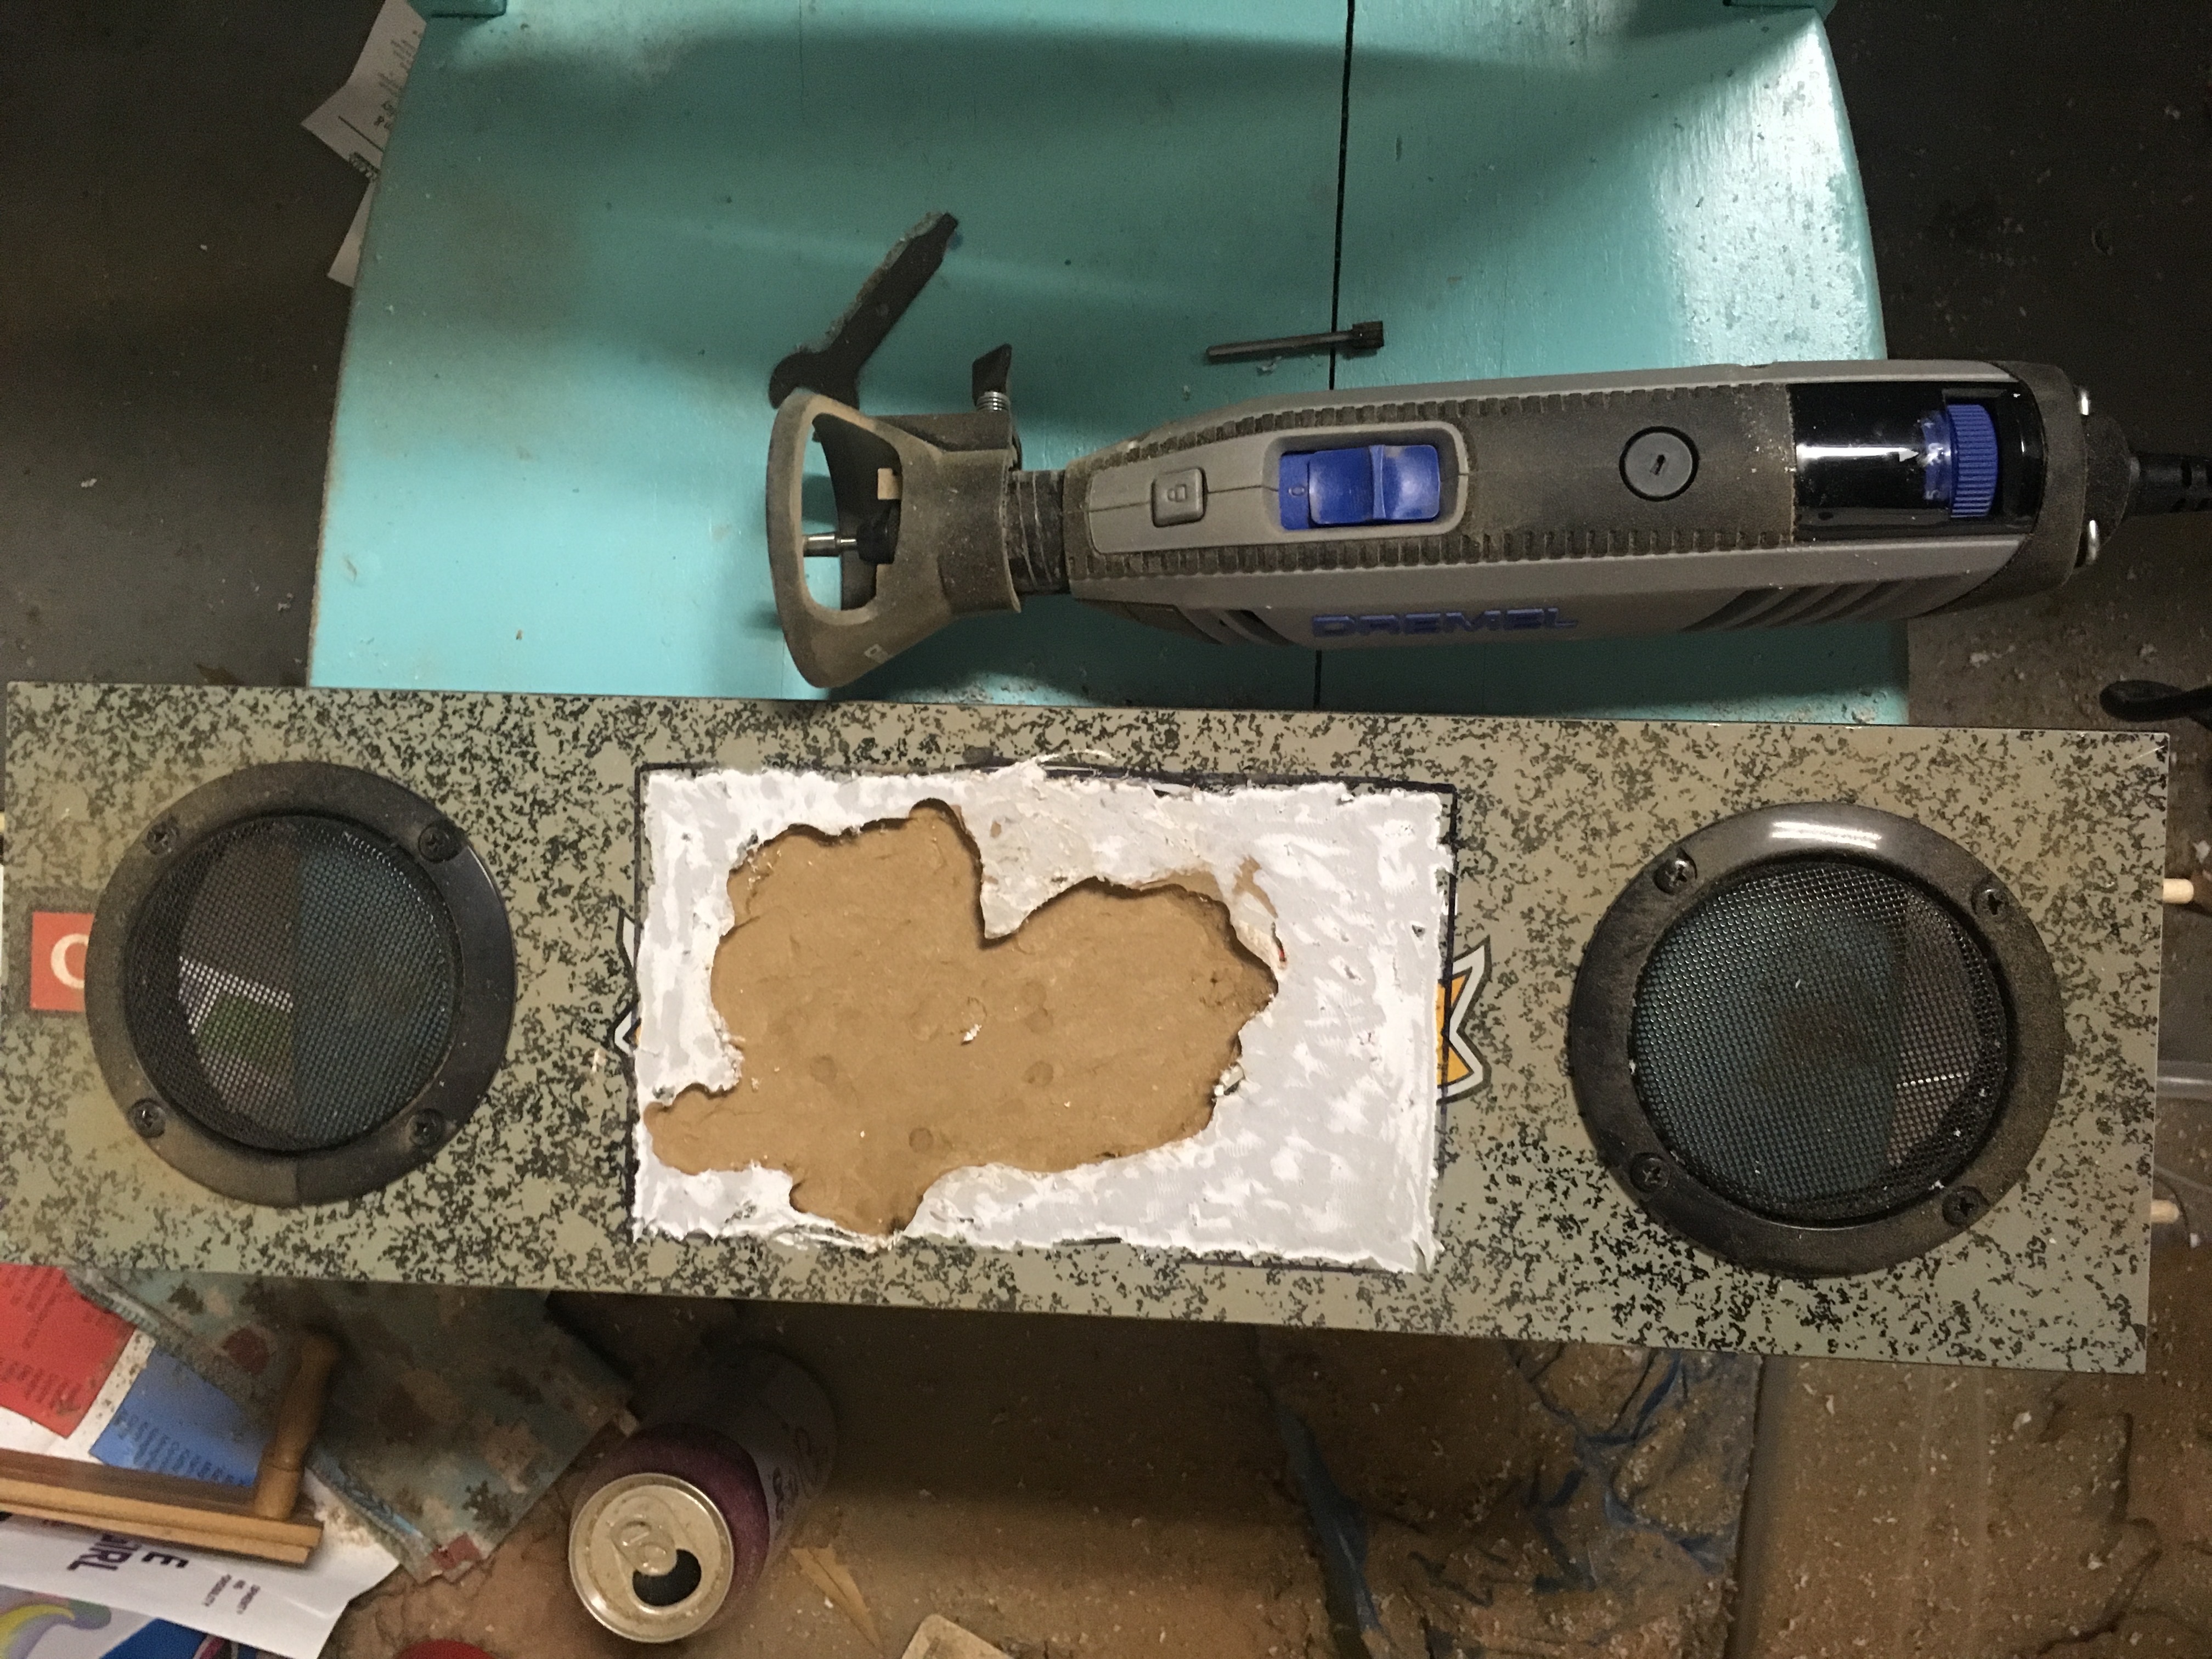
Which is to say: we need a dremel with a router attachment.
I ended up getting a Dremel 4300 off Amazon for about 100 bucks. This was probably overkill for the job, but I suspect I'll find other uses for this over time. I'm already walking around the house thinking, "what could I carve into with this?!". This model comes with lots of stuff, but nothing I would qualify as a router bit, so I ended up getting robbed for a set of six at a local Lowe's hardware store. I have never used a Dremel before and having spent maybe seven minutes on YouTube learning how not to hurt myself, I can't say if this was the best approach, but it definitely got the job done.
The Arcade1Up cabinet is made of something called MDF, I think, which is like particle board on steroids. MDF stands for "Medium Density Fibreboard", but it might as well mean Motherfuckin' Dust Forever. This is going to make a ton of sawdust. Do this outside if you can, wear safety goggles and a facemask, and DO NOT BRING THE TOUCHSCREEN NEAR THIS. Dust can get between the touchscreen glass and the LCD under it, and it's basically going to be there forever once it happens, so don't invite the display to the dust party. Clean the marquee thoroughly when you're done.
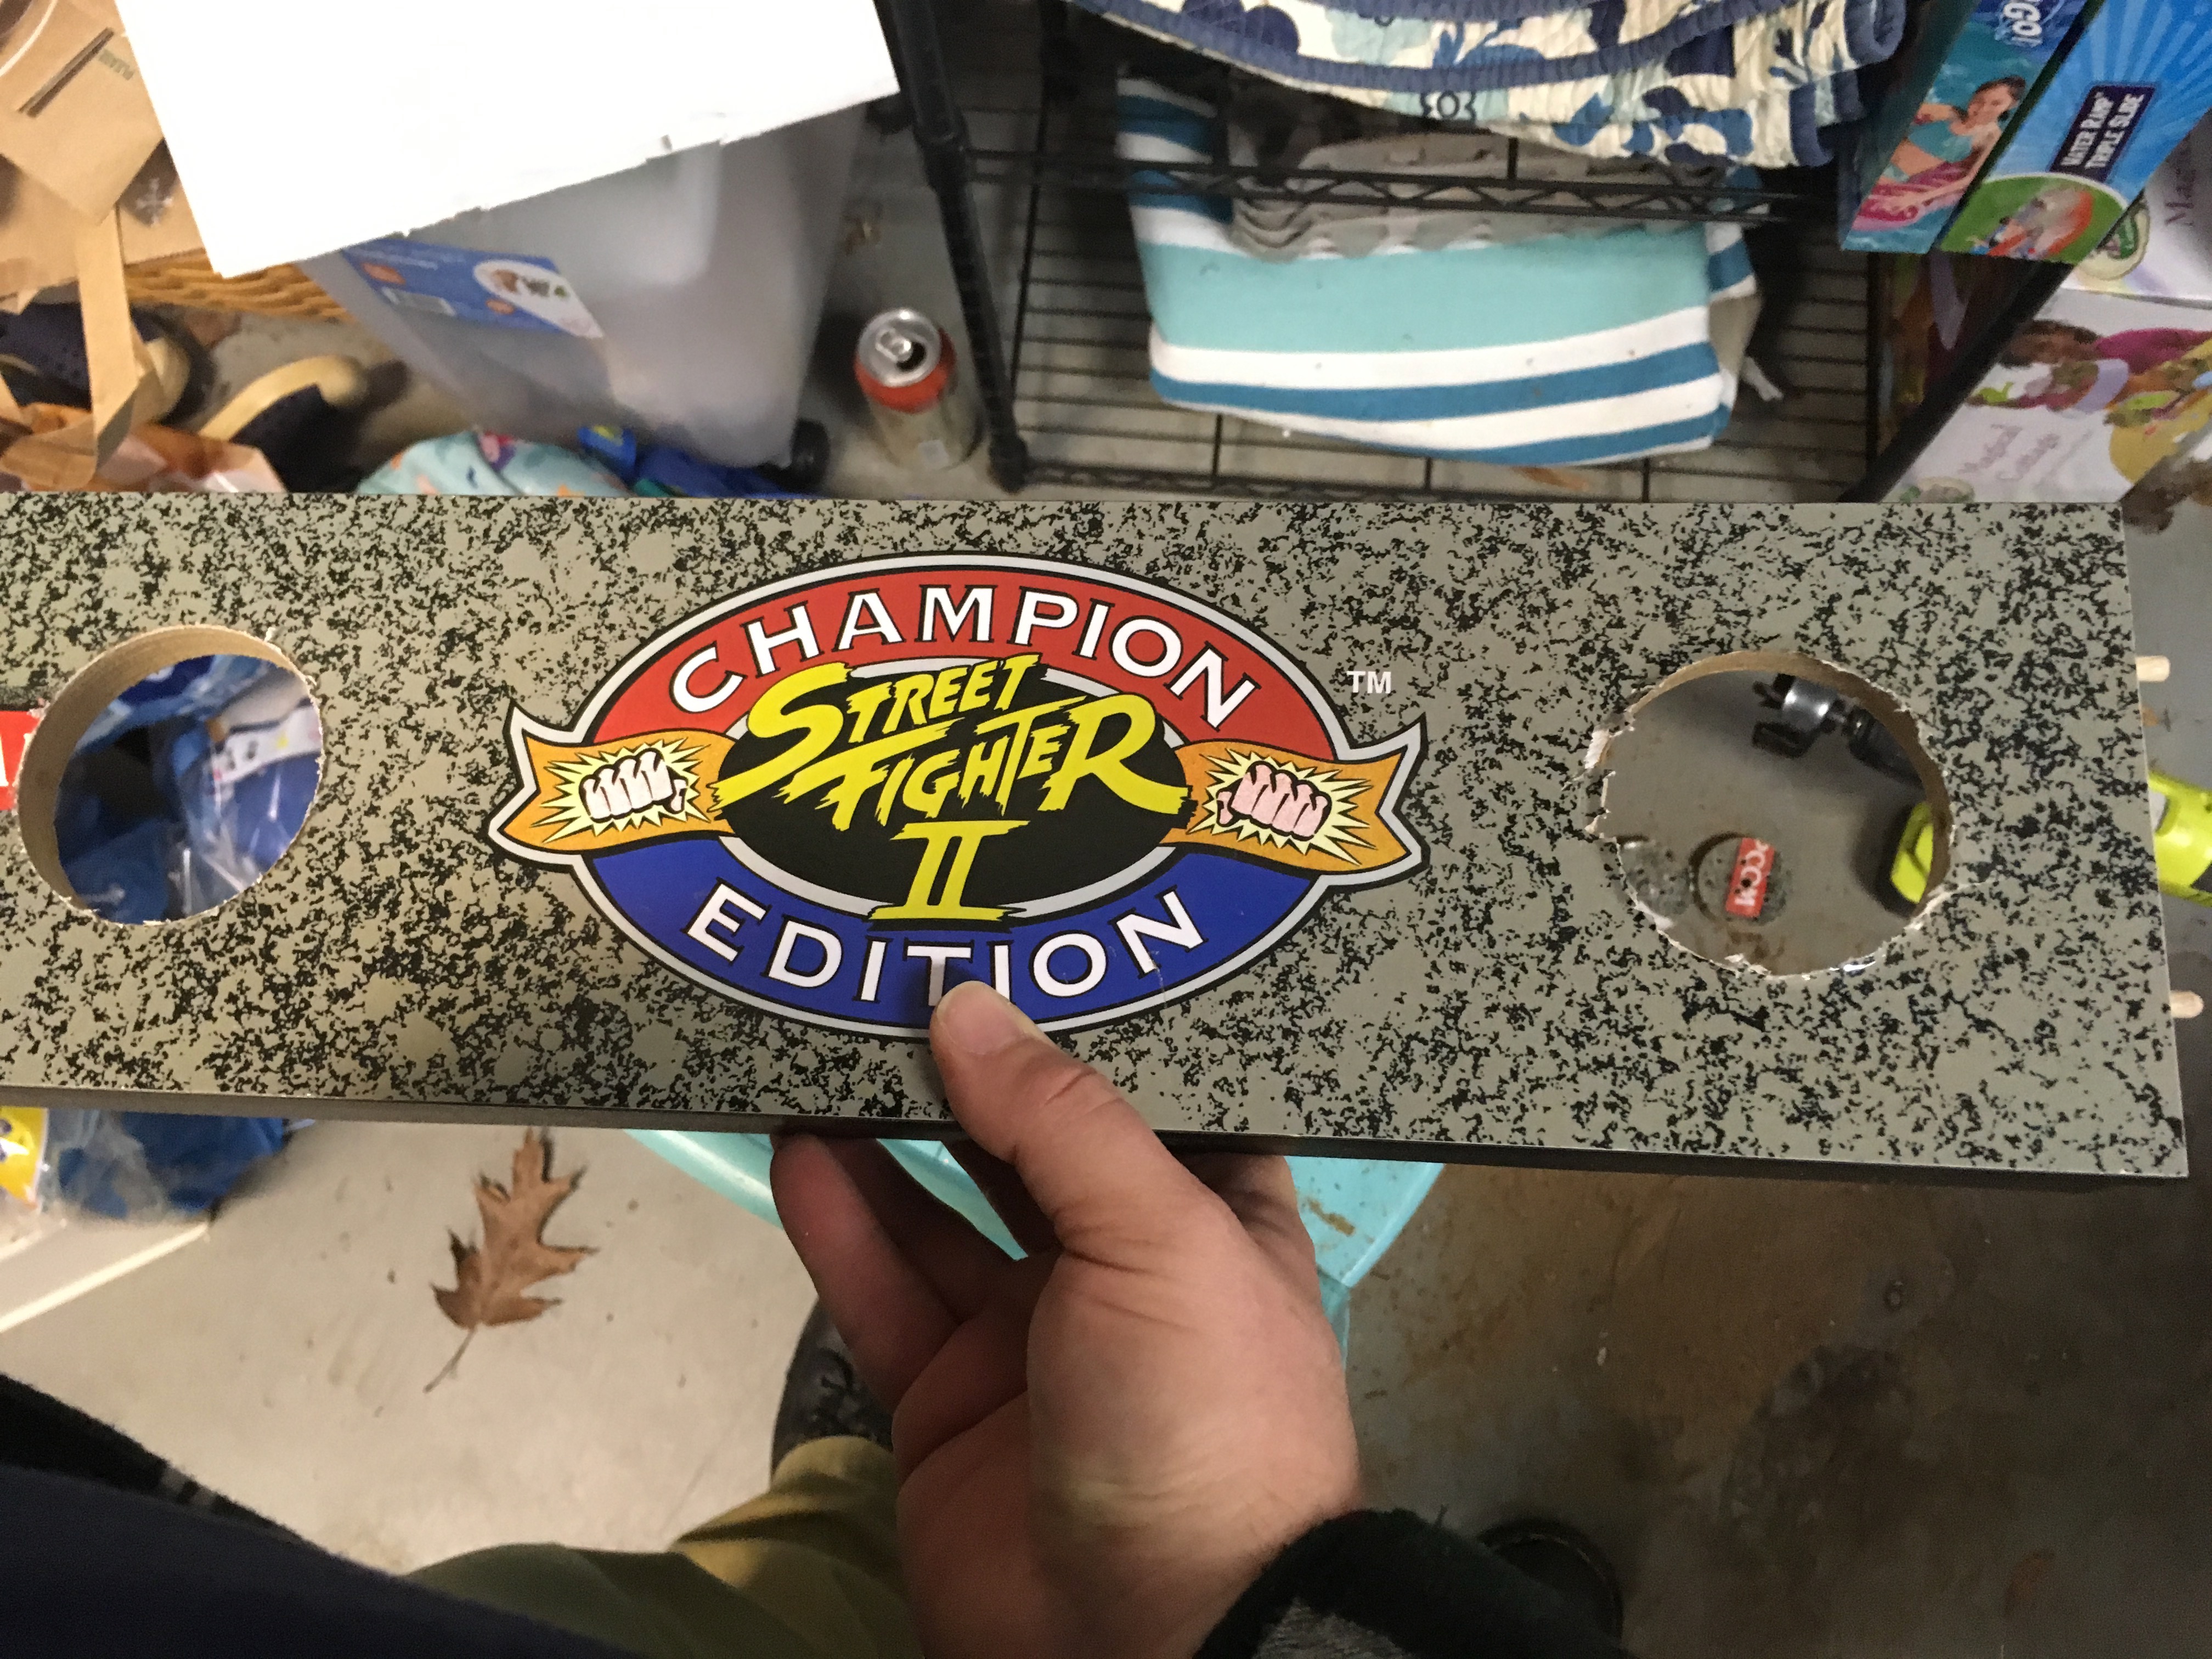
You should measure carefully to center your cut, but the hole you're making just has to fit the hardware, it doesn't have to hold it tight, so as long as you aren't wildly off, the glass will cover any inexactness. Horizontally, you have reasonable clearance for mistakes. Vertically, there's much less wiggle room, though, so don't go hog wild. Also good news: the street figher logo is almost exactly the area to cut, so you can use that as a guideline. You can see where I carefully measured a slightly too-small rectangle here:
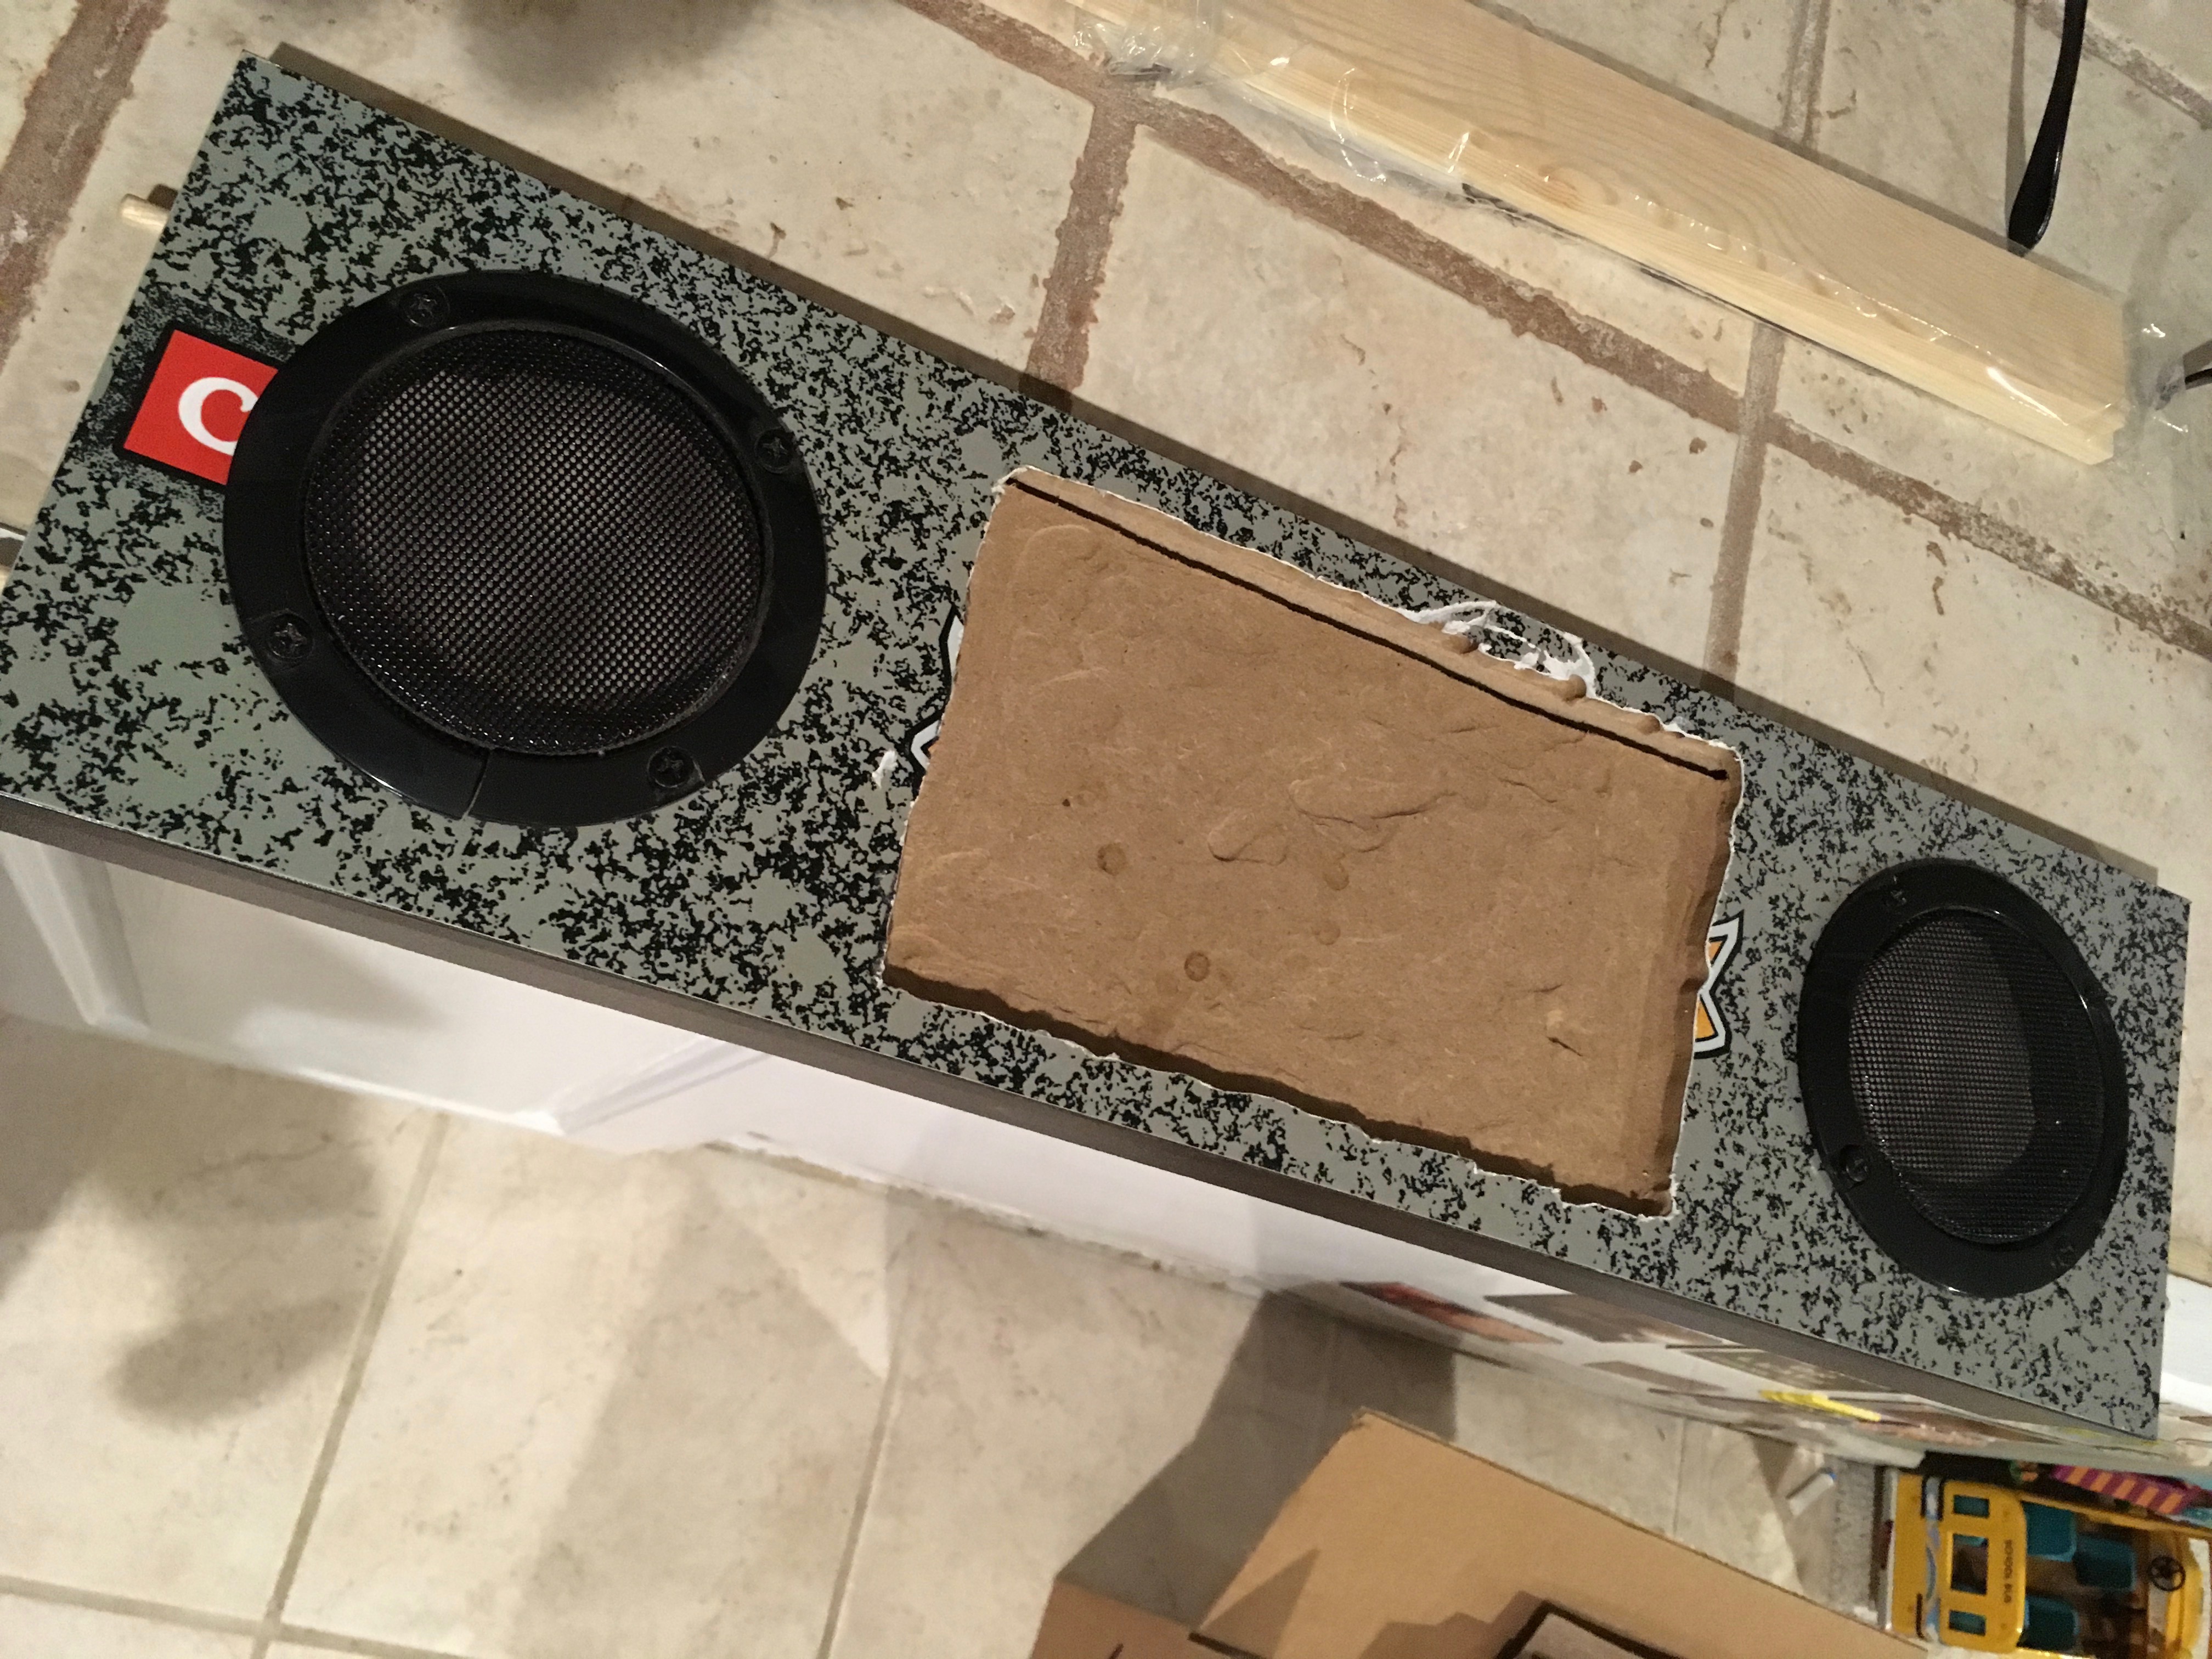
Now route the shit out of that area.
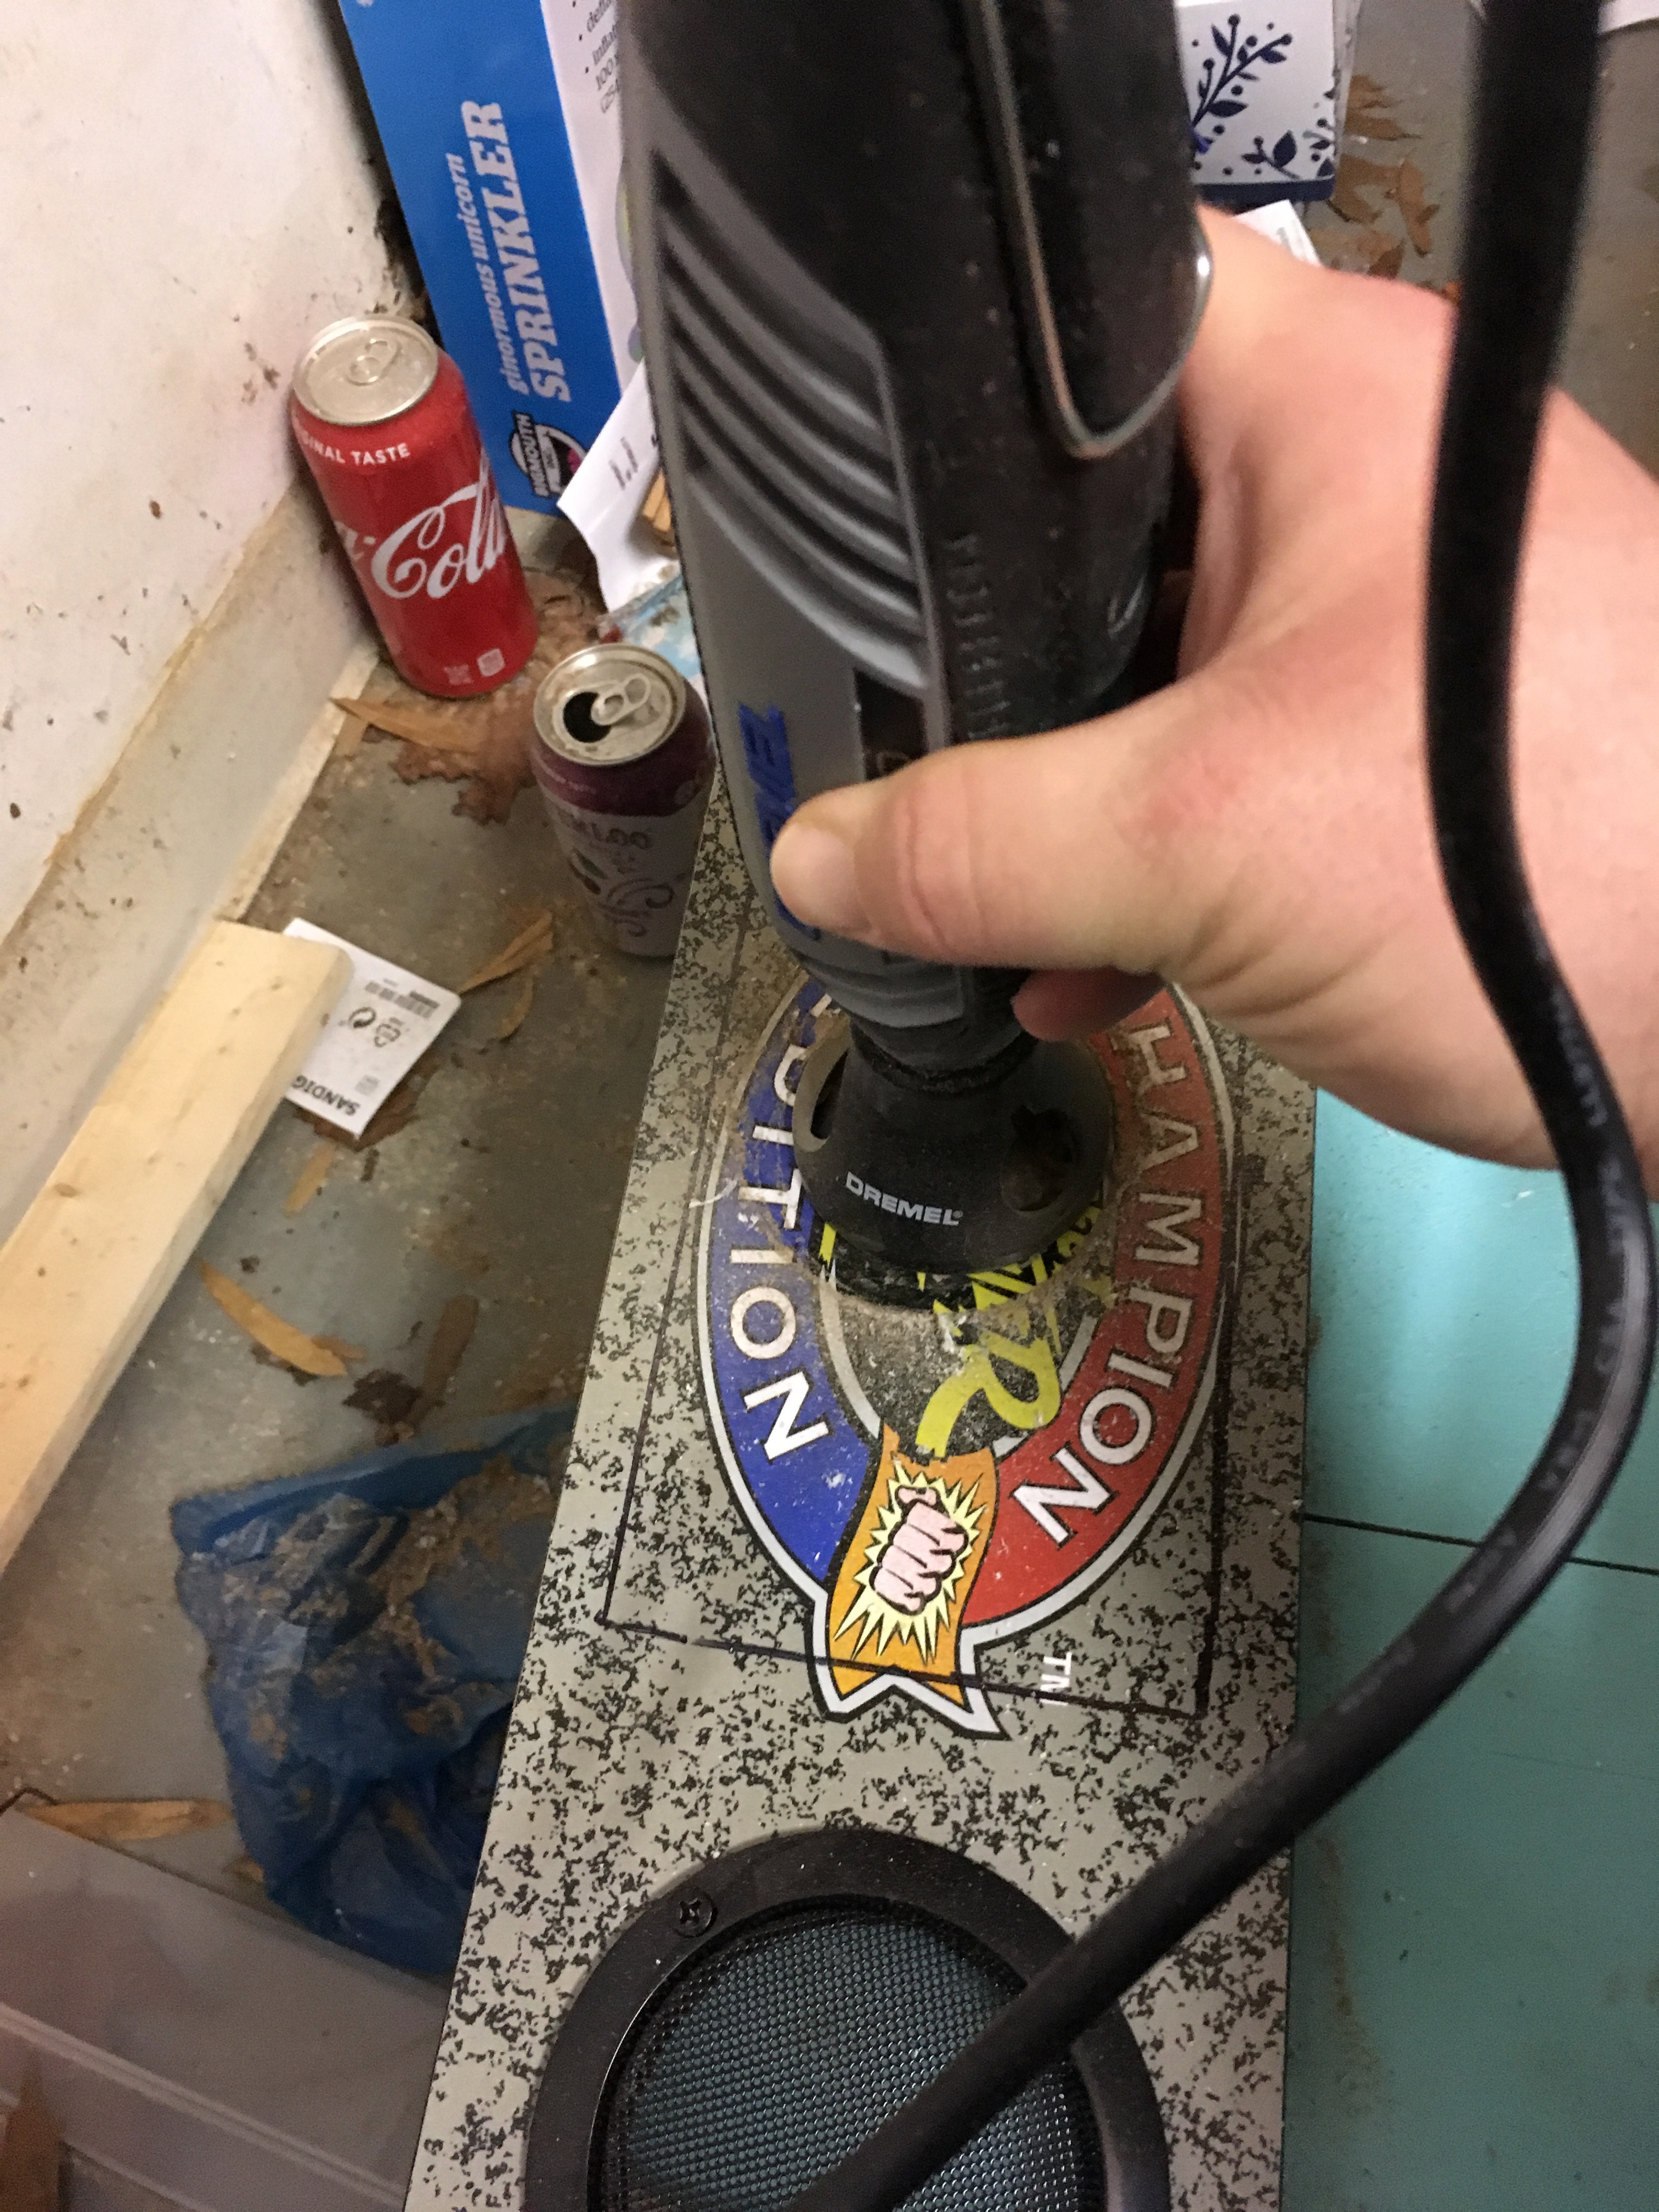
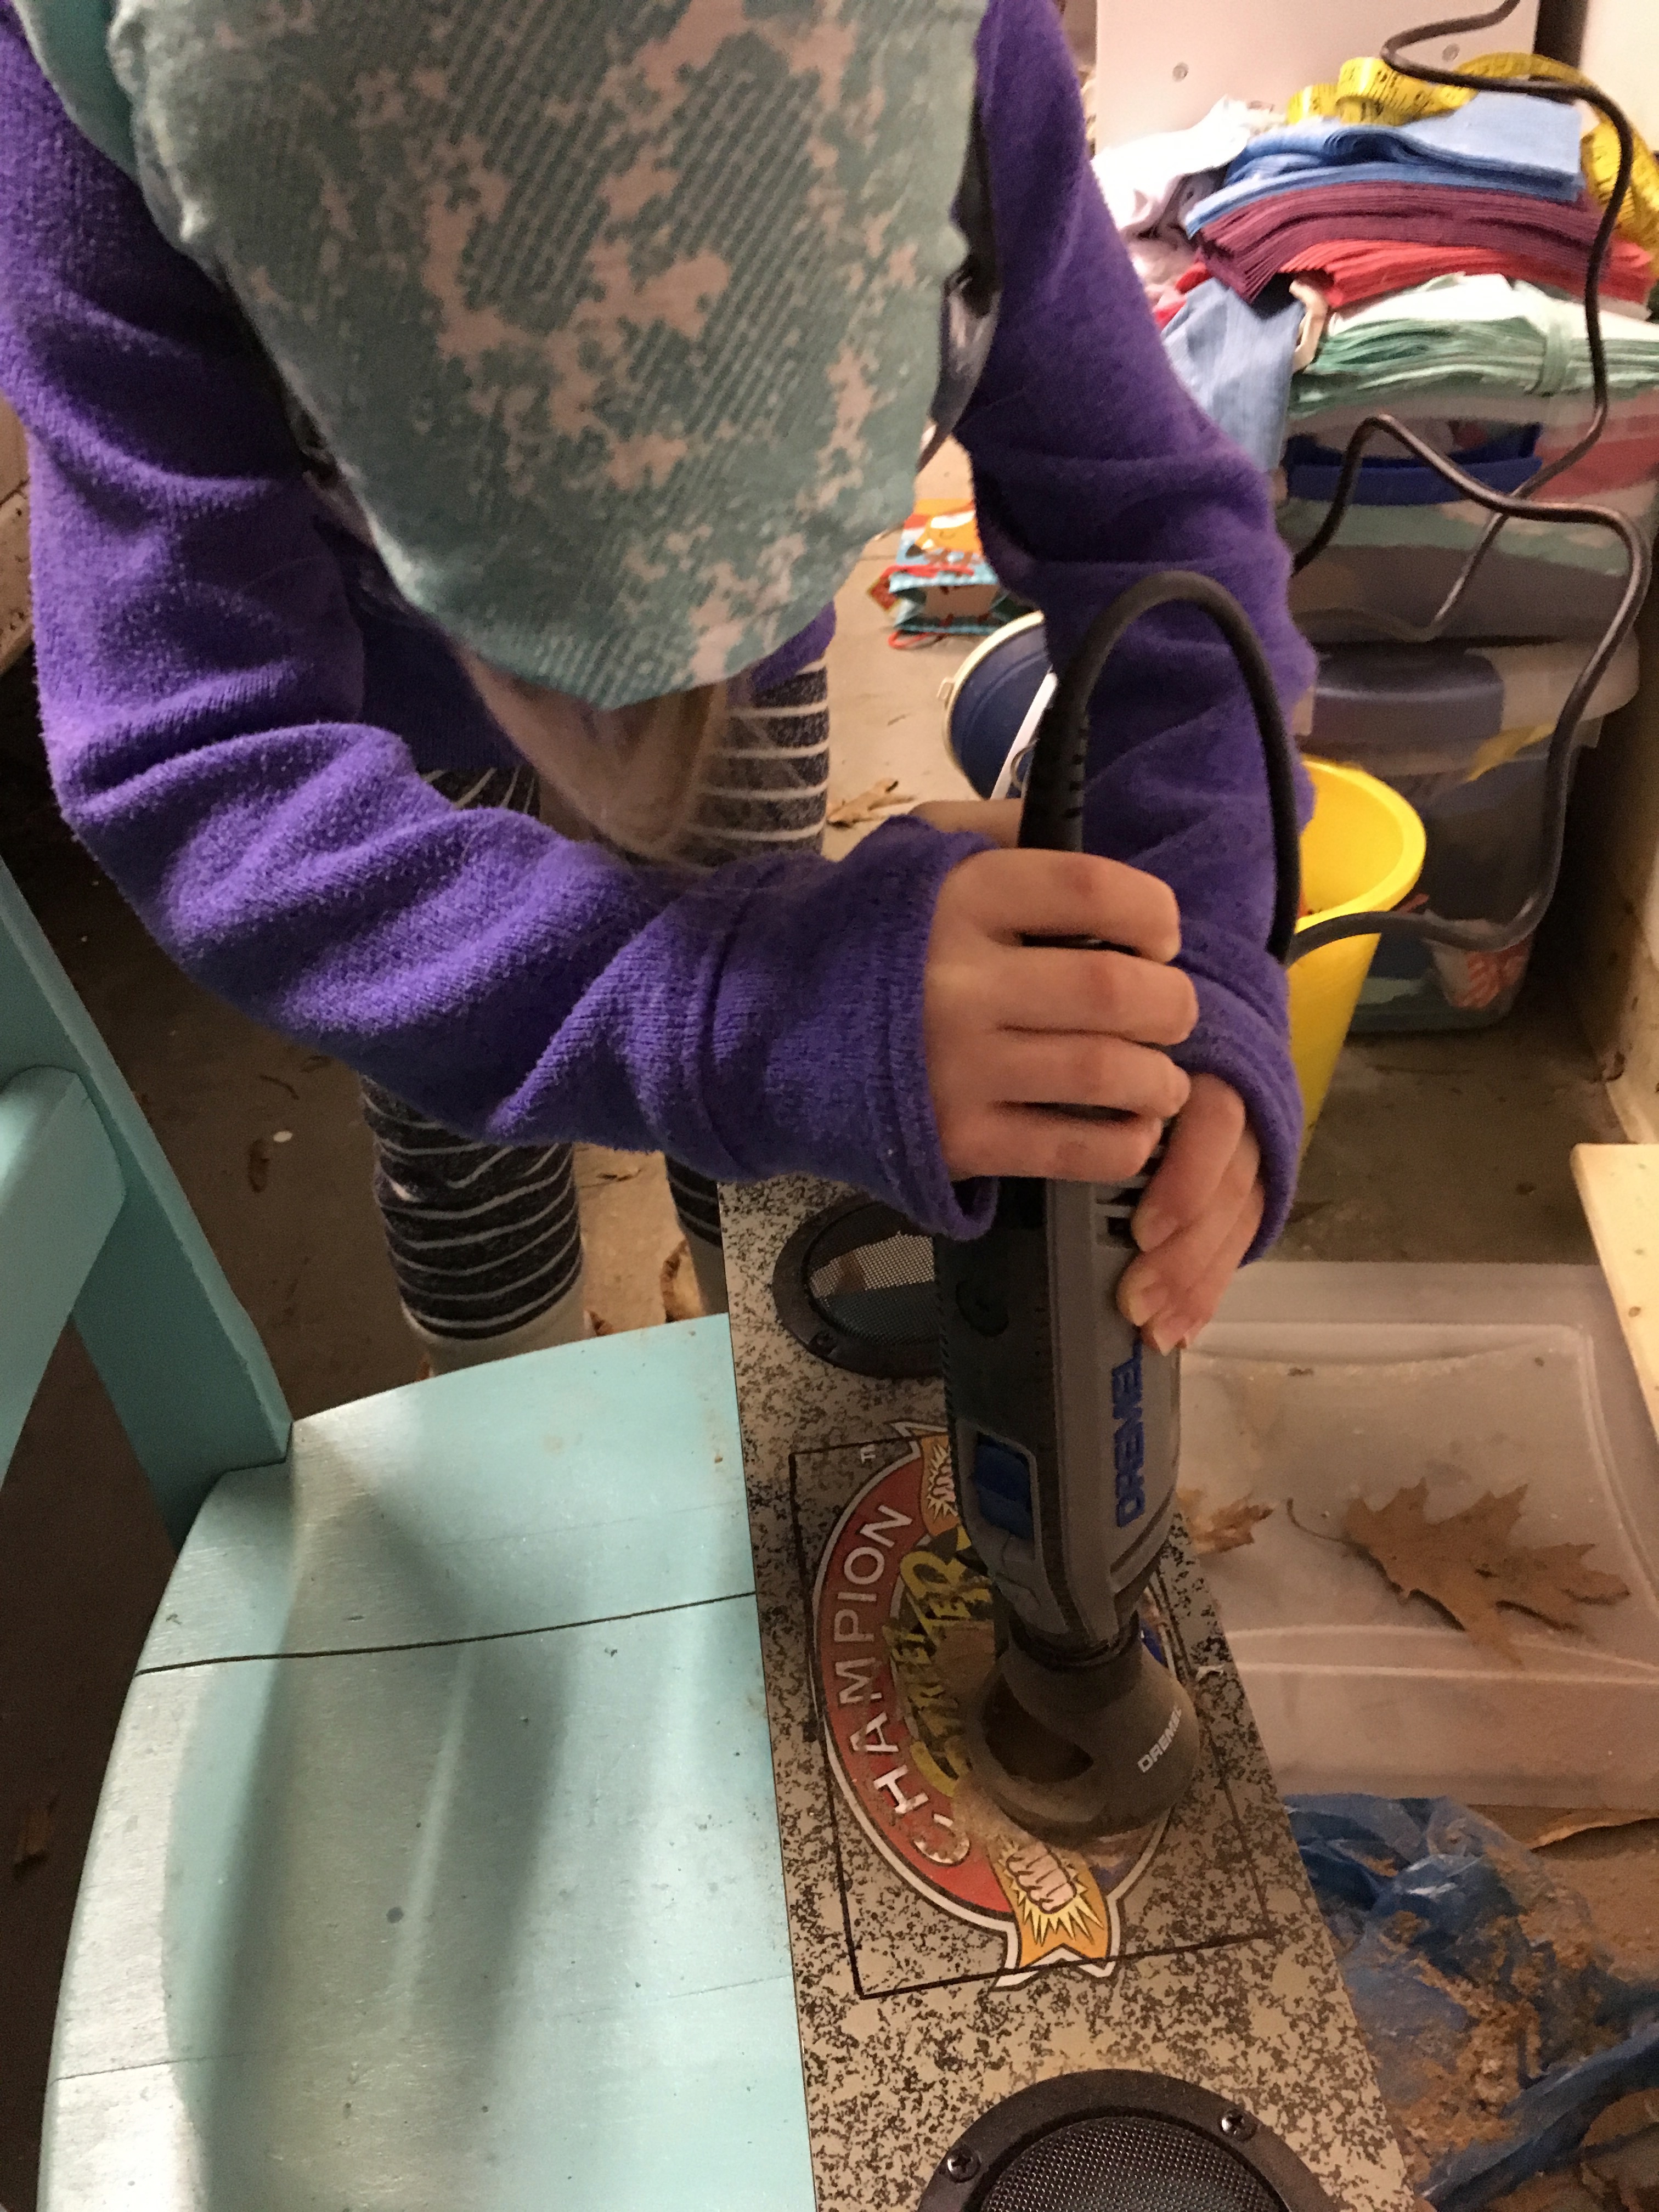
This took a long time. There's a lot of material to get through. Don't push hard through it, or you'll start a fire. Go slow and let the bit do the work. If you get tired, let your 7-year-old daughter take over:
Be careful near the edges; I had the dremel jump on me and scratch the marquee right above the rectangle, and it's very easy to cut past the edge of your area to a place the glass won't cover.
I had the Dremel router attachment on the tool, with the theory that you'll have a nice smooth and even area at the end, but I managed to not cut deep enough--stupid mistakes piling up--so when I went back I didn't have any edge for the attachment to sit on and had to freehand it. No one is going to see your mistakes here, though, so everyone survived this.
The original artwork on the marquee is a piece of paper glued on, not like whatever that wierd paint on the control panel is that rubs off when you play a game. If you're planning to keep the art, you might want to gently take the dremel over the surface of the rectangle before you start cutting into the wood. It'll scrape the paper off pretty efficiently, which means it won't be flaying off unpredictably while you are routing. It looks like this scaped off, partway through routing:
If you aren't keeping the art, just peel the whole thing off, which I ended up doing later anyhow. If you didn't do the speaker grills, it could be worth keeping, but oh man, that Capcom logo you can't quite cover is the worst otherwise.
Since I had already cracked a grill ring and was waiting on a replacement in the mail, I didn't bother taking them off to route, but you should, to avoid getting dust in them.
Note that in cutting this, you're going to cut clear through to the slot where piece 'H' (the top panel of the cabinet) slides in. Don't panic, this is exactly what you want, because we're going to feed a cable through it later. You won't be able to see this hole when the cabinet is reassembled.
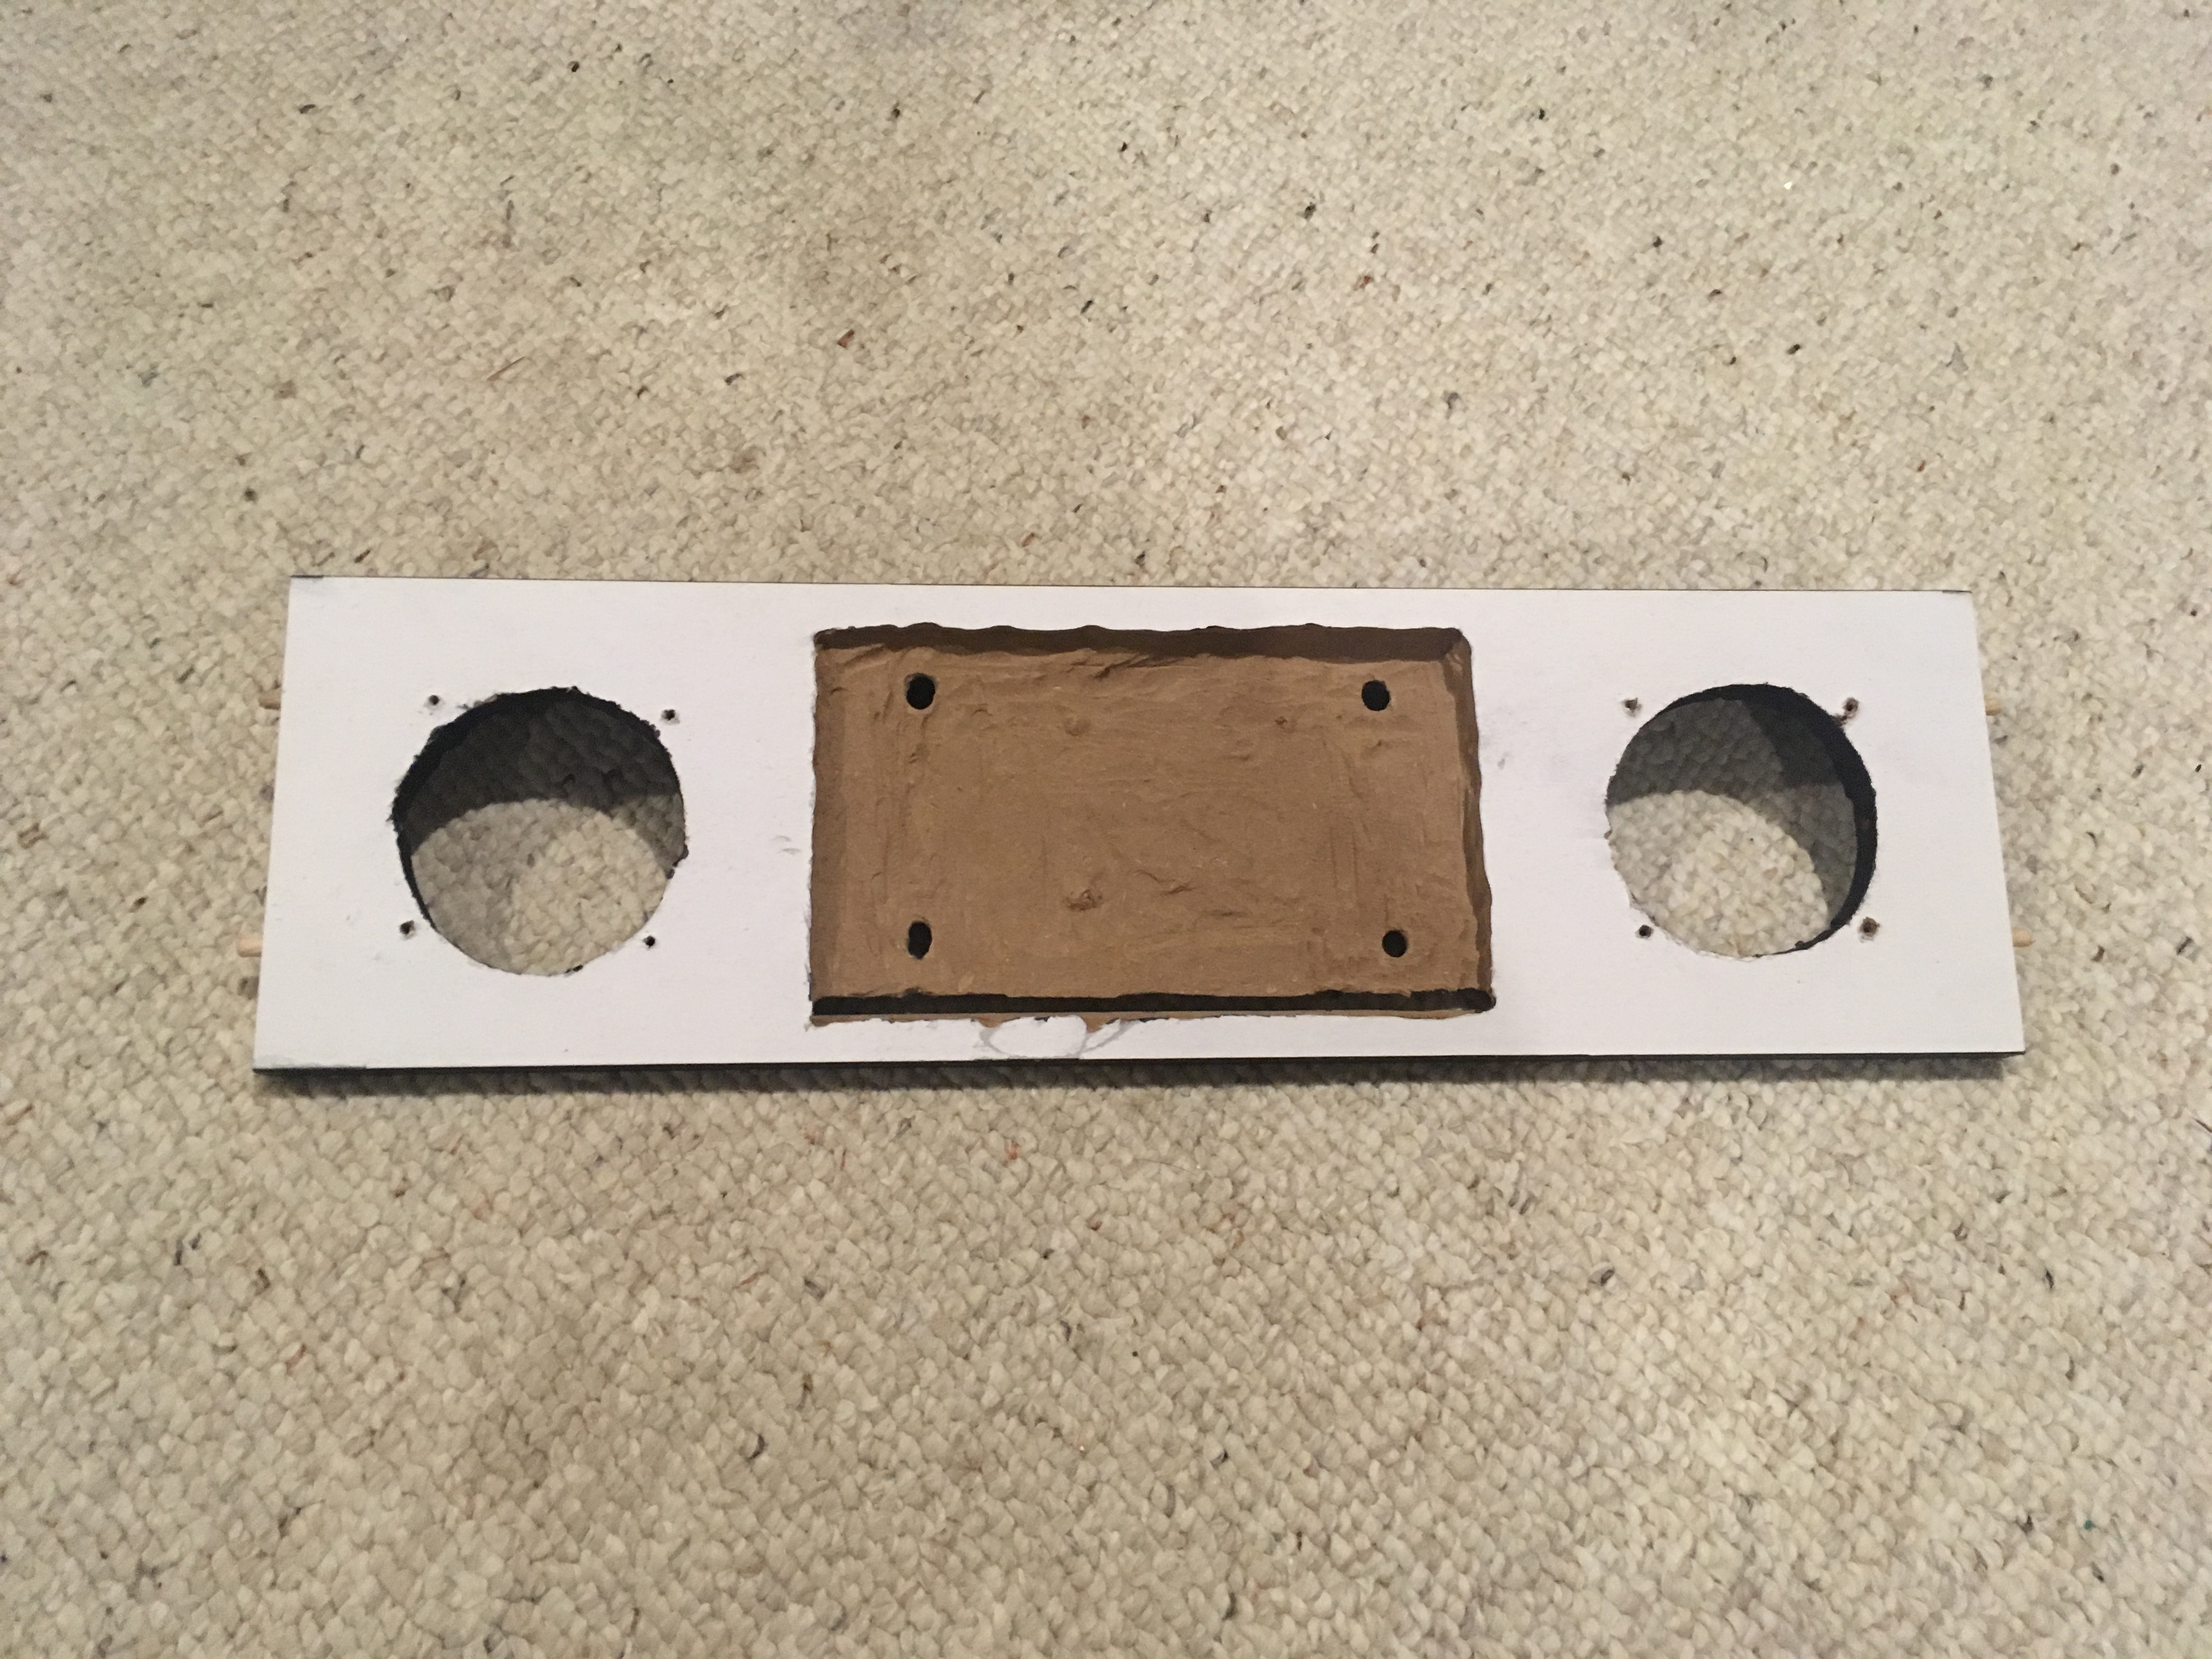
When you're finally done, it'll look like this, although hopefully better than my attempt:
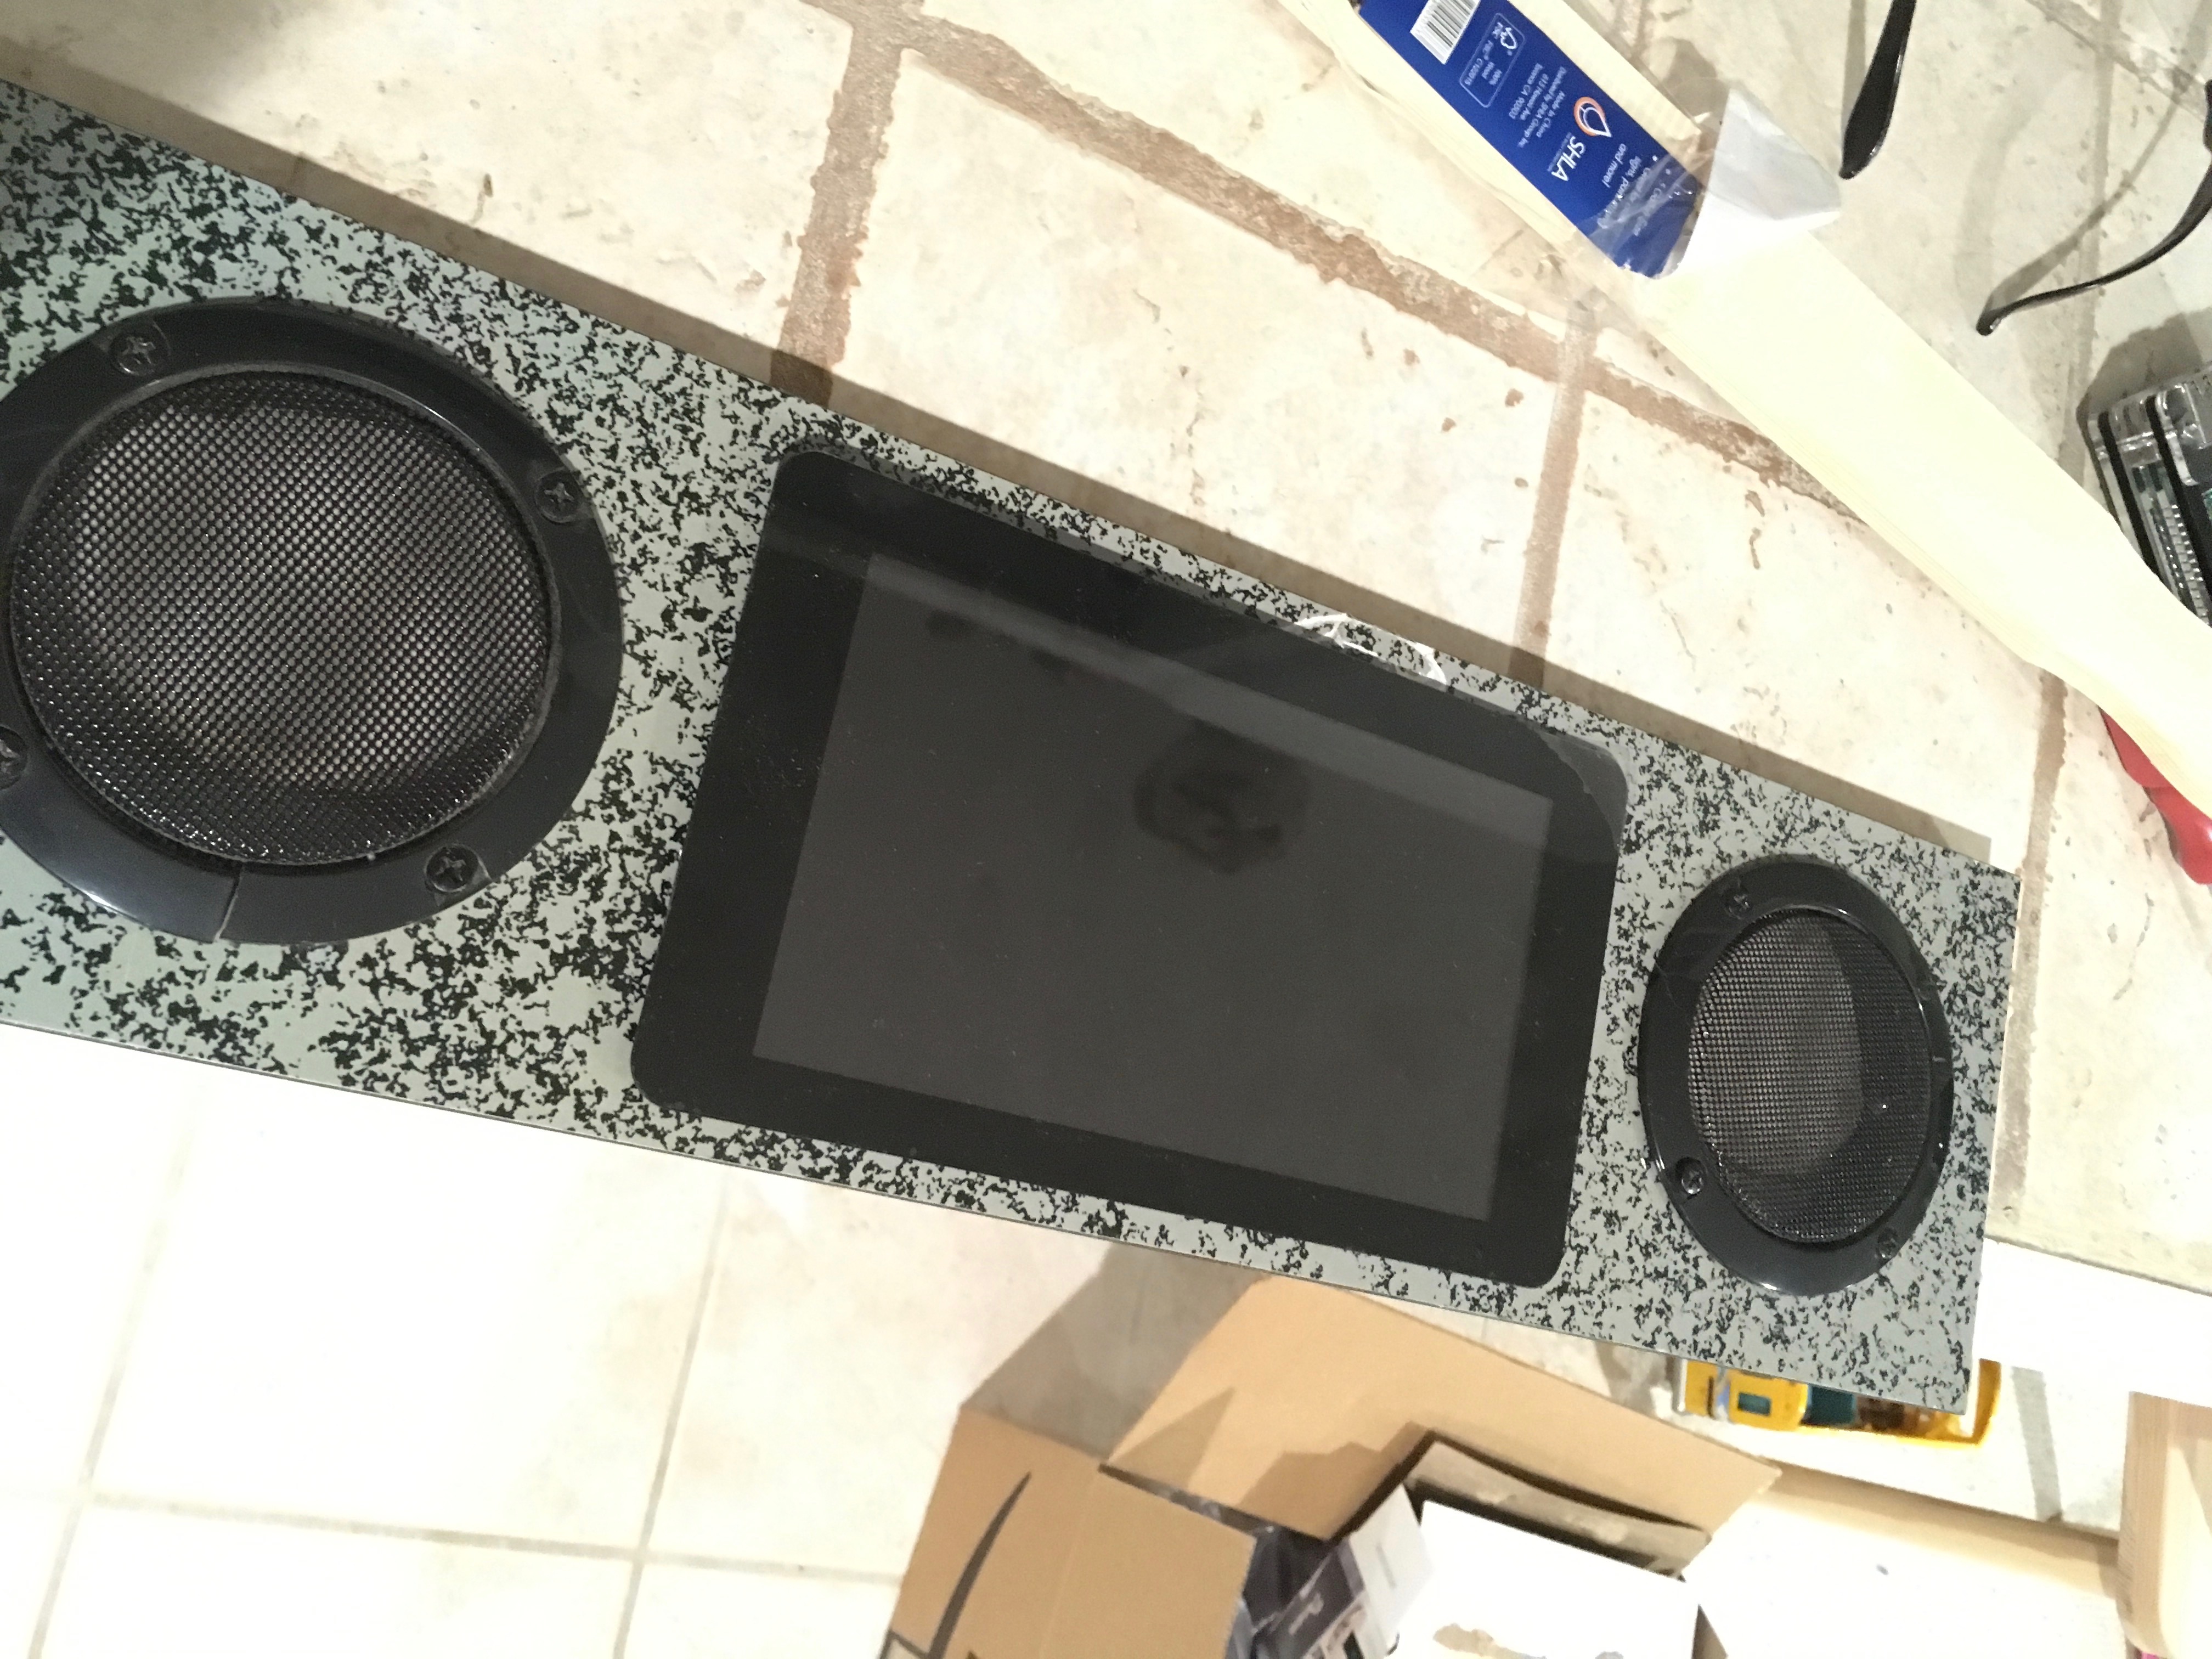
Thoroughly clean all the dust off it and make sure your screen fits in the hole and lays flat against the marquee. The screen's ribbon cable goes through the slot at the top.
Now we're getting somewhere! Next up is to drill a few holes through the back of our rectangle, which line up with the outer mounting brackets of the screen. I didn't bother to measure this, instead eyeballing it and making the holes bigger until it matched, using a little drill bit on the dremel. (Watch out for dust on the screen while messing with this.) I was just going to put washers over the too-large holes anyhow.

This is probably a good time to replace the front artwork, if you want, now that we're done doing damage to the wood. The original art just peels off pretty cleanly if you lift up a corner of the paper...
...but it will leave a layer of paper still glued on. You can go wild sanding this off, but honestly, it's fine, leave it on there.
I got some black vinyl from Michael's for a few bucks and cut it to size:
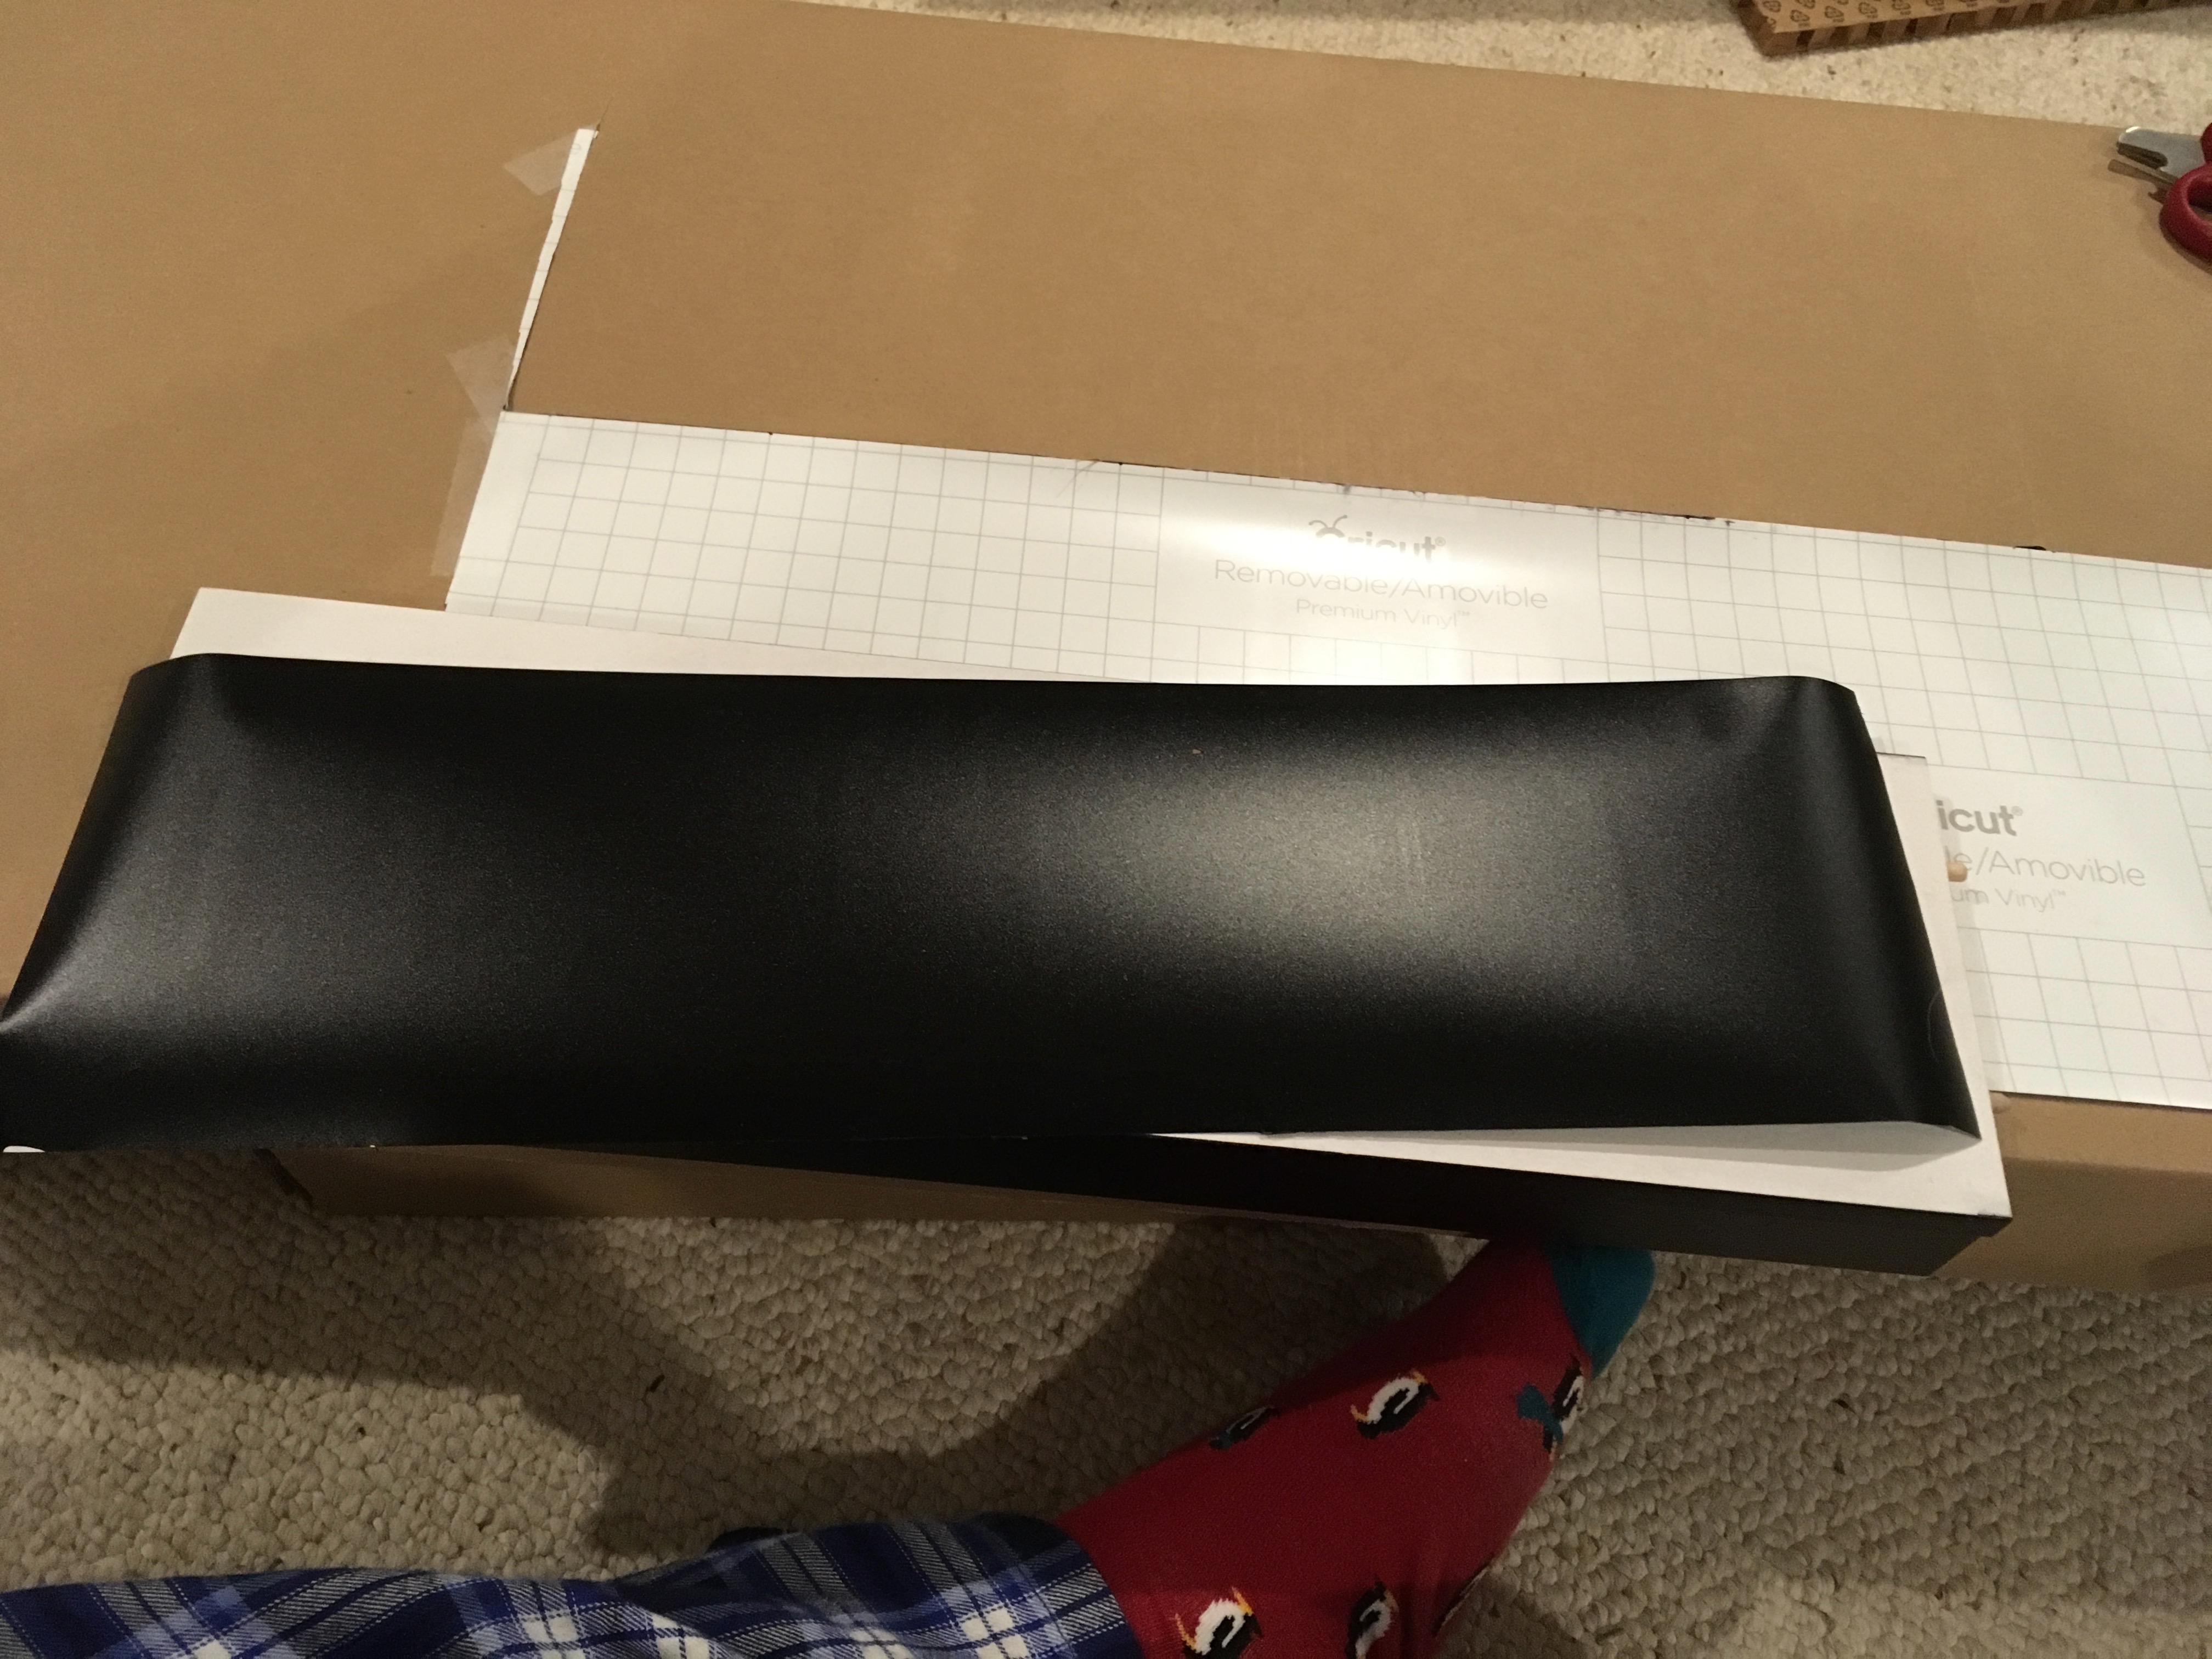
Peel off the backing and get it on the marquee. Take an exacto-knife to cut out the speaker holes and LCD slot, and smooth it out best you can. Since we didn't sand off the paper, it'll have minor imperfections if you look closely, but I think it gives it character!
Now you can install your speakers, grills, and the touchscreen.
The bolt you need for the touchscreen mounting brackets are "M3" size, and you get a bunch of them for a buck or two at Home Depot. I got ones that were 10mm long, which was just about perfect.
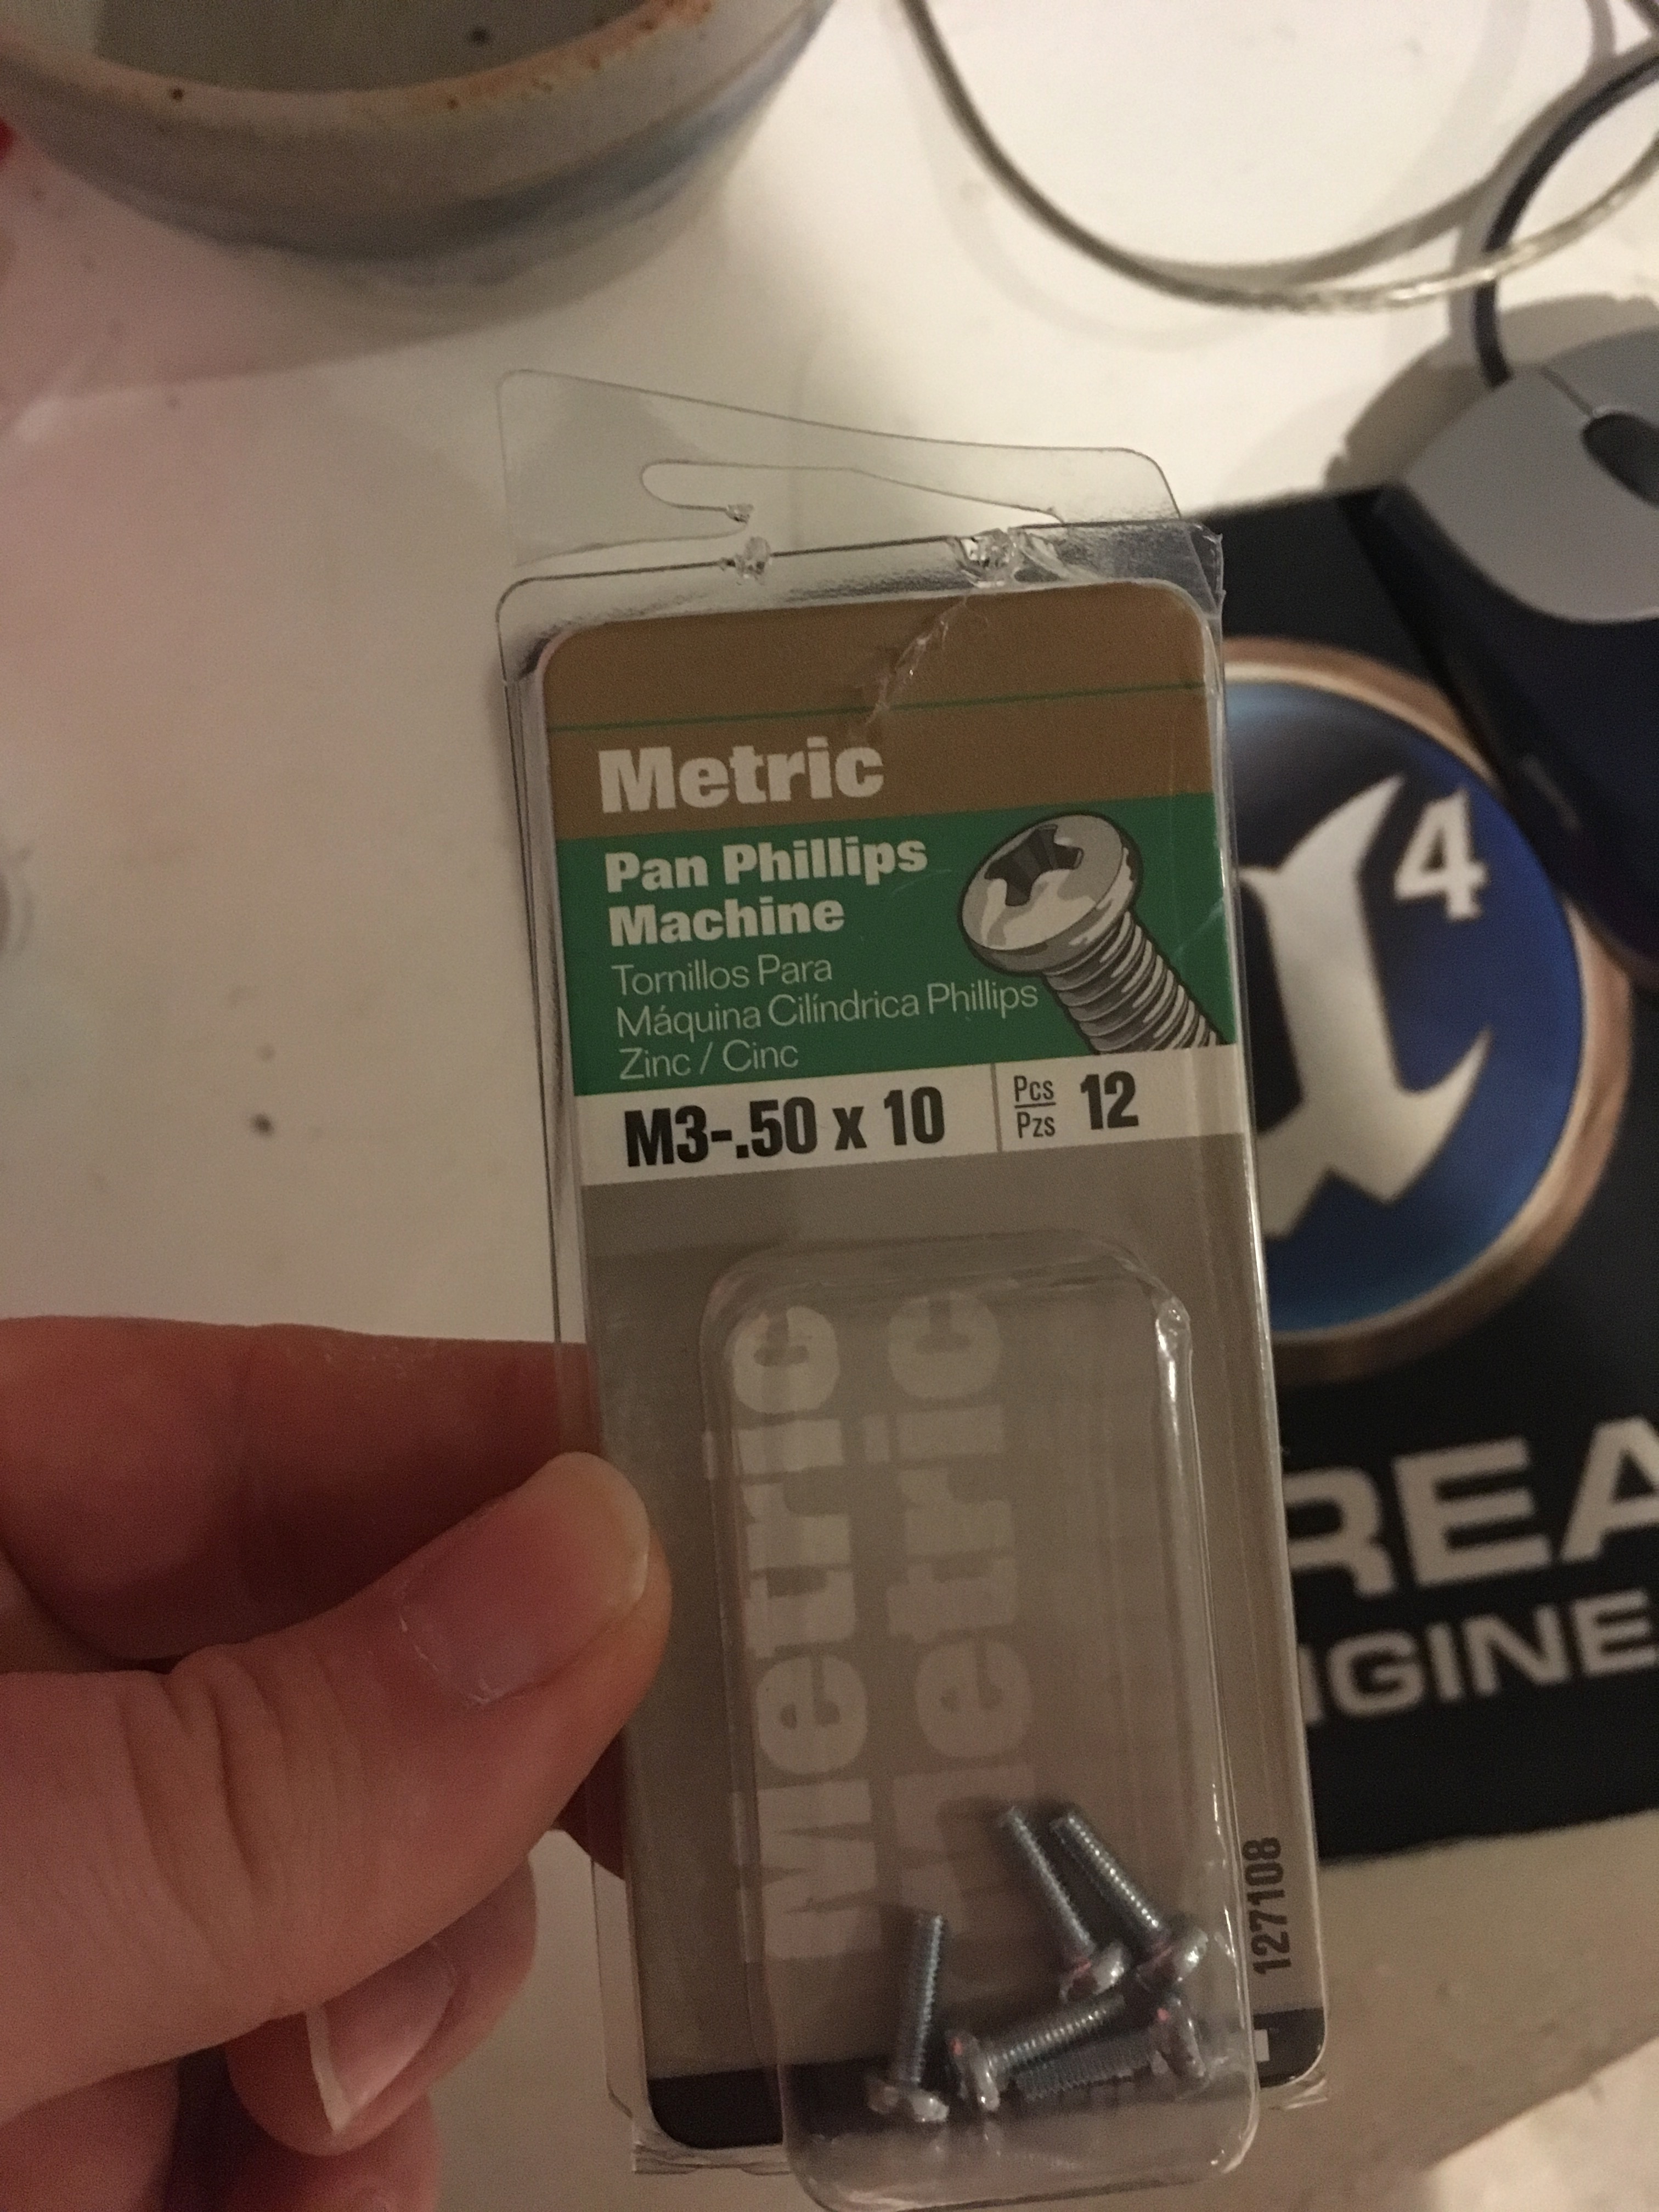
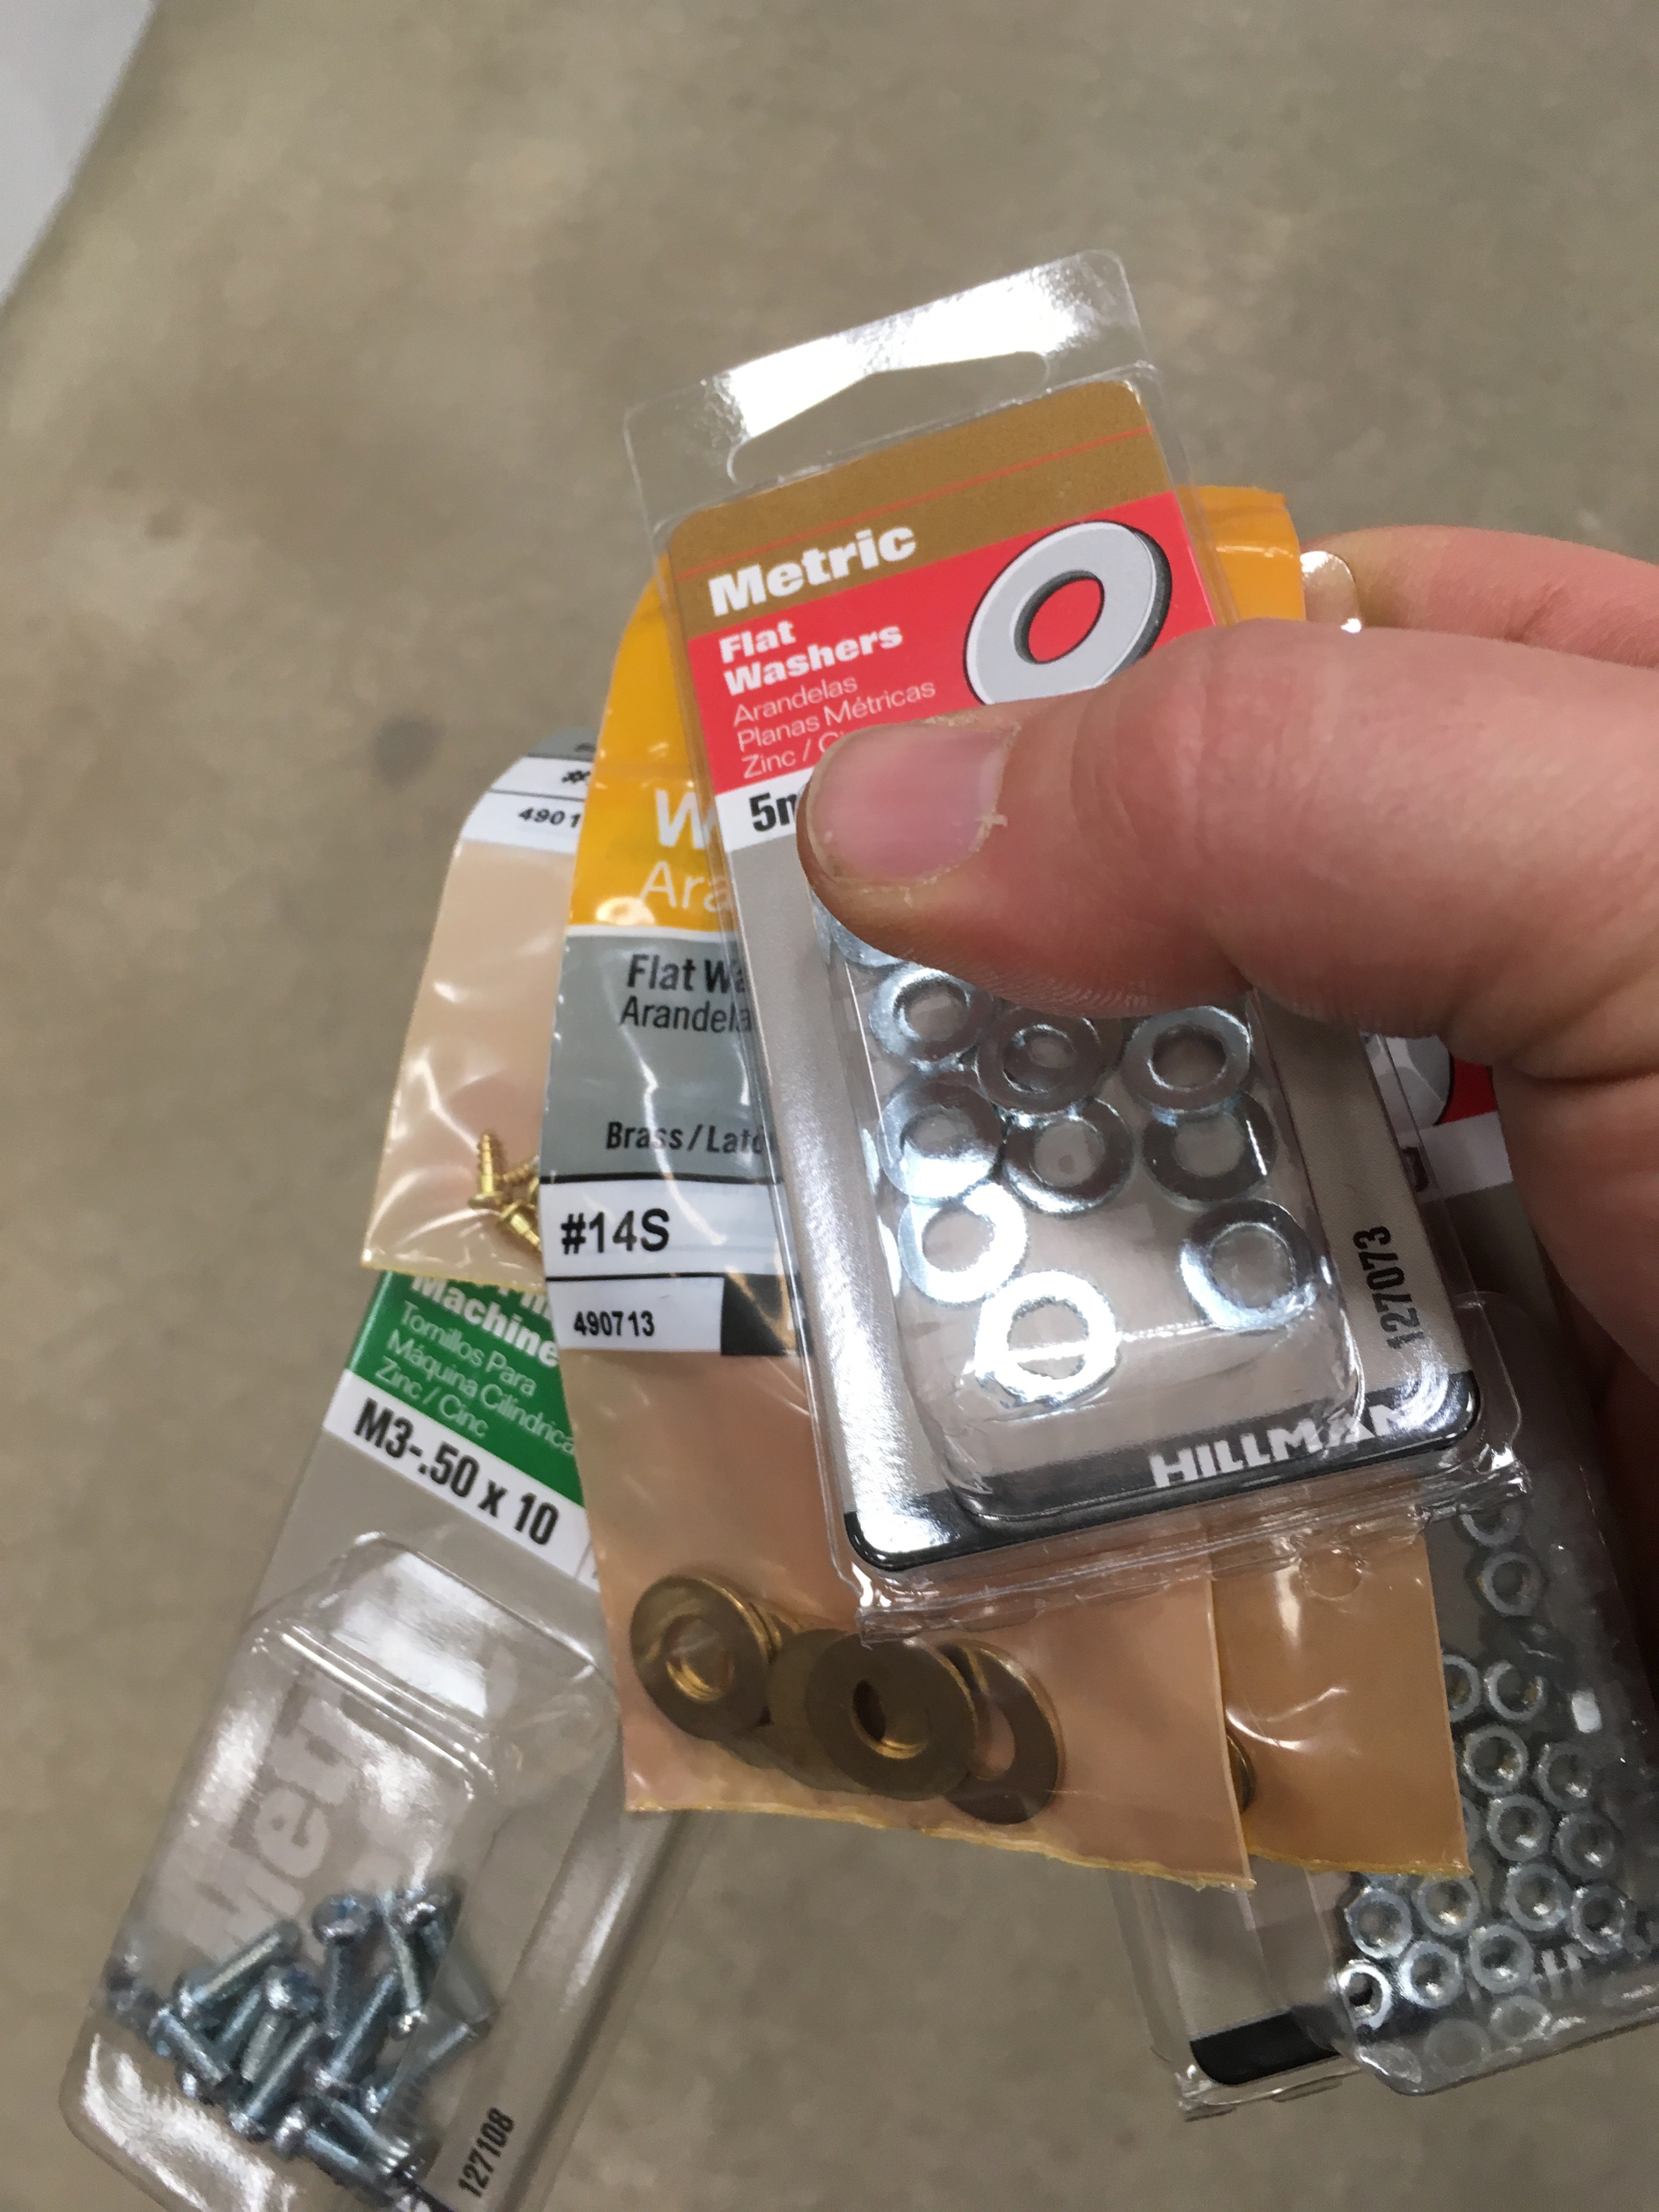
Note that there is nothing that will stop you from putting a long bolt through the screen, so screw them in carefully and slowly, maybe adding a nut if the screw is too long. Use washers to manage the giant holes you drilled. Just roll out of Home Depot with a wide variety of options, like I did:
Once your screen is attached to the marquee, reconnect its circuit board. Big ribbon cable on the back, small ribbon on the front. Tiny tiny wood screws to hold the board on the back of the marquee, or maybe just a command strip thing.
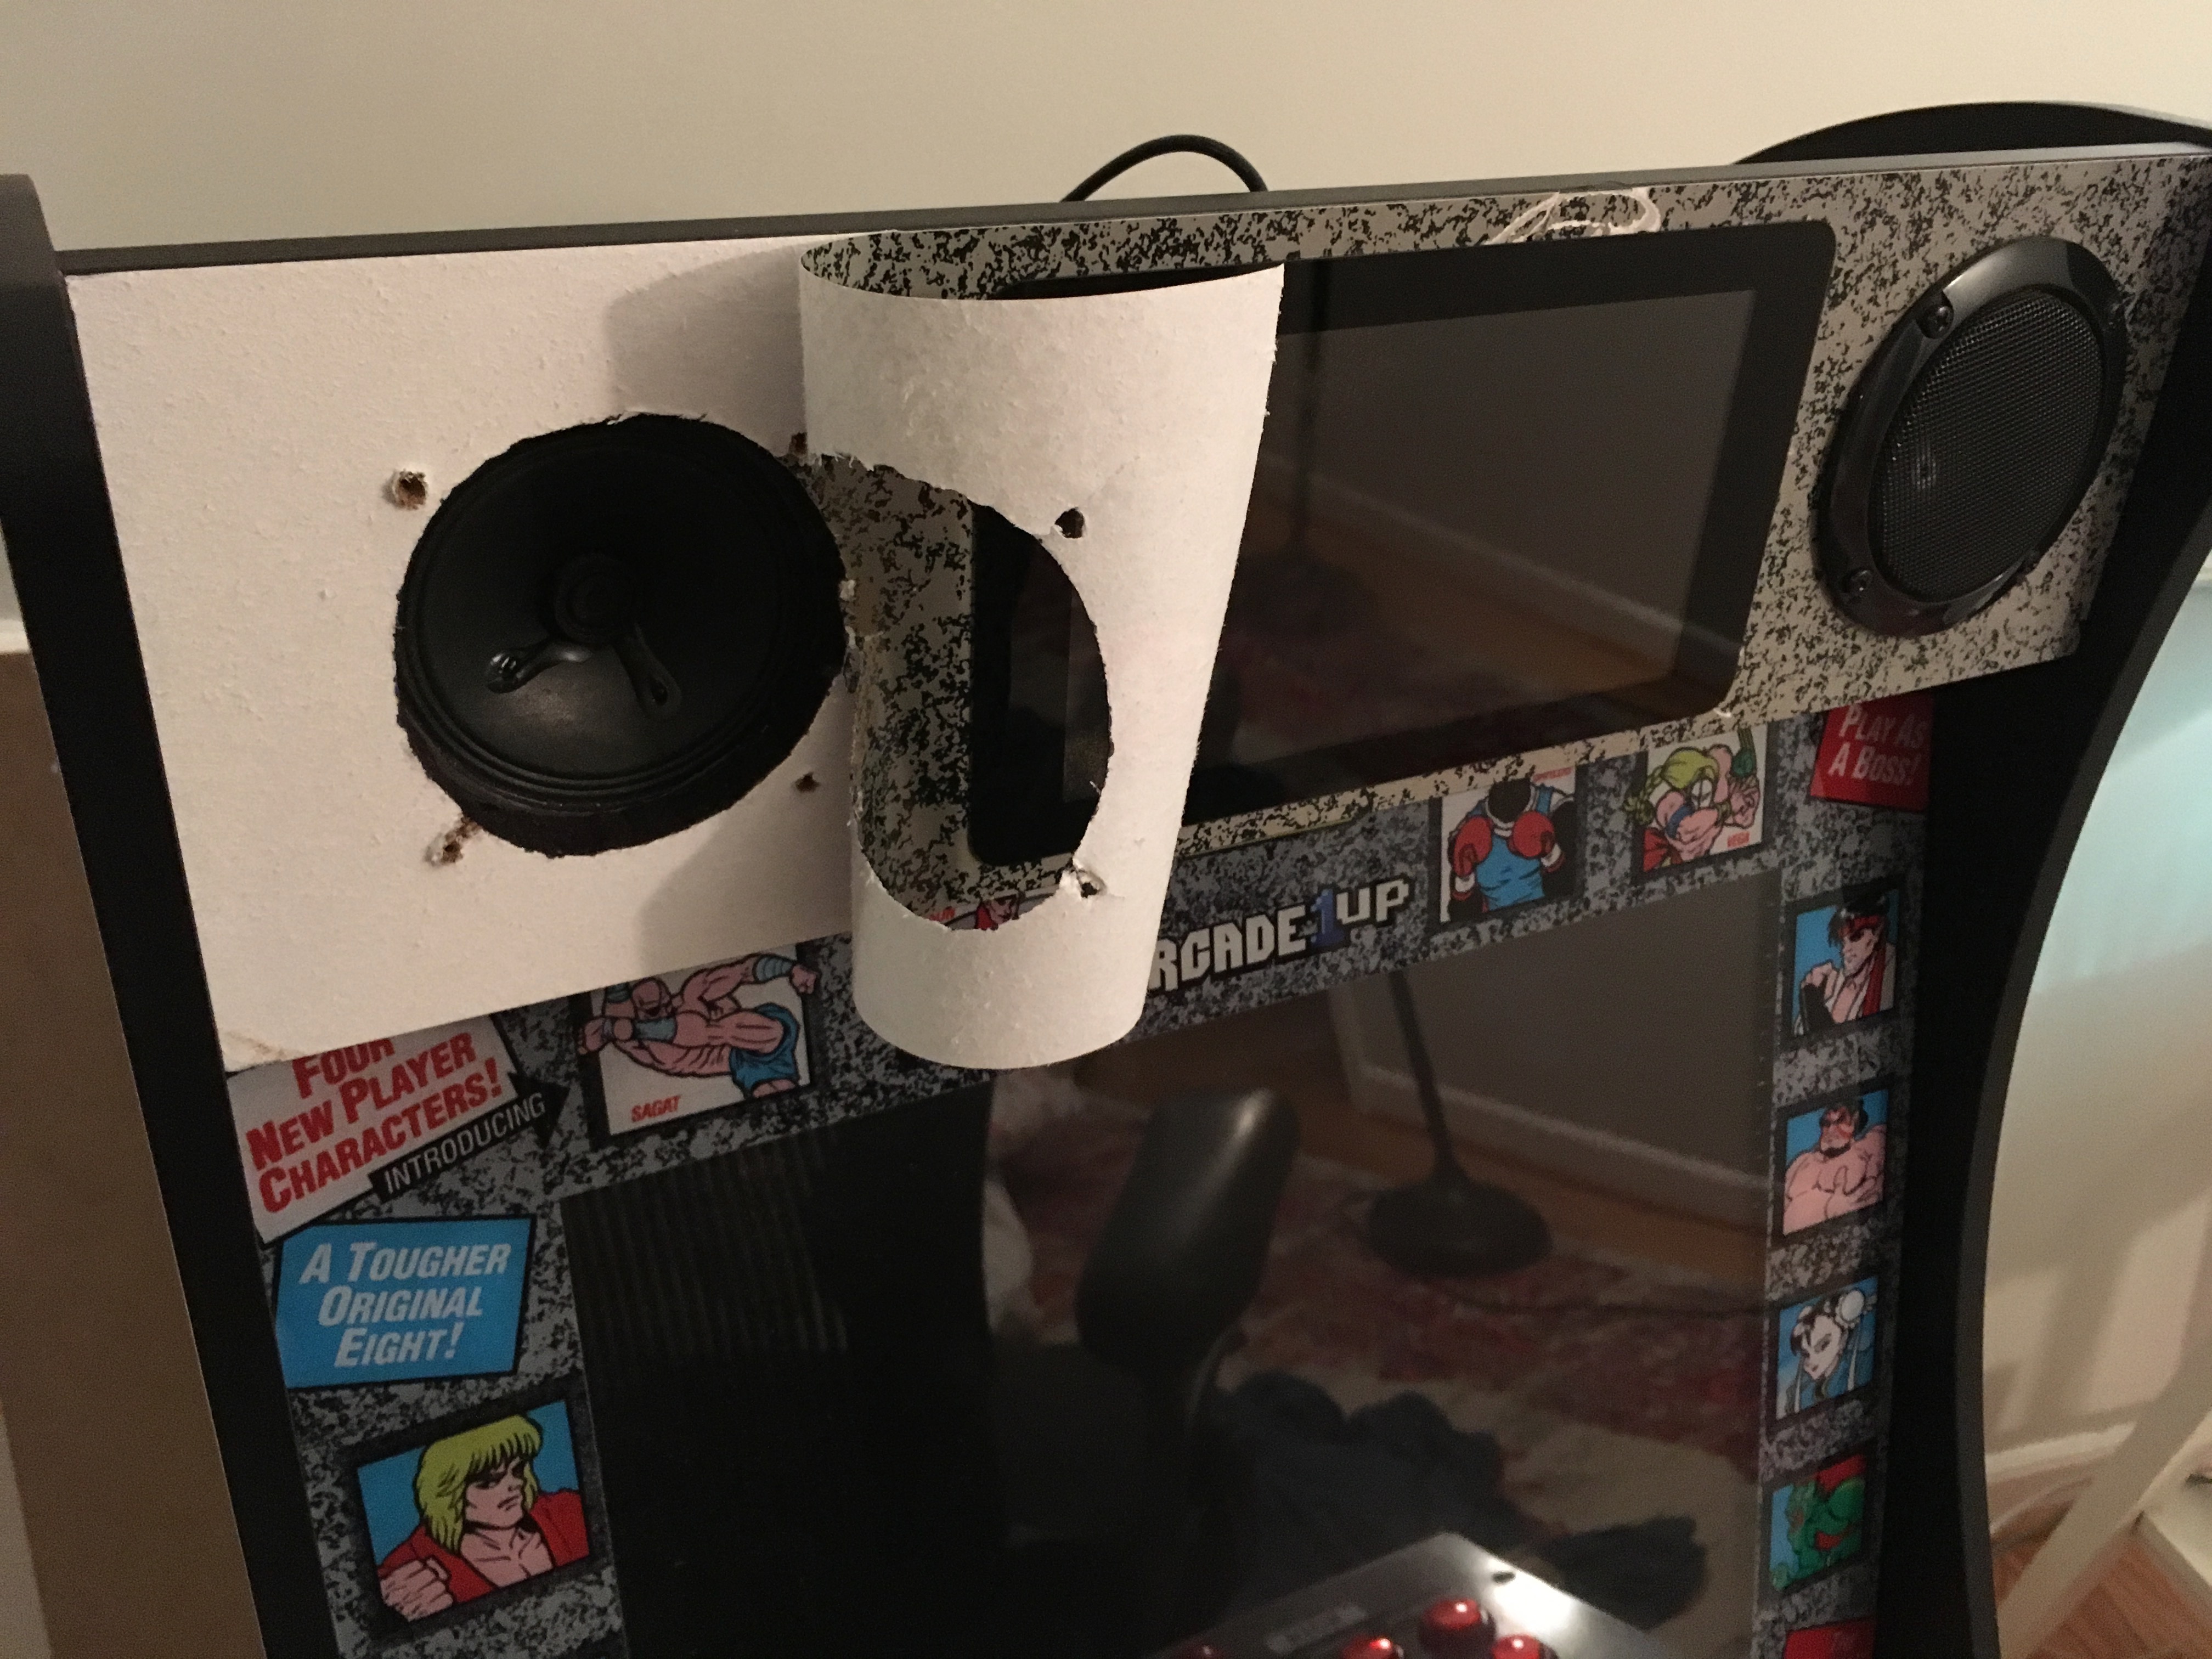
You're going to want to cut a notch in the 'H' panel of the cabinet, to prevent it squashing the ribbon cable. Just a little notch will do, and maybe some black sharpie on the cut so it isn't visible. This notch is way too big:
I ended up putting some leftover black vinyl over it to cover it up. A tiny little cut will do the job here.
Now you need some power to this circuit board. I ran a separate USB cable to it, leaving the Pi powered separately (but you can also run a single USB cable to the screen and then run two wires from there to the Pi's GPIO to power the Pi, or use that second USB port on the screen's board to run juice to the Pi's micro-USB port. There are options, but all of them need you to use the screen's micro-USB port as a starting point. There's just one problem with that...
...every USB cable I tried wouldn't fit, because they run into the space where the 'H' board is meant to slot into the marquee. I ended up buying a "90 degree USB cable" off the Internet:
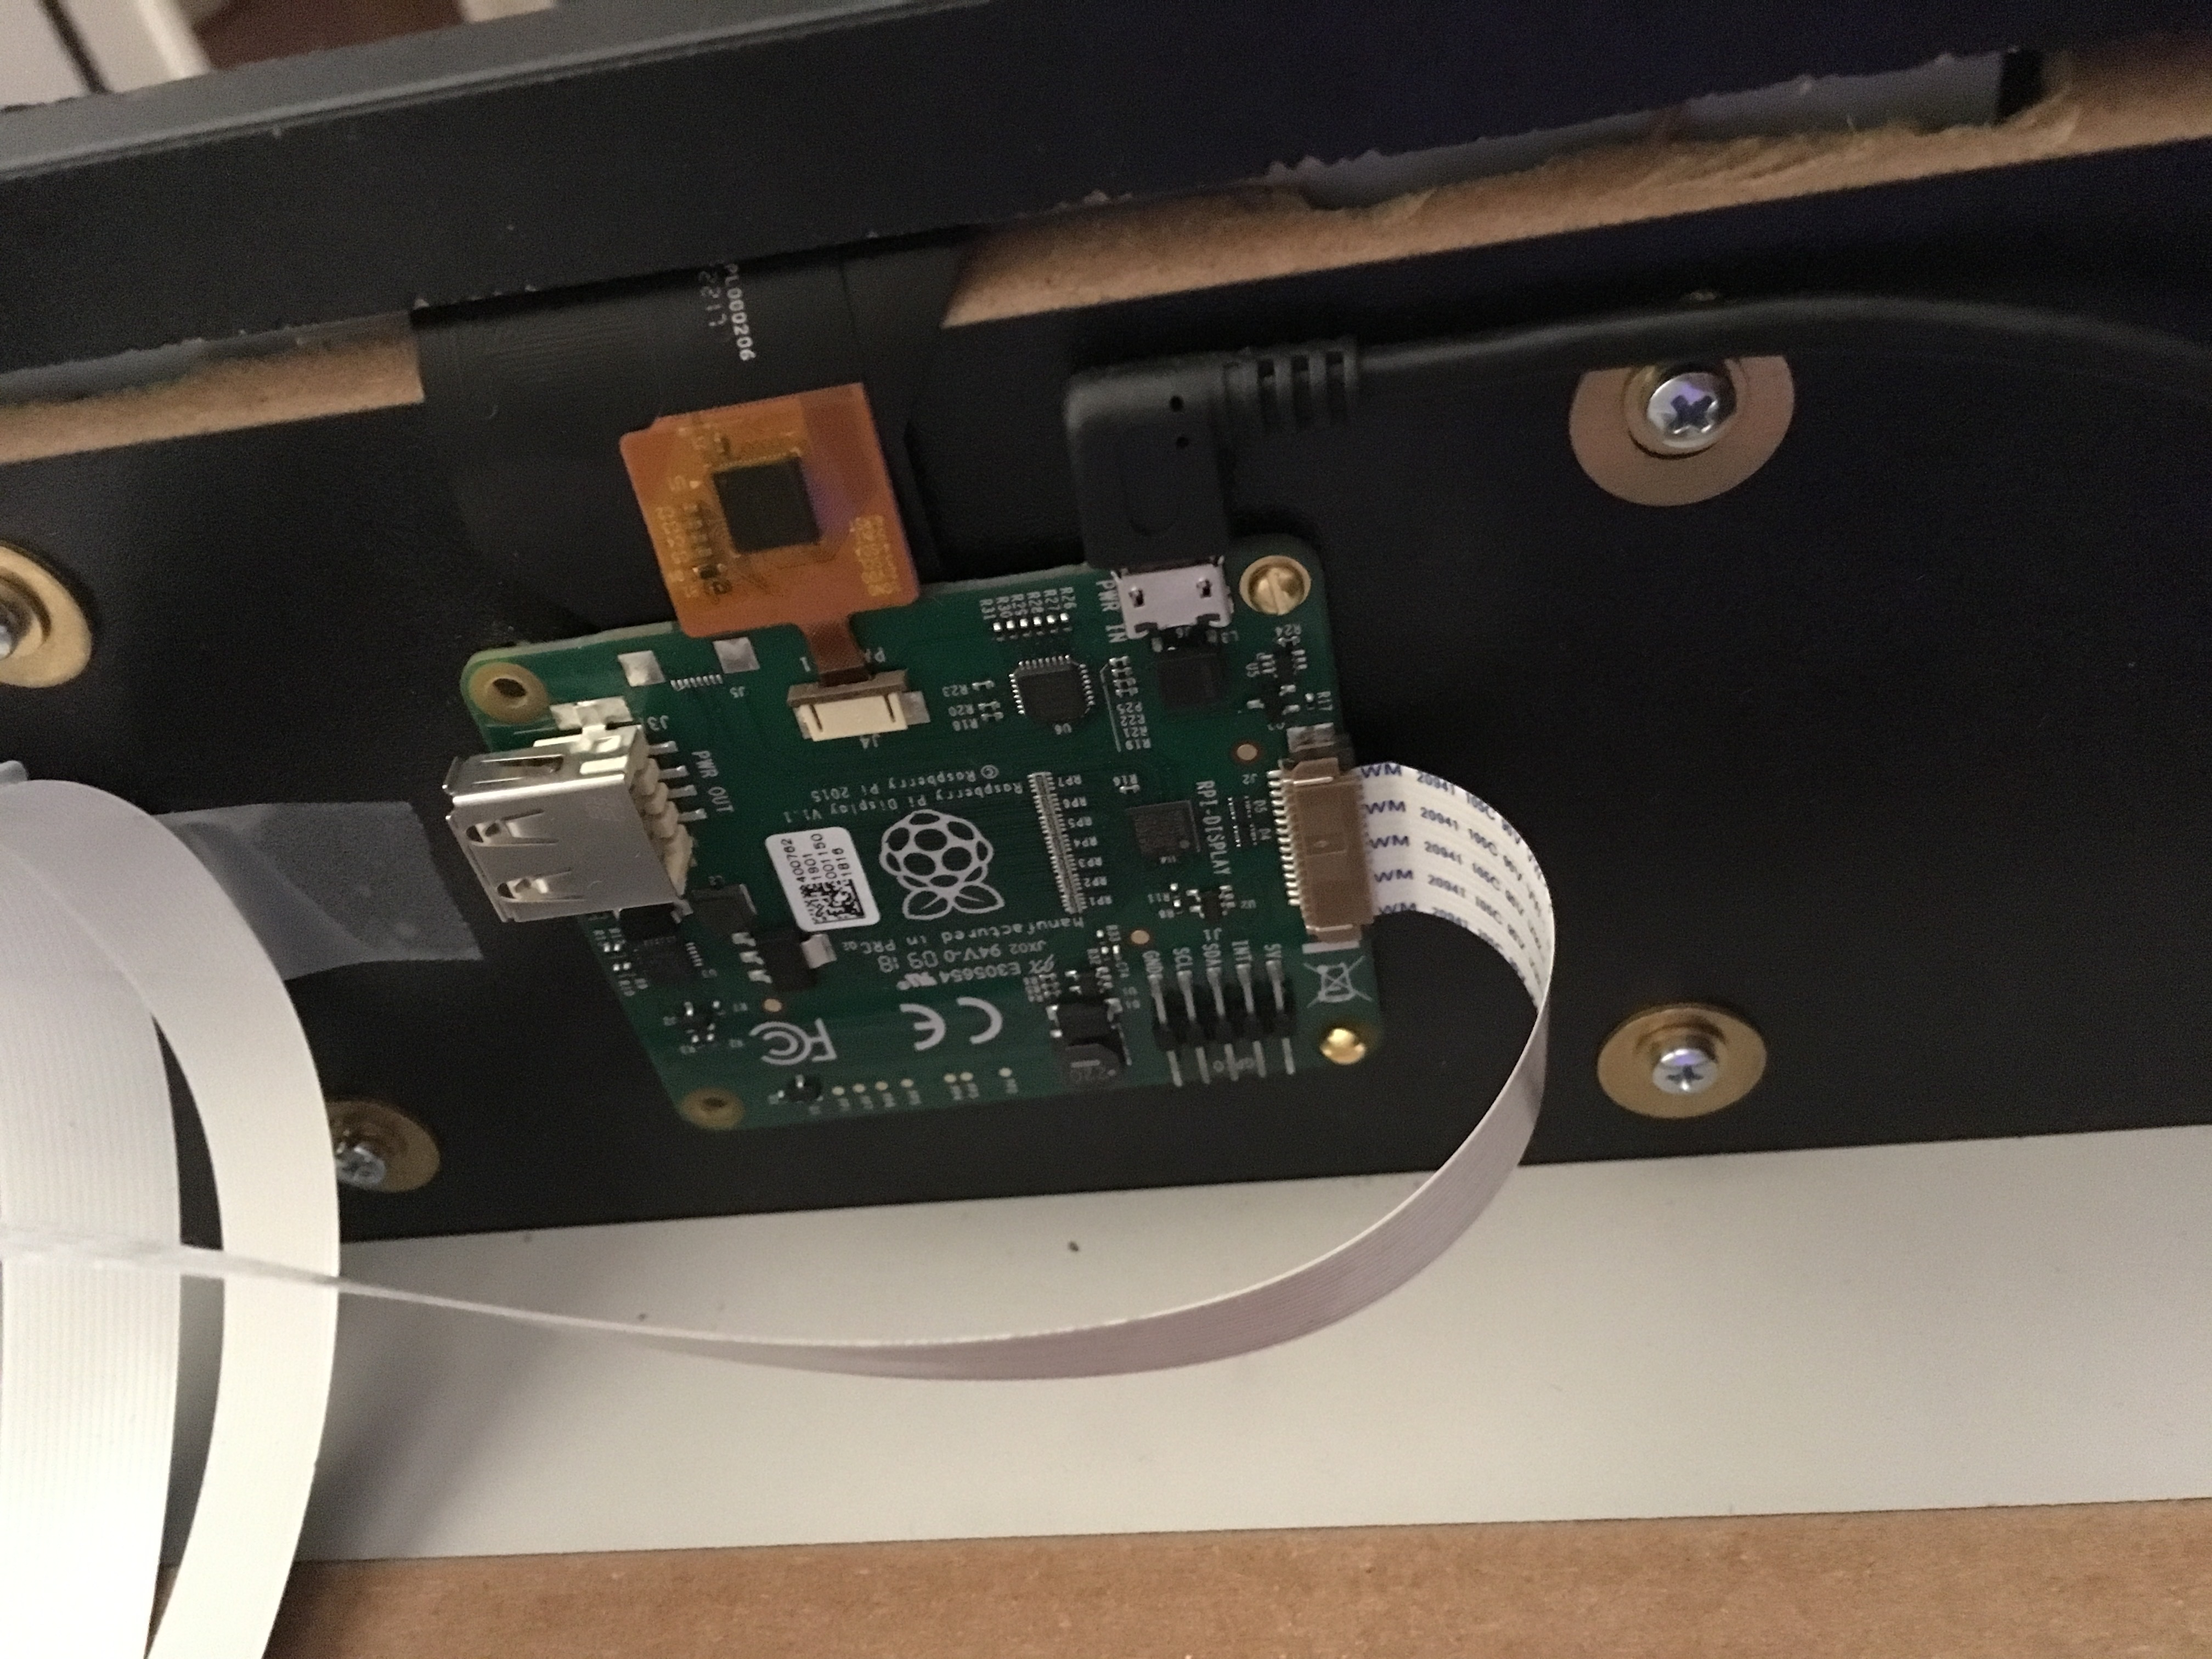
But as my luck had it, it would charge a phone but not power the screen! :(
I went and found a USB cable that I knew worked and cut off the plastic reinforcement by the connector with an exacto-knife and pried off the metal shielding. I assume these things are there to make the cable more sturdy at an obvious stress point, but I need this thing to bend.
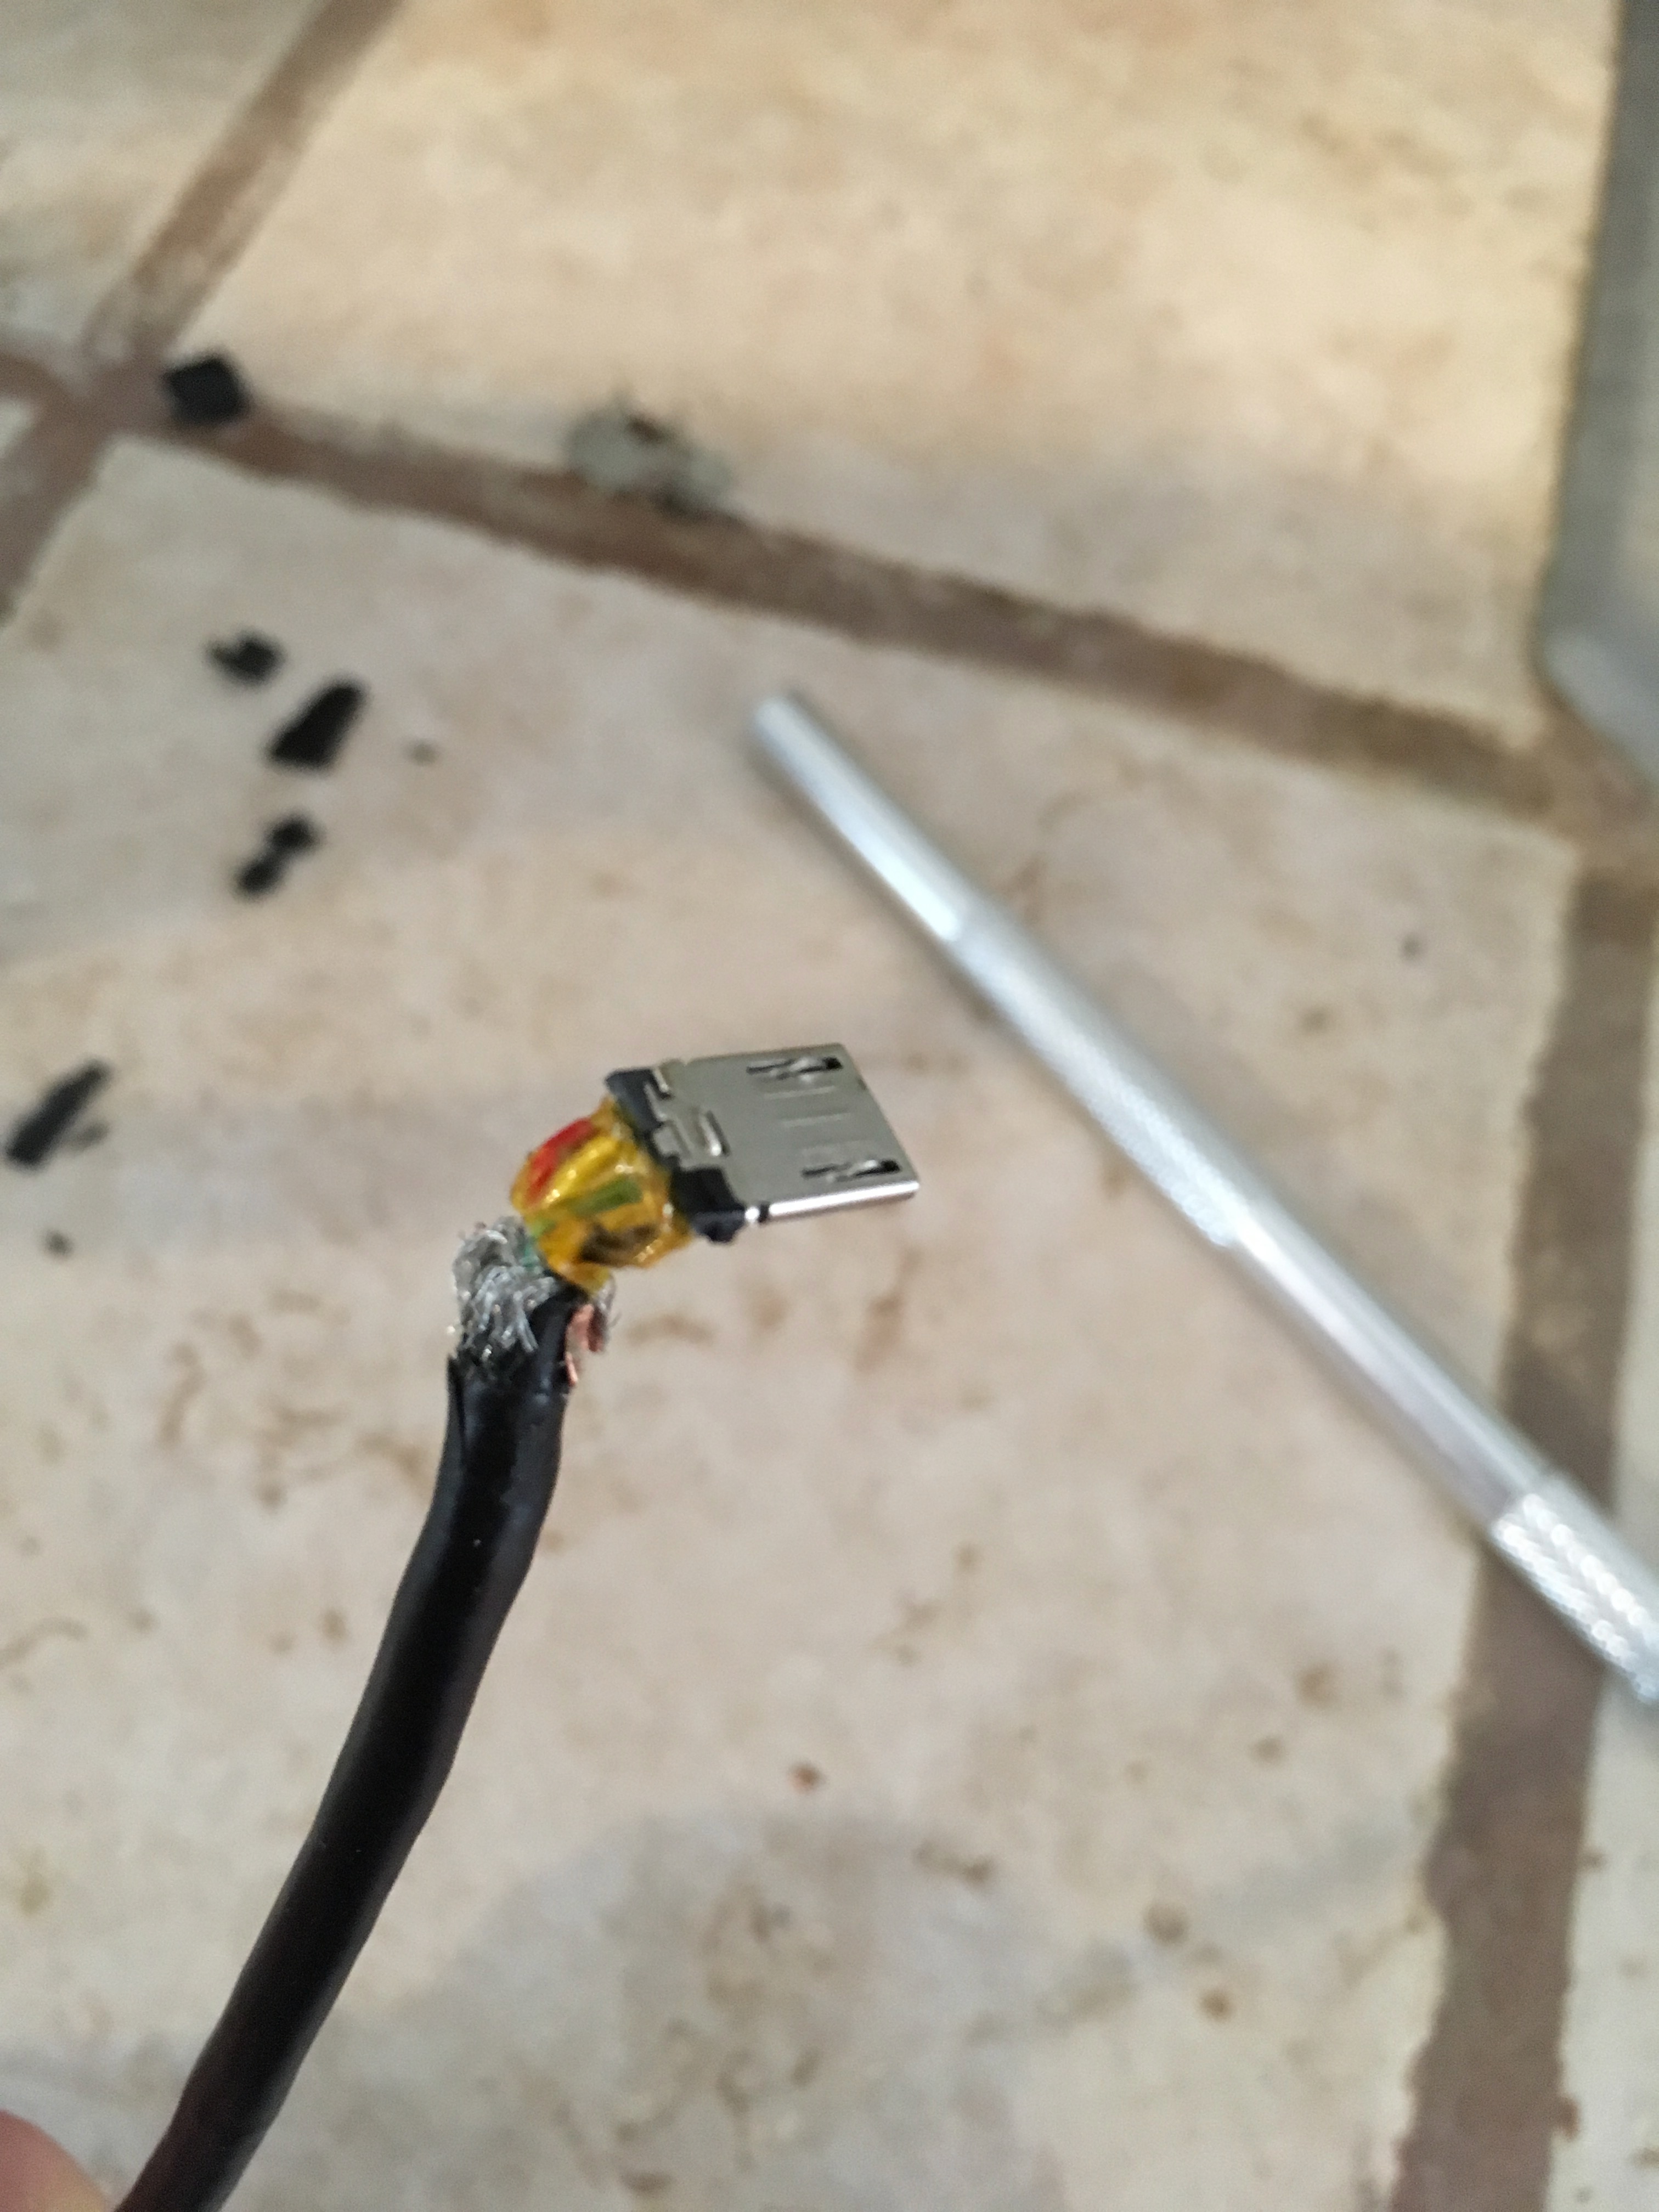
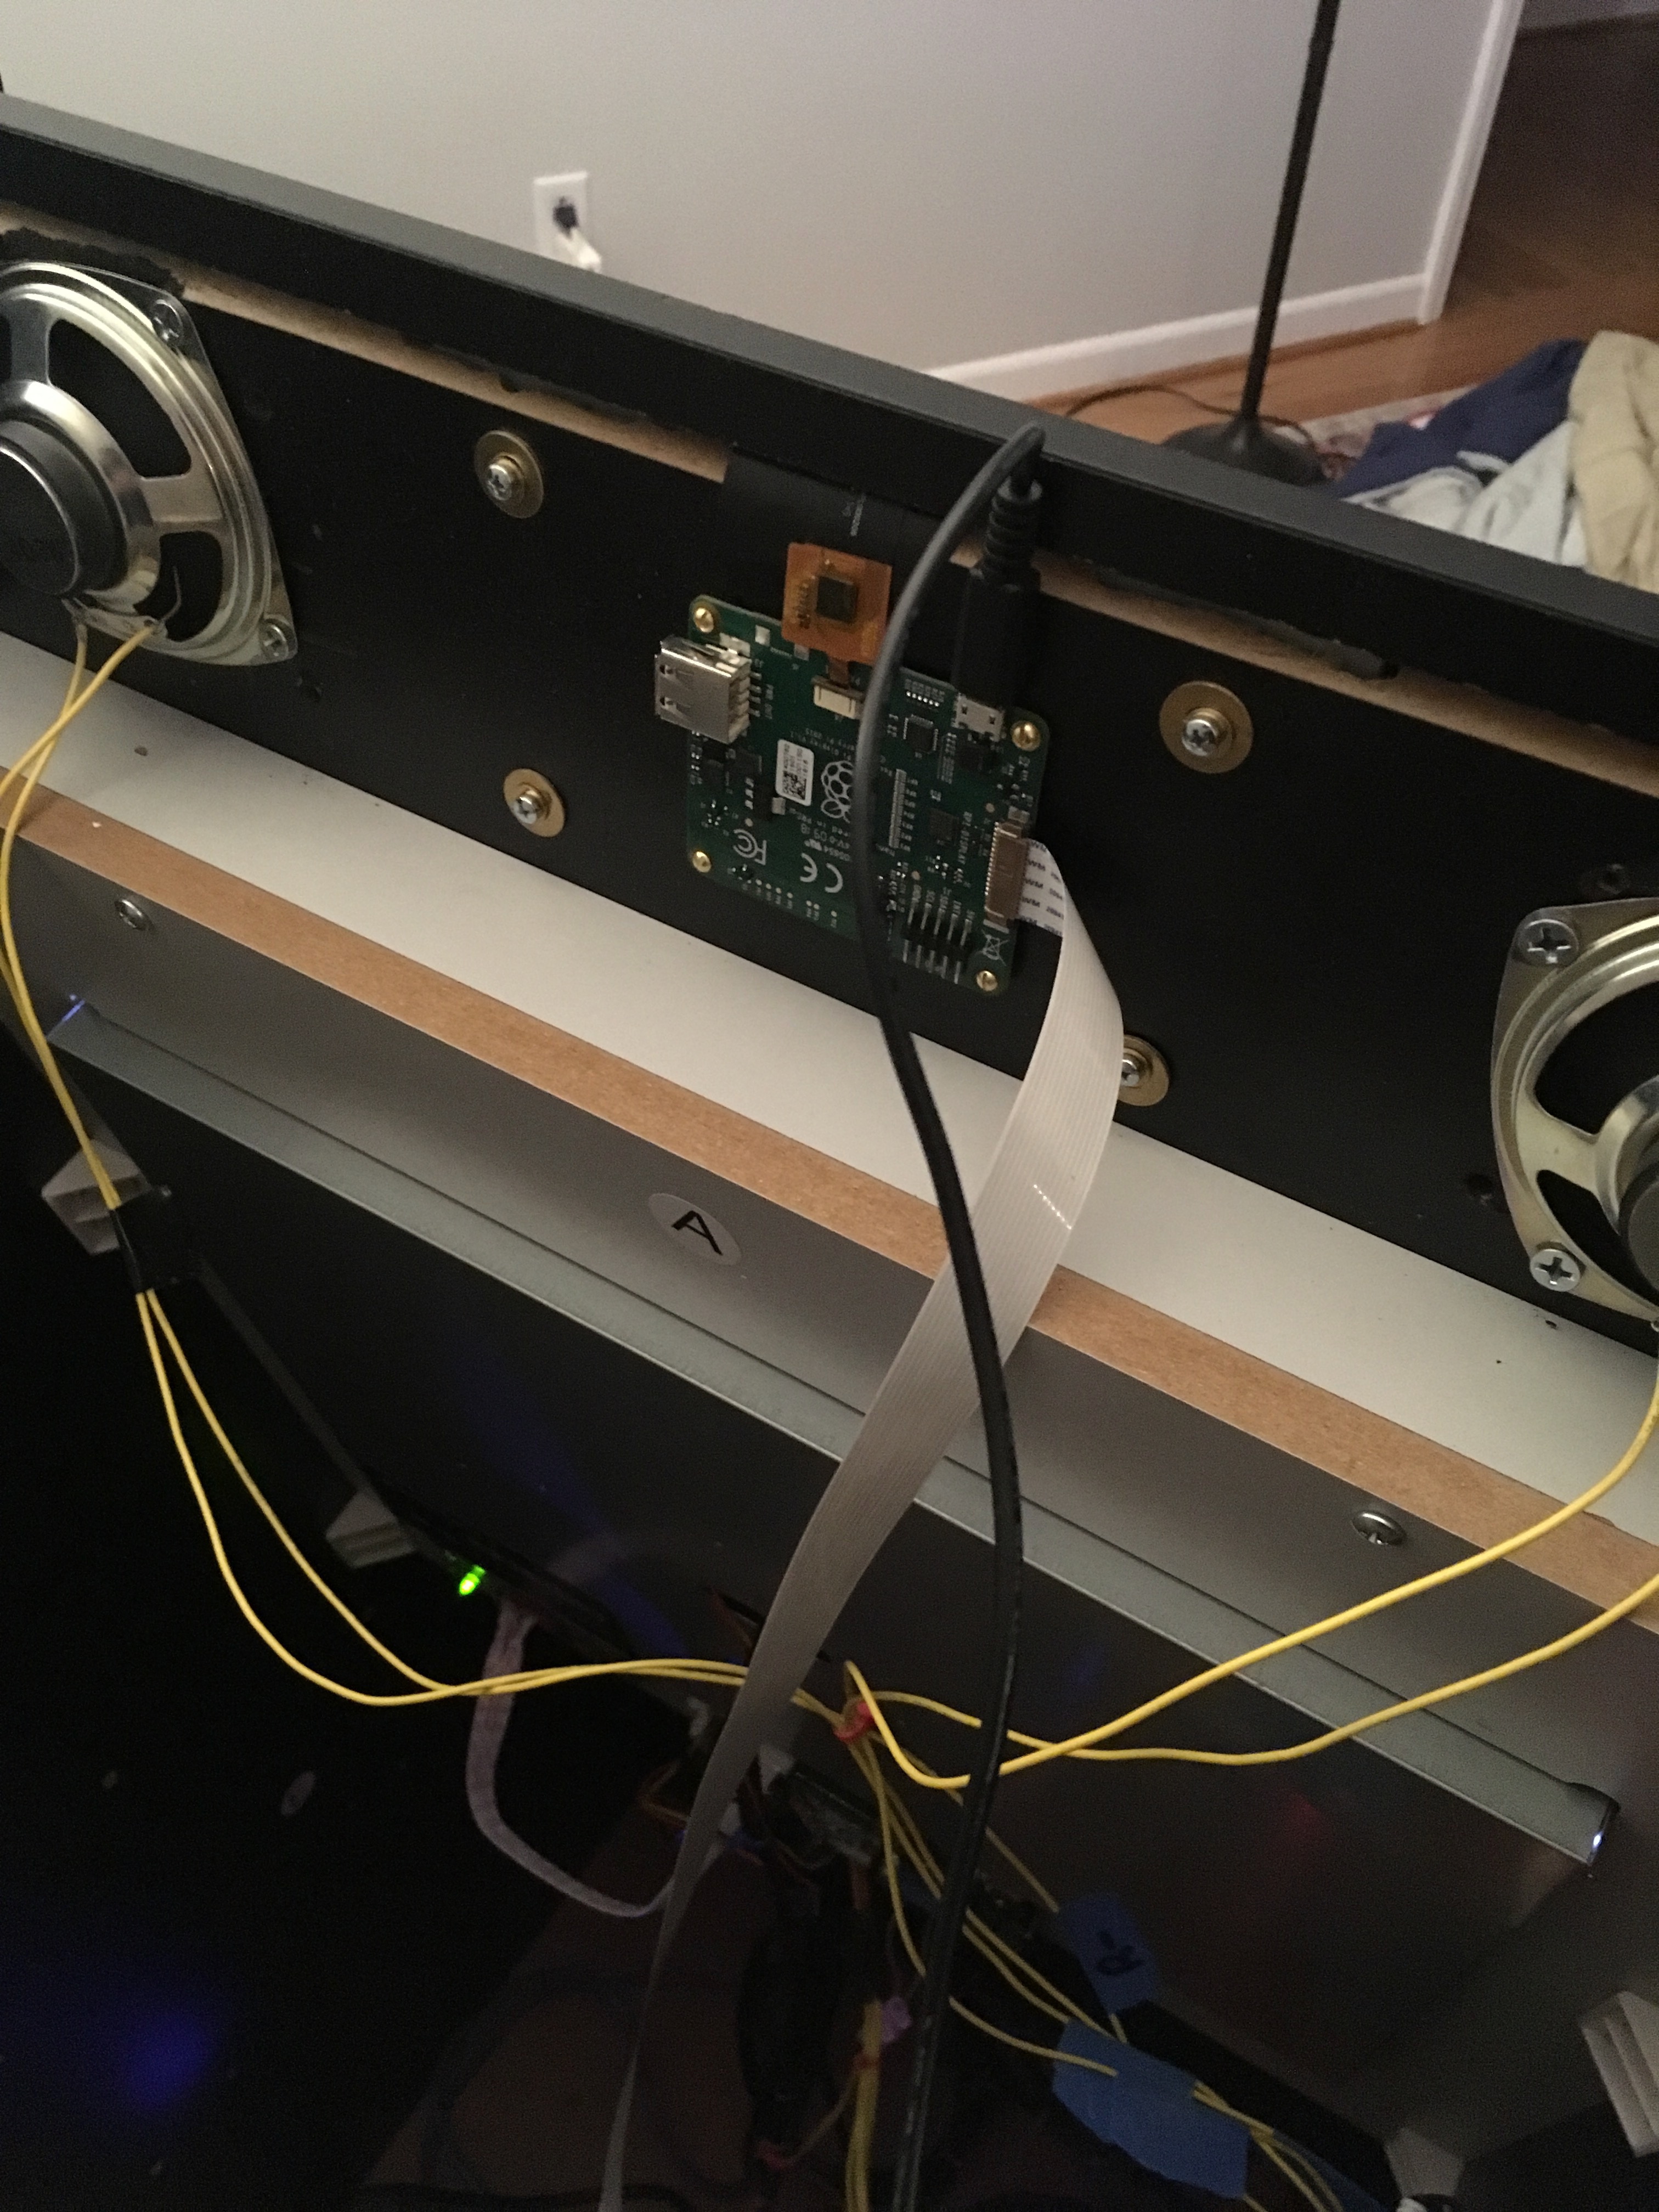
Then I put some electrical tape on it, and was able to use it with the screen within the small clearance I had. I also ran that crazy six-foot ribbon cable from the circuit board to the weird port on the Pi you always wondered about.
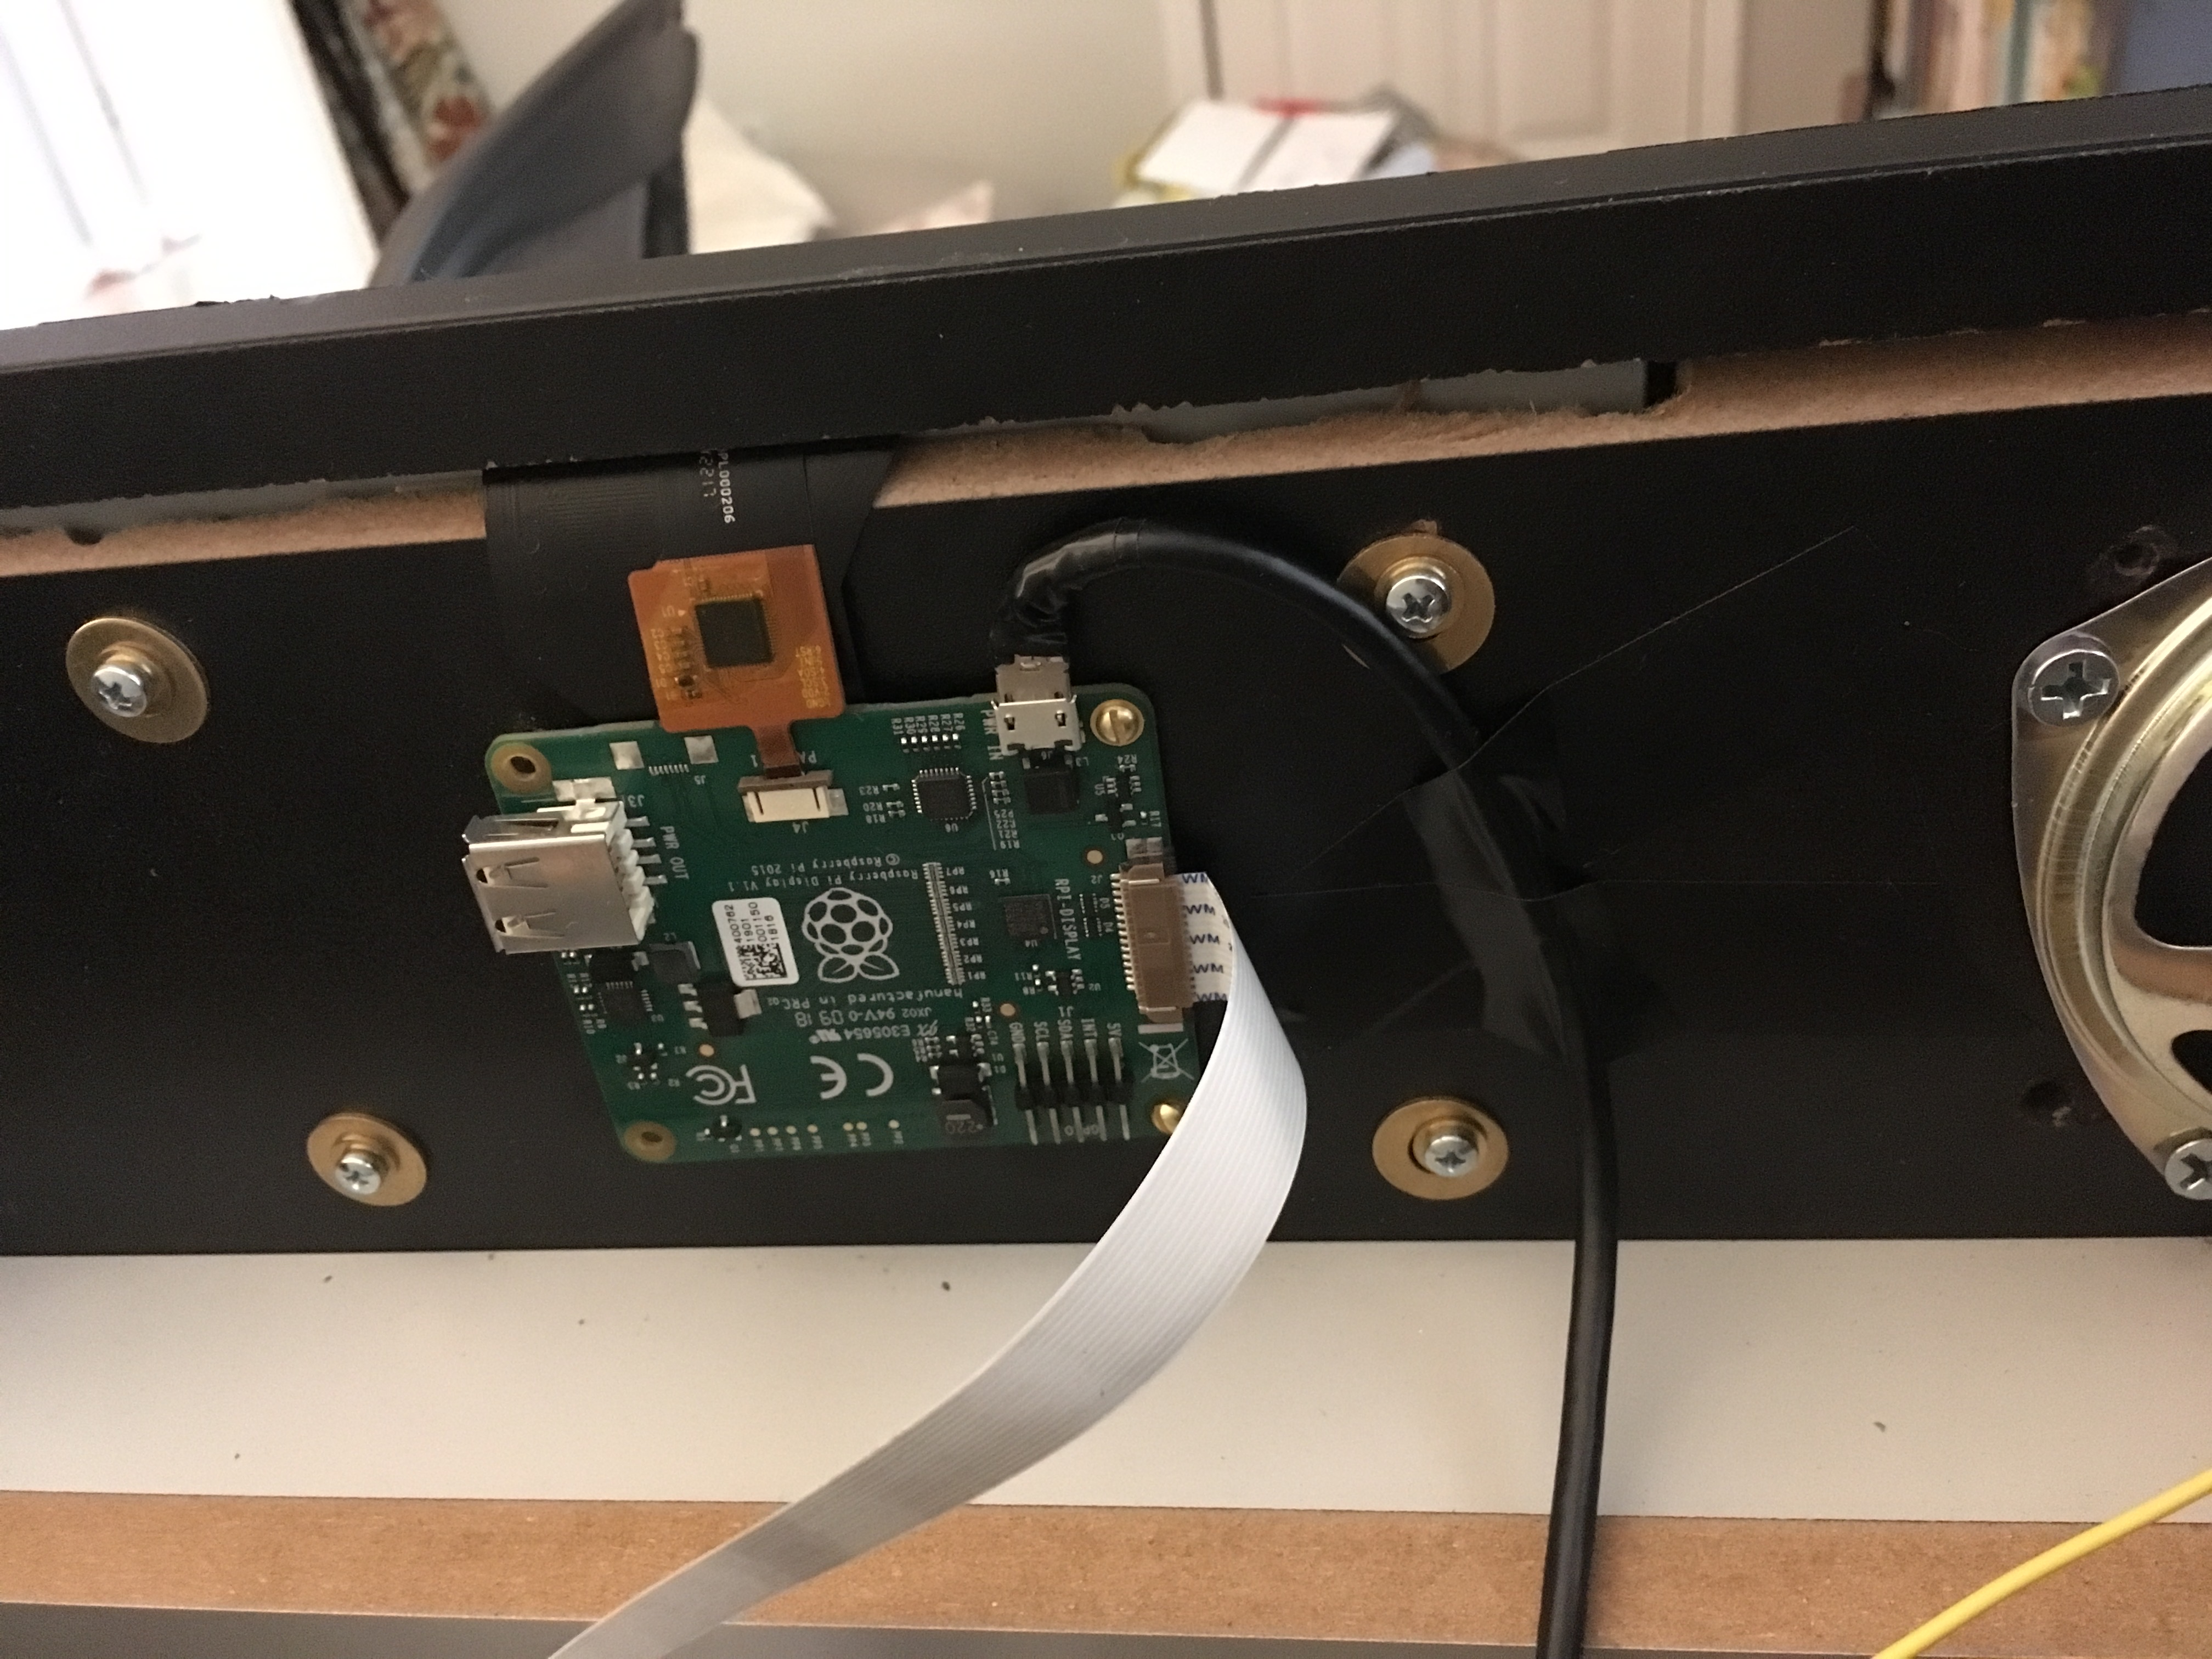
That port is a "DSI" port and it basically exists to drive this exact screen. Use the right one; the other port is for the official Raspberry Pi camera. Just gently slide the ribbon cable in. It will fight you a little, but you shouldn't have to--and shouldn't--aggressively force the cable in. If you have a Pi3, you don't need to hook up anything else: video output and touchscreen input both run over the DSI ribbon. On older Pi's you might need to run wires to the GPIO pins for touchscreen input, but if you could spend 80 bucks on a little screen, you can pay 35 for a newer Pi.
Ok, now power everything up and see if you get RetroPie on a tiny screen.
Hooray, we're done with the hardware work for now! Next up: software.
First things first. If you haven't figured it out yet: we installed the screen upside down, so the cable could fit through that slot in the marquee. Fortunately, you can rotate the output to be right-side-up in hardware by adding a line to /boot/config.txt. More magic: we can also tell the Pi to not favor a connected touchscreen over the HDMI port for the main screen.
Add these lines to the end of /boot/config.txt:
display_default_lcd=0
lcd_rotate=2
...save and reboot. RetroPie should be back on the cabinet's usual monitor.
Now, everywhere I looked on the Google machine seemed to believe you can't drive both these displays at once, unless you had "custom software," like omxplayer, which can render videos on the touchscreen even if you're using an HDMI monitor for everything else.
When they say "custom software," they mean something that talks to the "dispmanx" API, which I guess means "DISPlay MANager X" or something. It's a Pi (or at least Broadcom) specific API that controls some basic truths about the Pi's GPU. It also happens to be what SDL already uses at the lowest level for configuring output on a Raspberry Pi.
So here you go, now everyone has "custom software." The latest in SDL's revision control now reports two displays on the Pi, and both can have separate windows and both can use OpenGL ES for accelerated 3D rendering at the same time, using the existing SDL application interfaces.
As an added benefit, creating an SDL window on the LCD will give you touch events. More on that in a moment.
My original thinking was to have a simple program that blasts a .png file to the display and quit, leaving the image on the screen, but it turns out that the Pi will power down the screen when no process is using it. It leaves the backlight on, so you can watch the liquid crystals fail in slow motion. It's actually kind of cool, but not useful for our needs. Now I had to keep a process running all the time just to keep the screen alive, and then I needed a way to tell that process to change the picture, and now we're into some crazy interprocess communication nonsense.
So I wrote a daemon that sits there and takes requests over D-Bus to change the image, complete with crossfade, and a bunch of file formats supported, including SVG, which will be helpful a little later. There's a simple command line program to tell the daemon to change pictures.
That work is sitting in revision control.
So now we have a way to show an image on the display, and a way to tell it to change to a new image...what images do we show? By default, it shows a "NEO-GEO SYSTEM" logo, a little nod to a mod that I love. But all this work was so I wouldn't have a Street Fighter logo when playing Pac-Man, so the next step was to make some changes to EmulationStation to run a script before launching a game.
...but after some research, it turns out it already does this! Runcommand, the thing that actually launches games for EmulationStation, will already look for a script at /opt/retropie/configs/all/runcommand-onstart.sh (and -onend.sh) and run it before the game itself starts. So cool, we can hook in. About 100 lines of Perl can find the game's metadata in a core's gamelist.xml, so we can pull out the images from there. Failing that, we can render the SVG file for the emulated system itself from the EmulationStation theme.
Already this was looking pretty sweet, but I wanted to take this further. It's been bothering me that sometimes I need to hunt down a USB mouse...maybe I'm running Basilisk II...
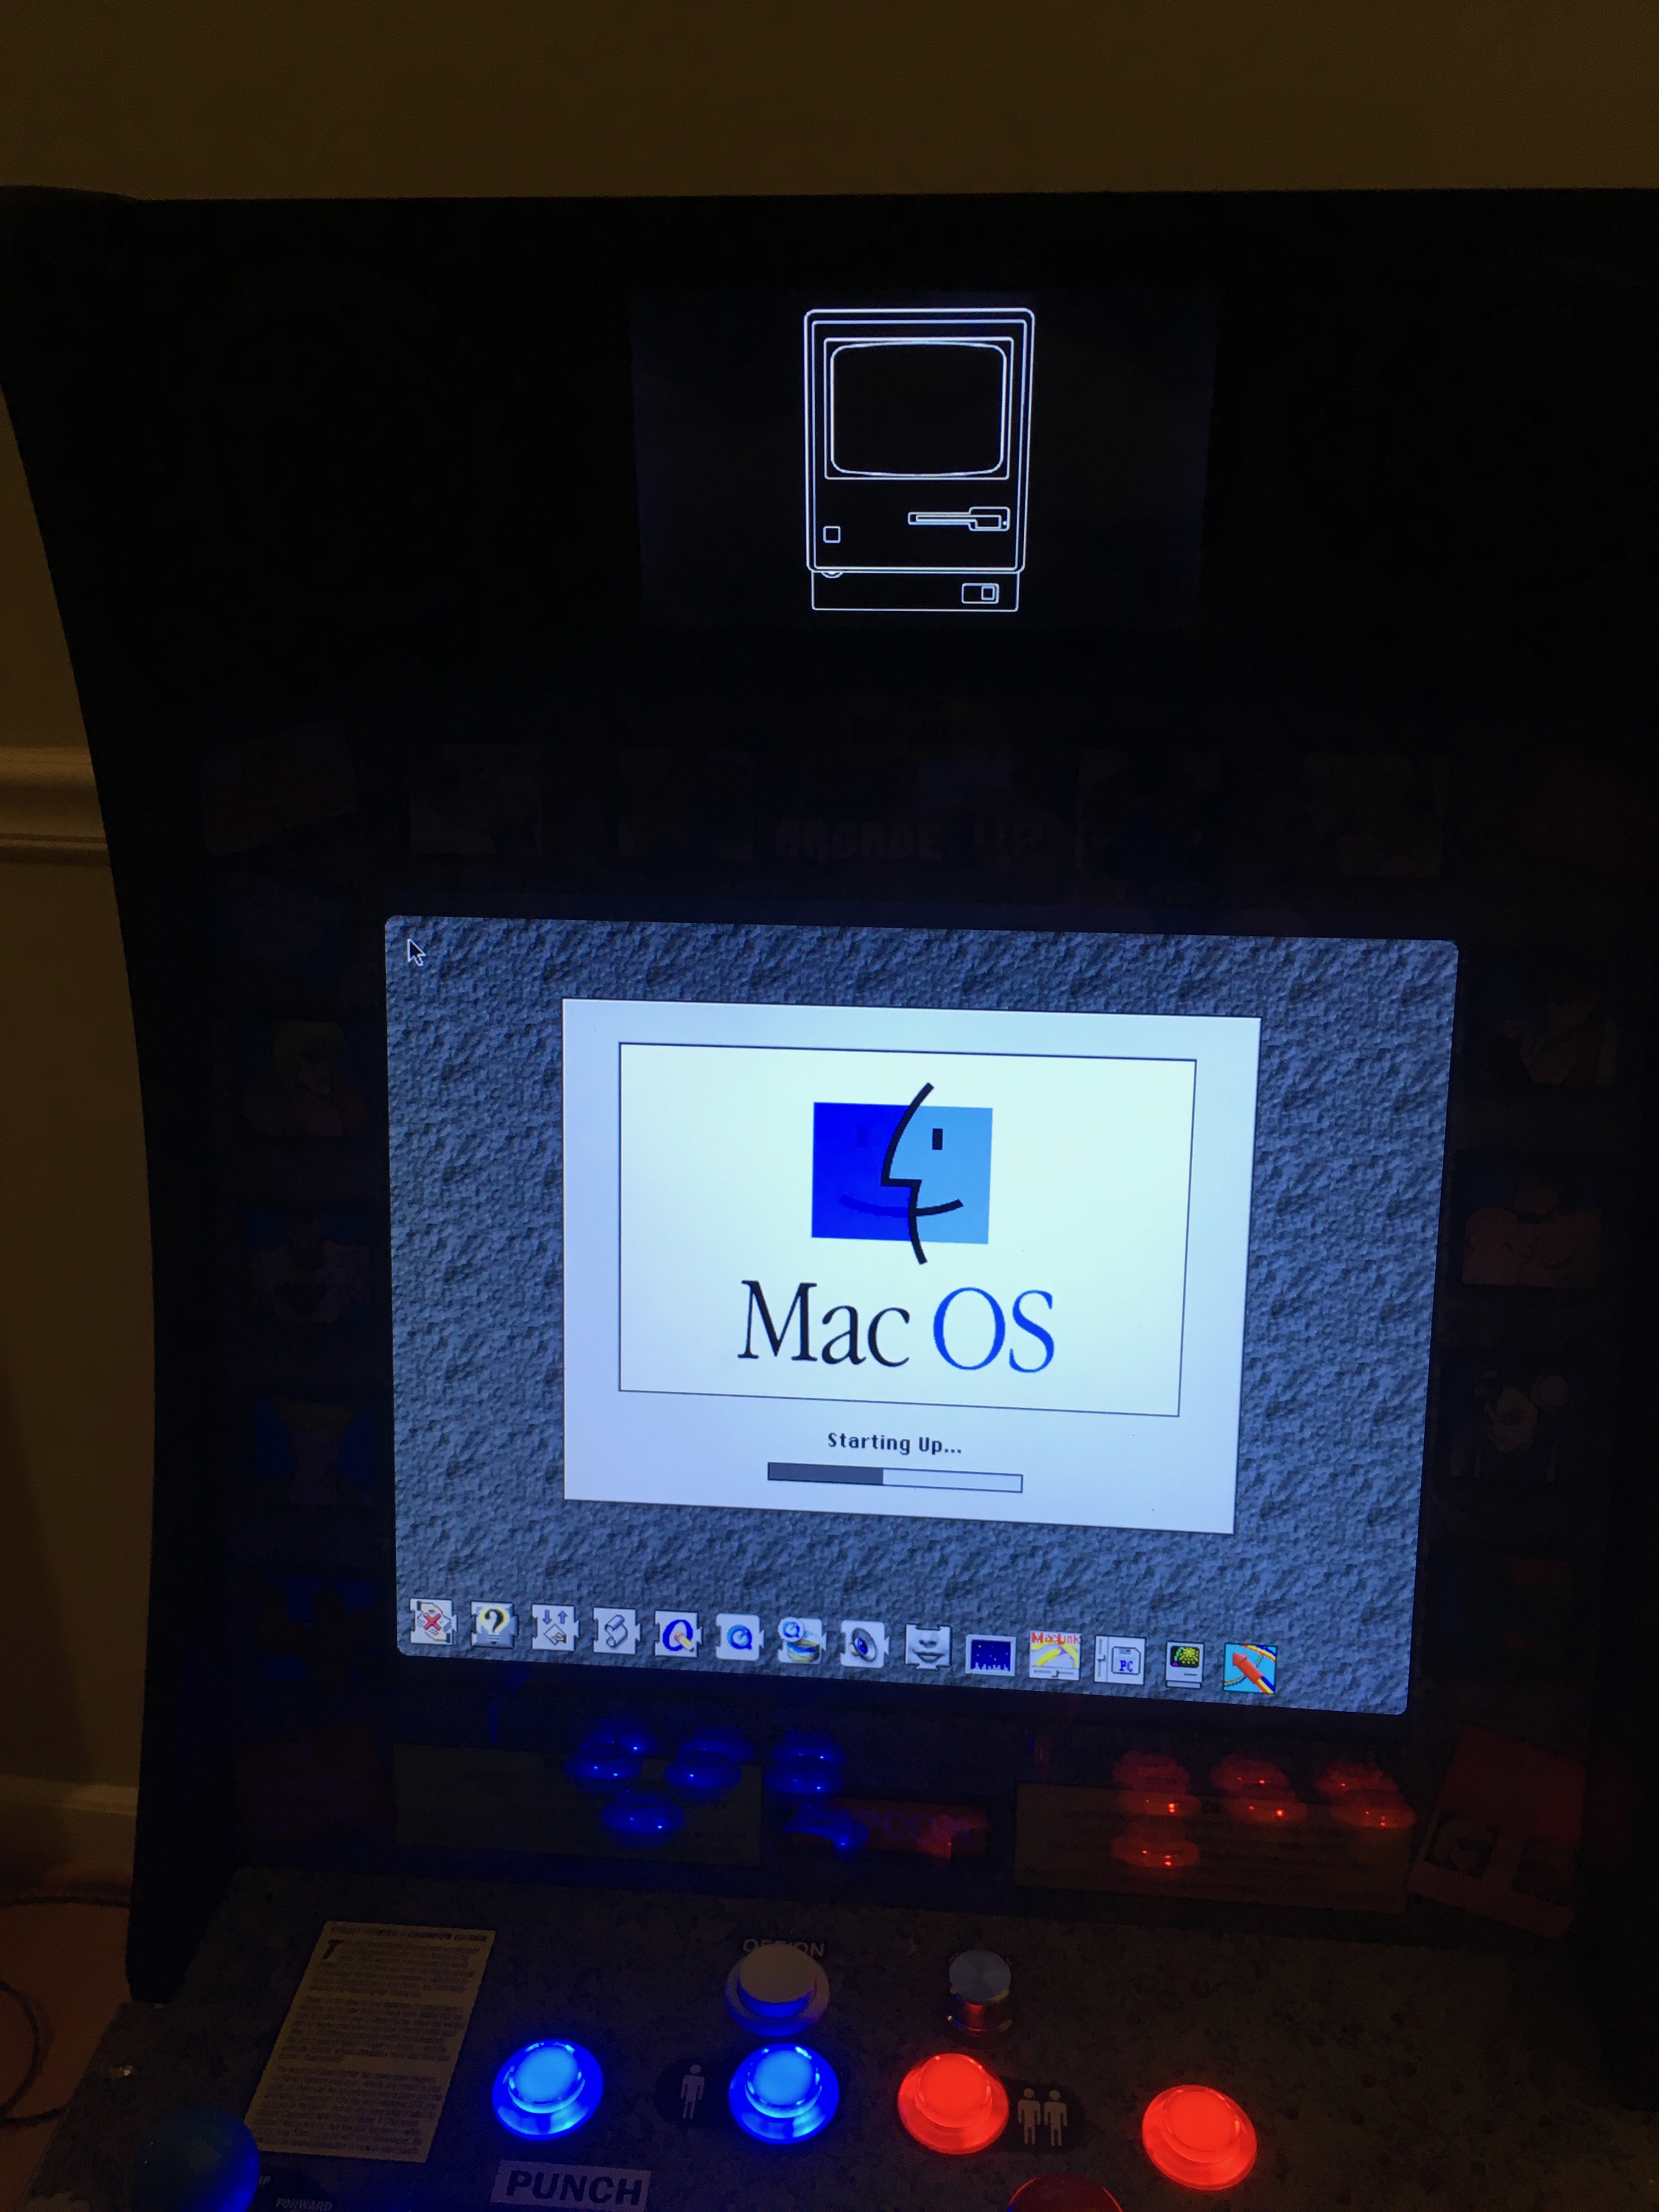
...or maybe I'm just running ScummVM and want to move the mouse cursor better than I can with a Sanwa joystick.
Since we have a touchscreen in the marquee, and a program that always needs to be running to drive the touchscreen, why not have that program also listen for touch input and make it look like a mouse to the rest of the system?
Hooray for Linux, this is actually easy to do. Linux offers something called "/dev/uinput" for creating virtual mice. Your program says "this fake mouse just moved three mickeys to the left" and as far as every other program on the system is concern, a real mouse is getting slid around. So now the program sees a finger on the screen, it'll move the "mouse," and if a second finger touches, it'll report that as a mouse button being pressed. While I didn't mess around with multiple buttons or scrollwheels, this is more than enough to play Space Quest 4.
It isn't enough, however, to play Space Quest 3, which wants you to type in commands like "press button" and "buy underwear."
For that, I made a virtual keyboard to match the virtual mouse. It slides in or out when you touch four fingers to the screen at the same time, and gives you a basic keyboard where you can tap keys and the system thinks you plugged in a USB thing...but you didn't!
None of this is going to be a pleasant way to play Quake, but it's been working quite well for LucasArts and Sierra games, not to mention the occasional emergency commands typed in at the terminal without finding a real keyboard.
To get all this to work, you have to build a bunch of stuff, make a patch to the system-installed SDL2, install a D-Bus config file and a systemd service and add some scripts to your RetroPie install.
I know what you're thinking. First, you're thinking Jesus Christ, this blog post goes on FOREVER, and trust me, I'm right there with you because you can skim it but I had to write this whole thing out and take pictures! Also, you're thinking that setting up the software for this is totally intimidating, and if you aren't a Linux command line nerd like me, that's a totally reasonable way to feel. So I've reduced this down to exactly one command for you. Connect the touchscreen, boot, and then either quit out of EmulationStation so you're at a command prompt and plug in a USB keyboard, or connect over the network with ssh or PuTTY and punch in this magic:
curl -L https://bit.ly/arcadelcd |sudo bash
That will download an installation script and run it (as an administrator). Unless something goes wrong, you can just watch it spin a little and wait until it reports success. Maybe reboot to get the screen right-side-up. If something does go wrong, you're not on your own; ask for help!
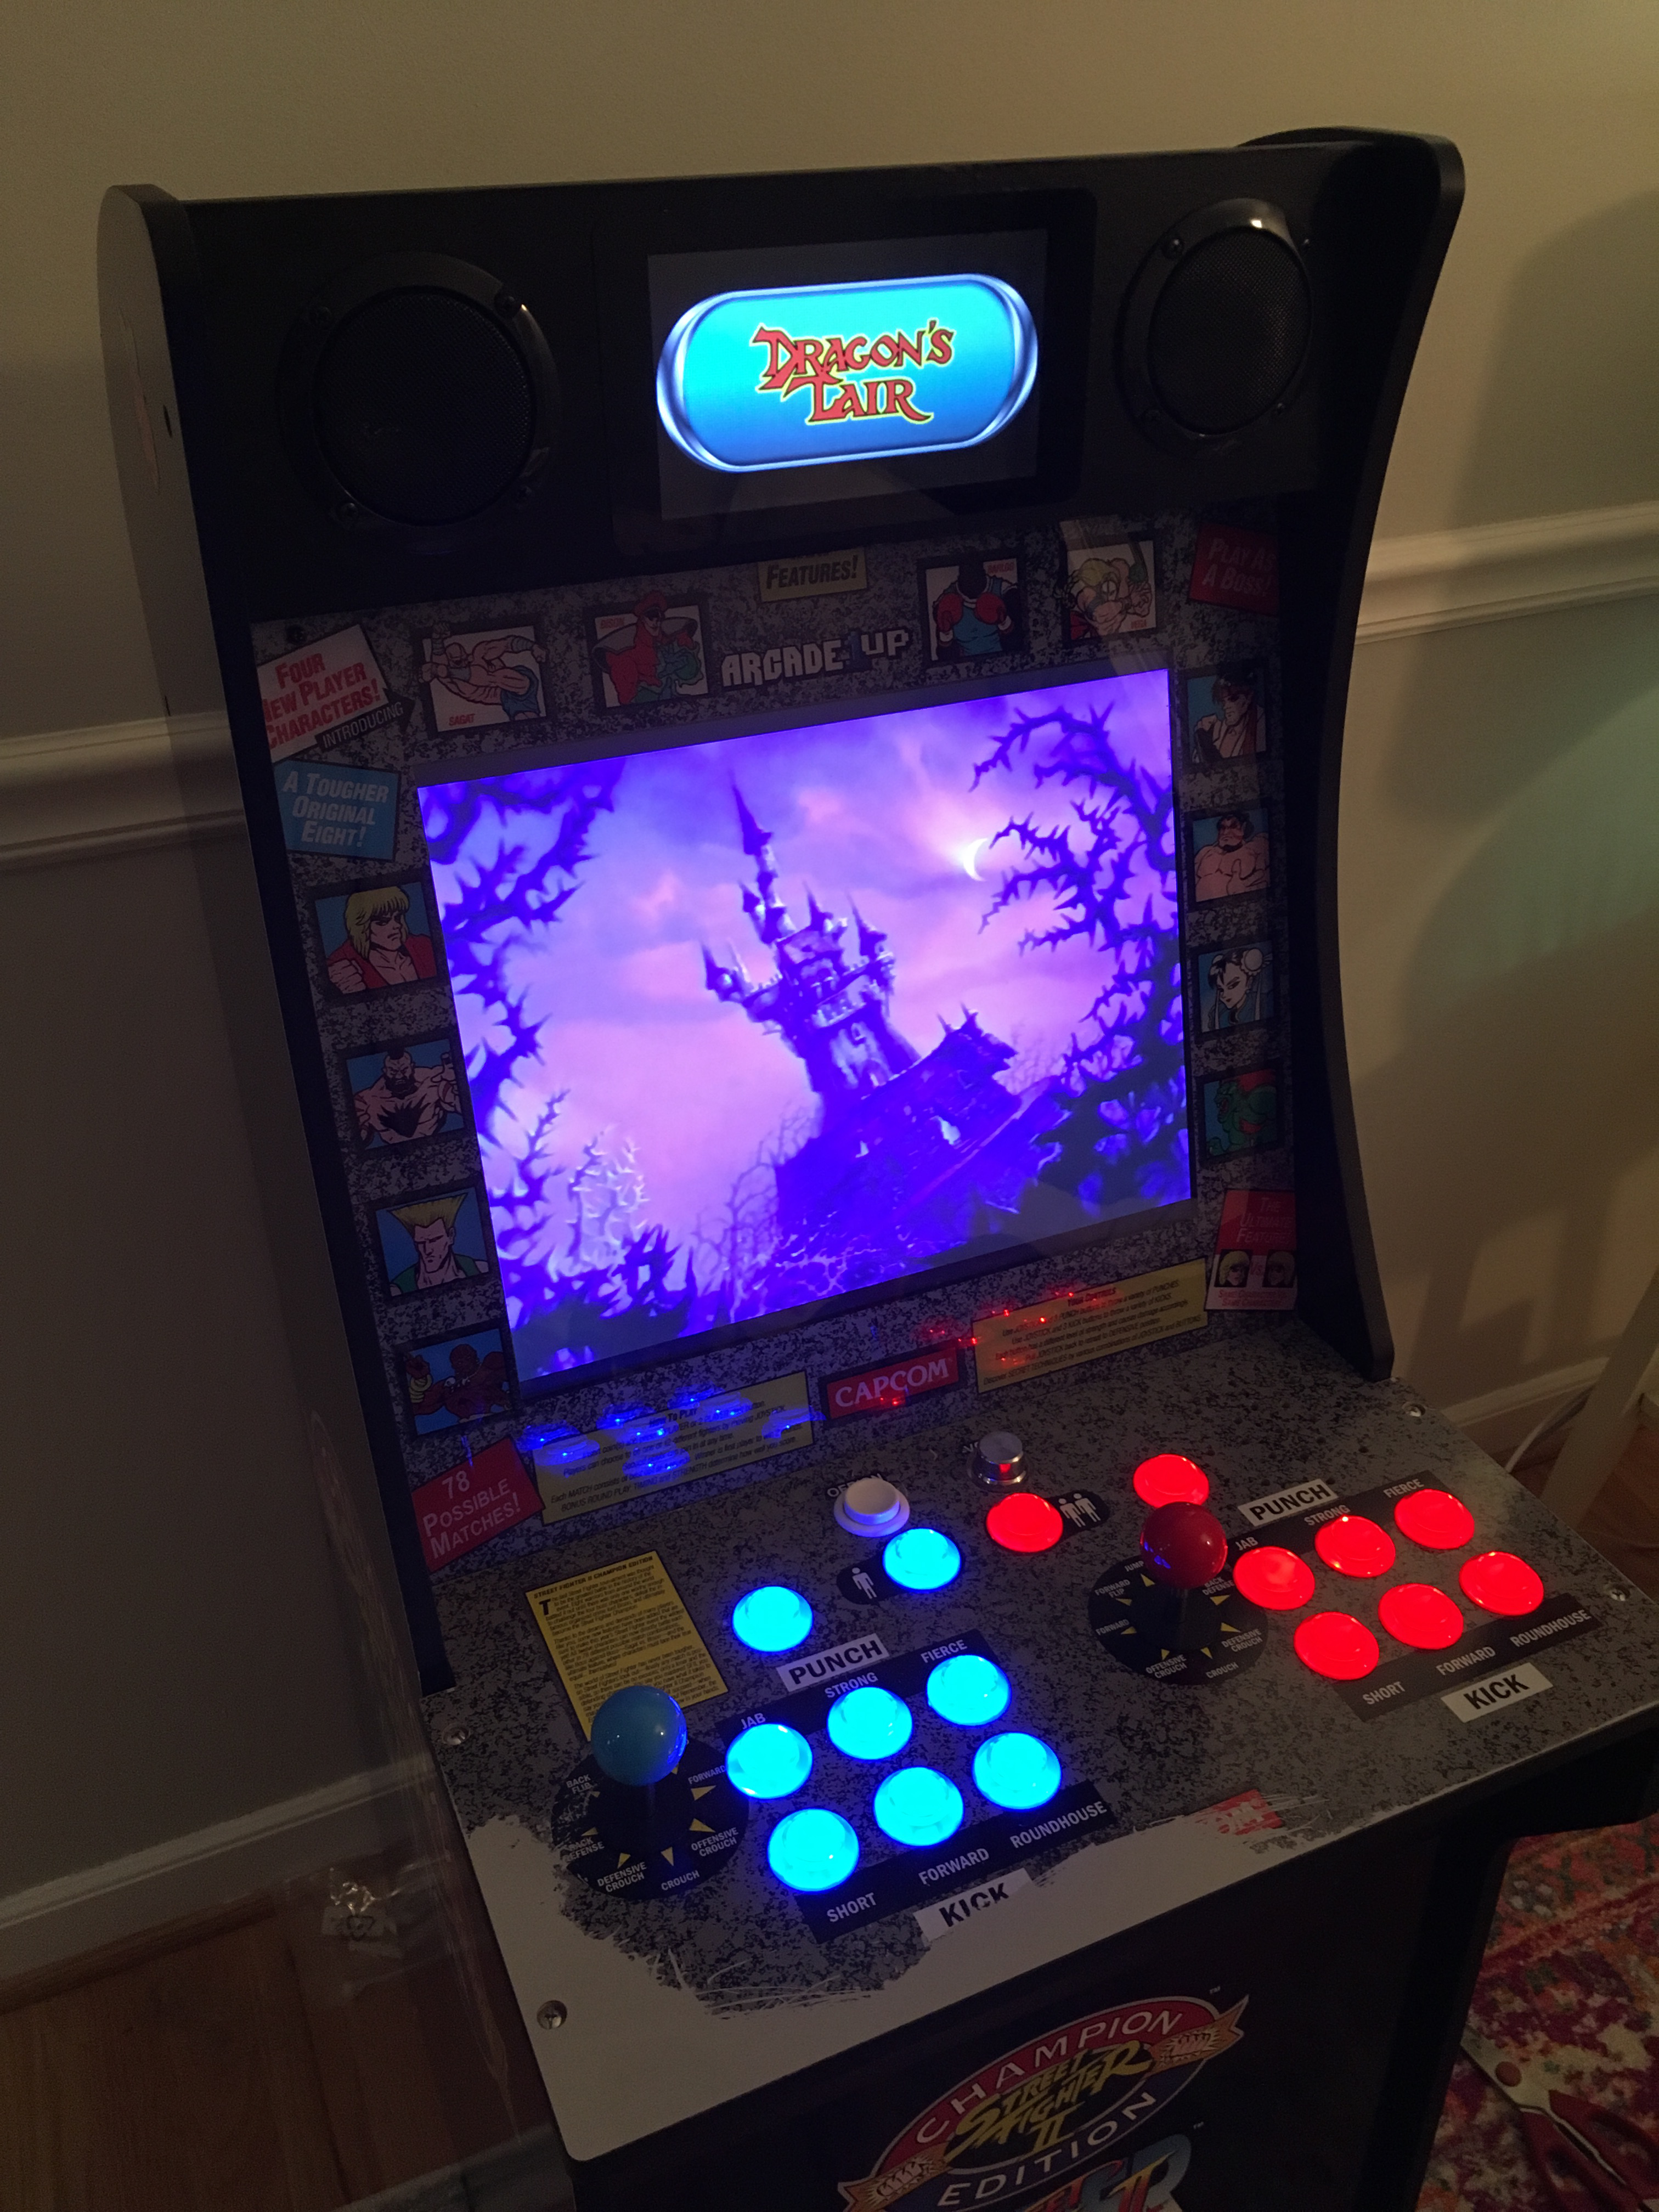
And then, you're good to go. What a ride! I'm so happy with how the final product came out. It's totally unique and useful. It's form and function. :)
But I think next time I'll do something easier, like replace the HDMI monitor completely or beat Dragon's Lair without dying.
--ryan.