Yoohoo:
I forgot to mention: I have a Patreon! Mostly I make fun software, tools to build games, and port games to Linux. If you like those things, please throw in a buck.
Arcade1Up mod quickies!
If you missed them, I previous wrote up these other Arcade1Up cabinet mods:
- Wire up stock volume and power switches to the Raspberry Pi
- Run stereo speakers into the marquee
- Trim down a massive rom set to exactly what you want
- Run the amp's volume knob to the control panel
So here are a few quickies that I felt were worth mentioning but not bloviating about in great detail.
Turn off (almost) everything from the stock power switch.
If you saw my first post about wiring up the power switch to GPIO3, you might be thinking: I'd like to turn off everything, instead of just having it go into standby. Or maybe your amp being on makes you crazy, or your monitor won't go into stanbdby at all, or you have blinged out LED lights all over and they have to power off, too.
You can fix this with a simple relay, if you want to get your hands dirty, but I went for a slightly more expensive but almost-turnkey solution.
As usual, Adafruit to the rescue. They sell this for 25 bucks:

It looks like an average surge suppressor power strip thing, but it has a few magical properties:
- One outlet always provides power no matter what.
- Two outlets only provide power when the relay is charged.
The basic idea with a relay is that you have a little electromagnet. Give that magnet a little power and it'll pull a little piece of metal over, completing a circuit. You power the magnet with that little green thing on the side. You put wires in it. You can wire this up to GPIO pins, but I had other plans...
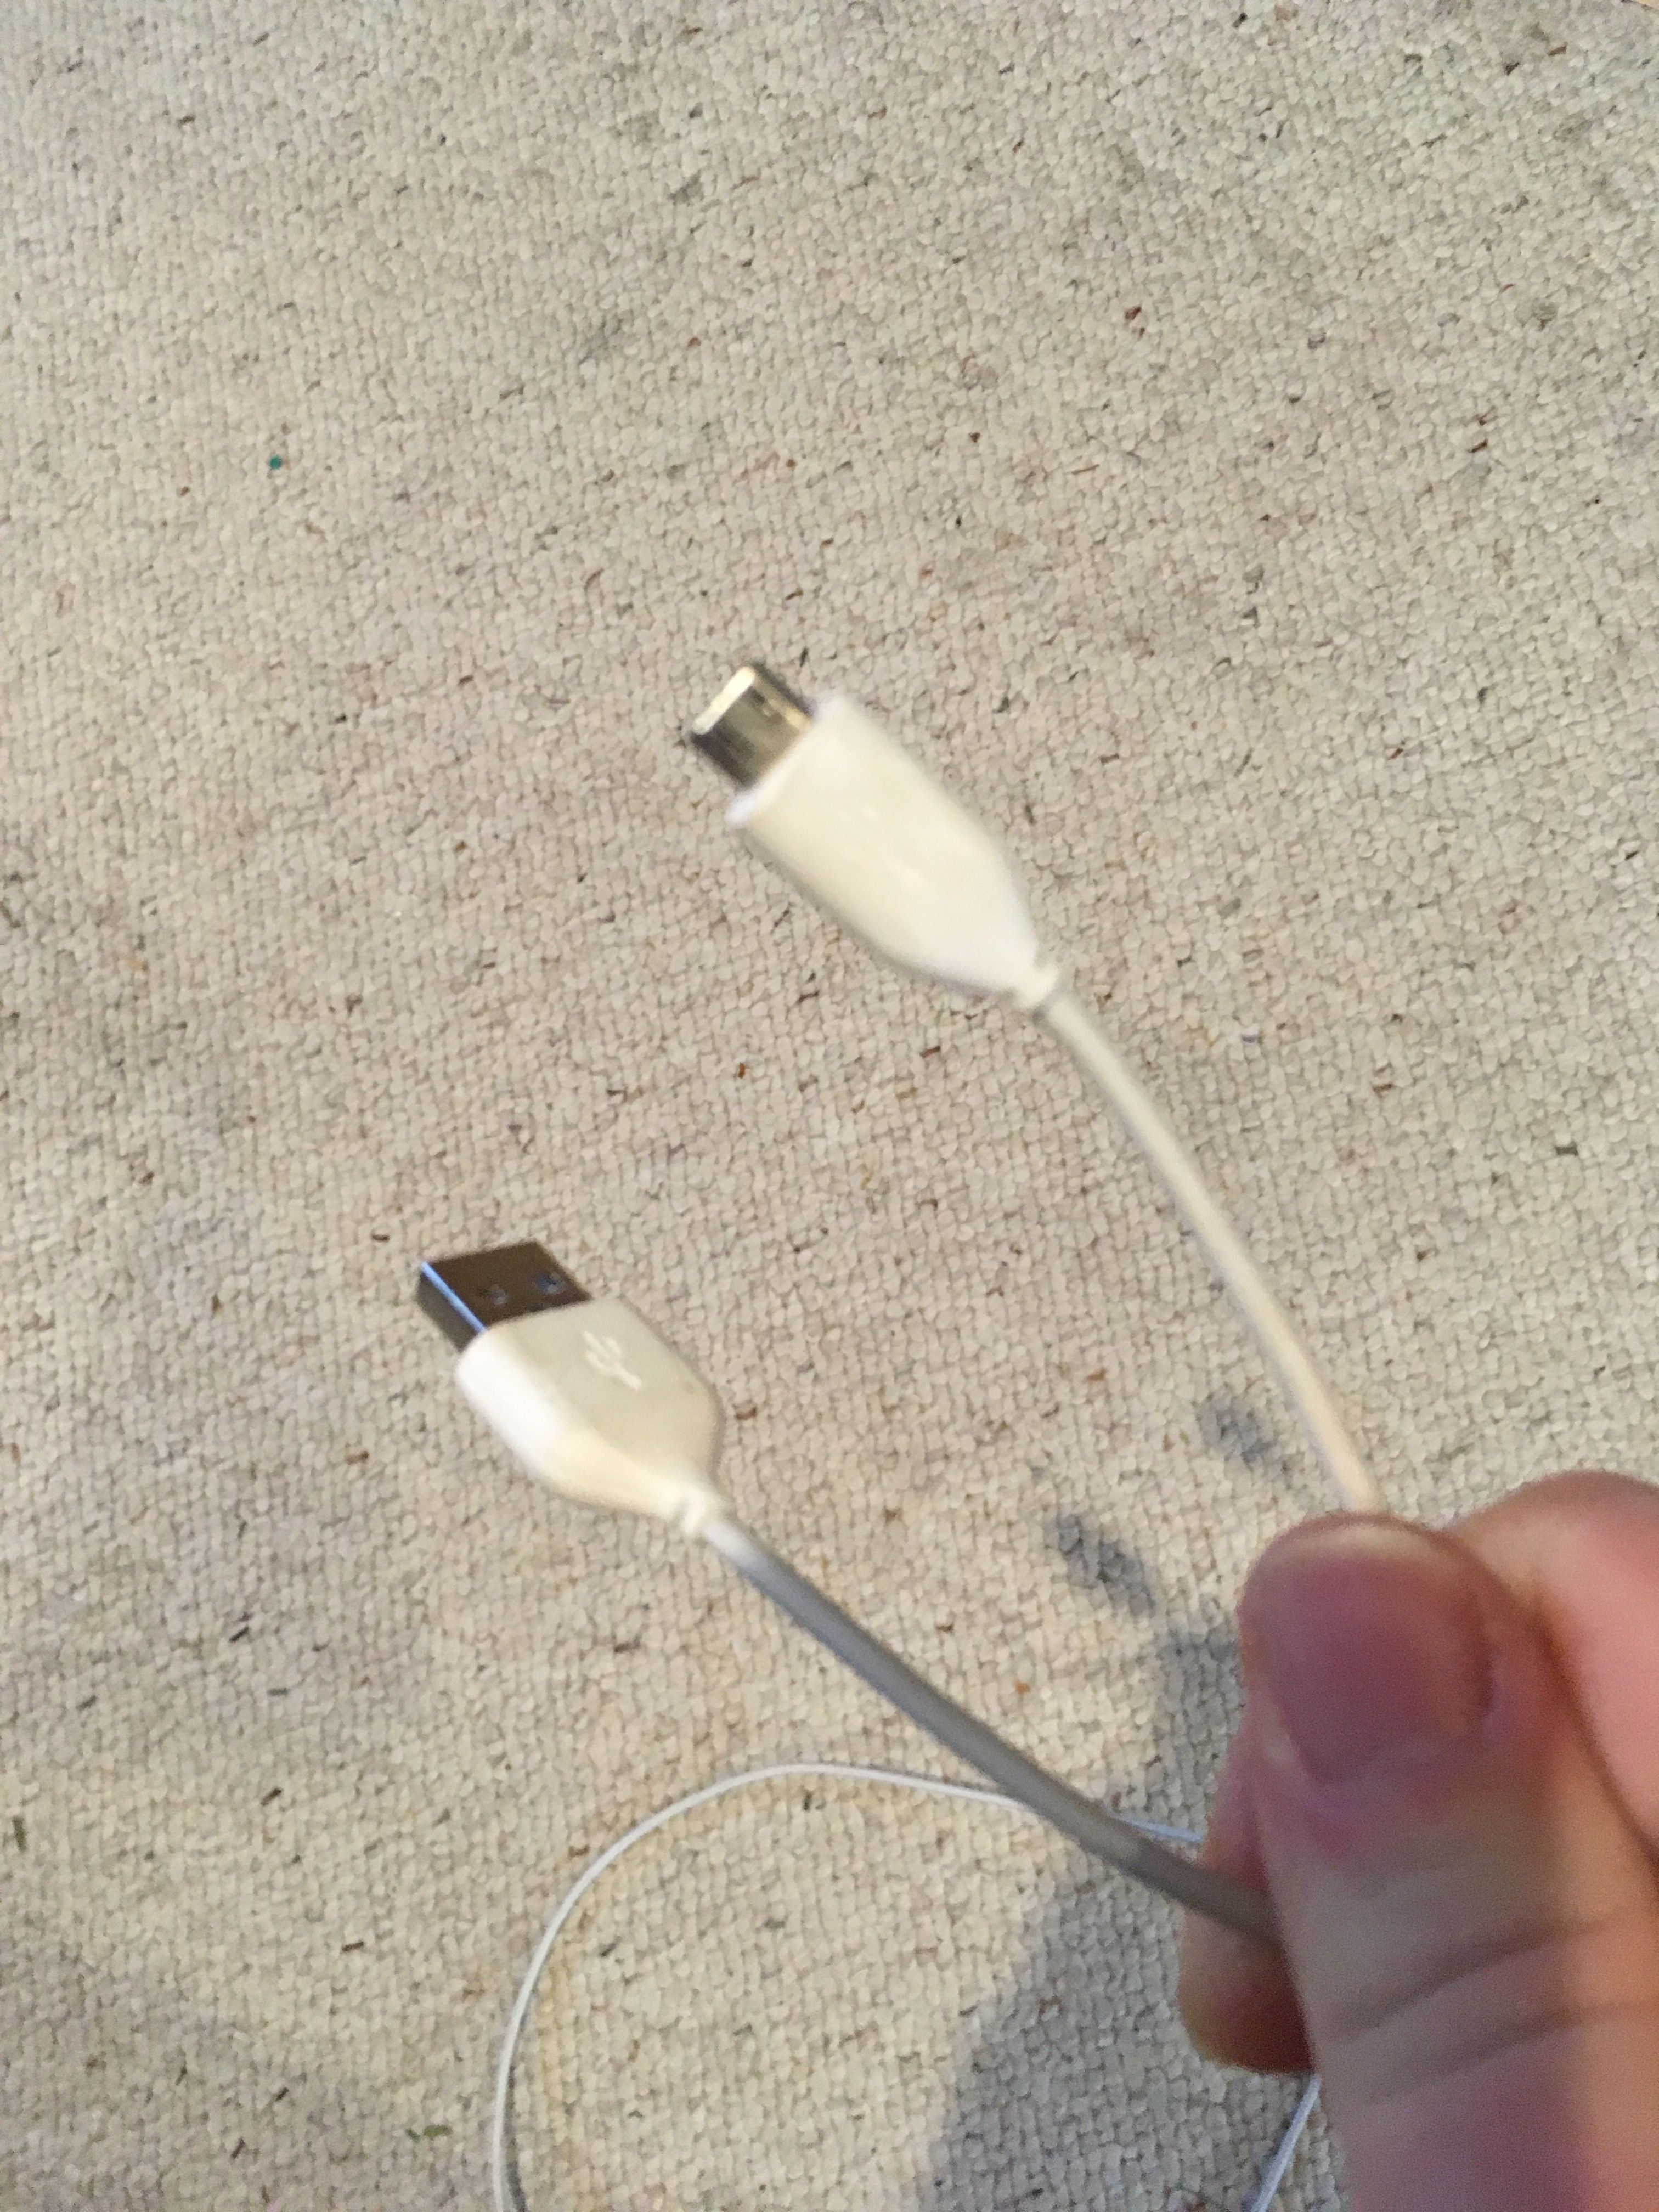
Go find yourself a spare USB cable. Find the shittiest one in the back of the drawer, because you're going to destroy it.
If you cut open a USB cable, past the shielding that looks like aluminum foil and the other floof, there are four wires: red, black, white and green. White and green are data. Red and black deliver power. We want power.
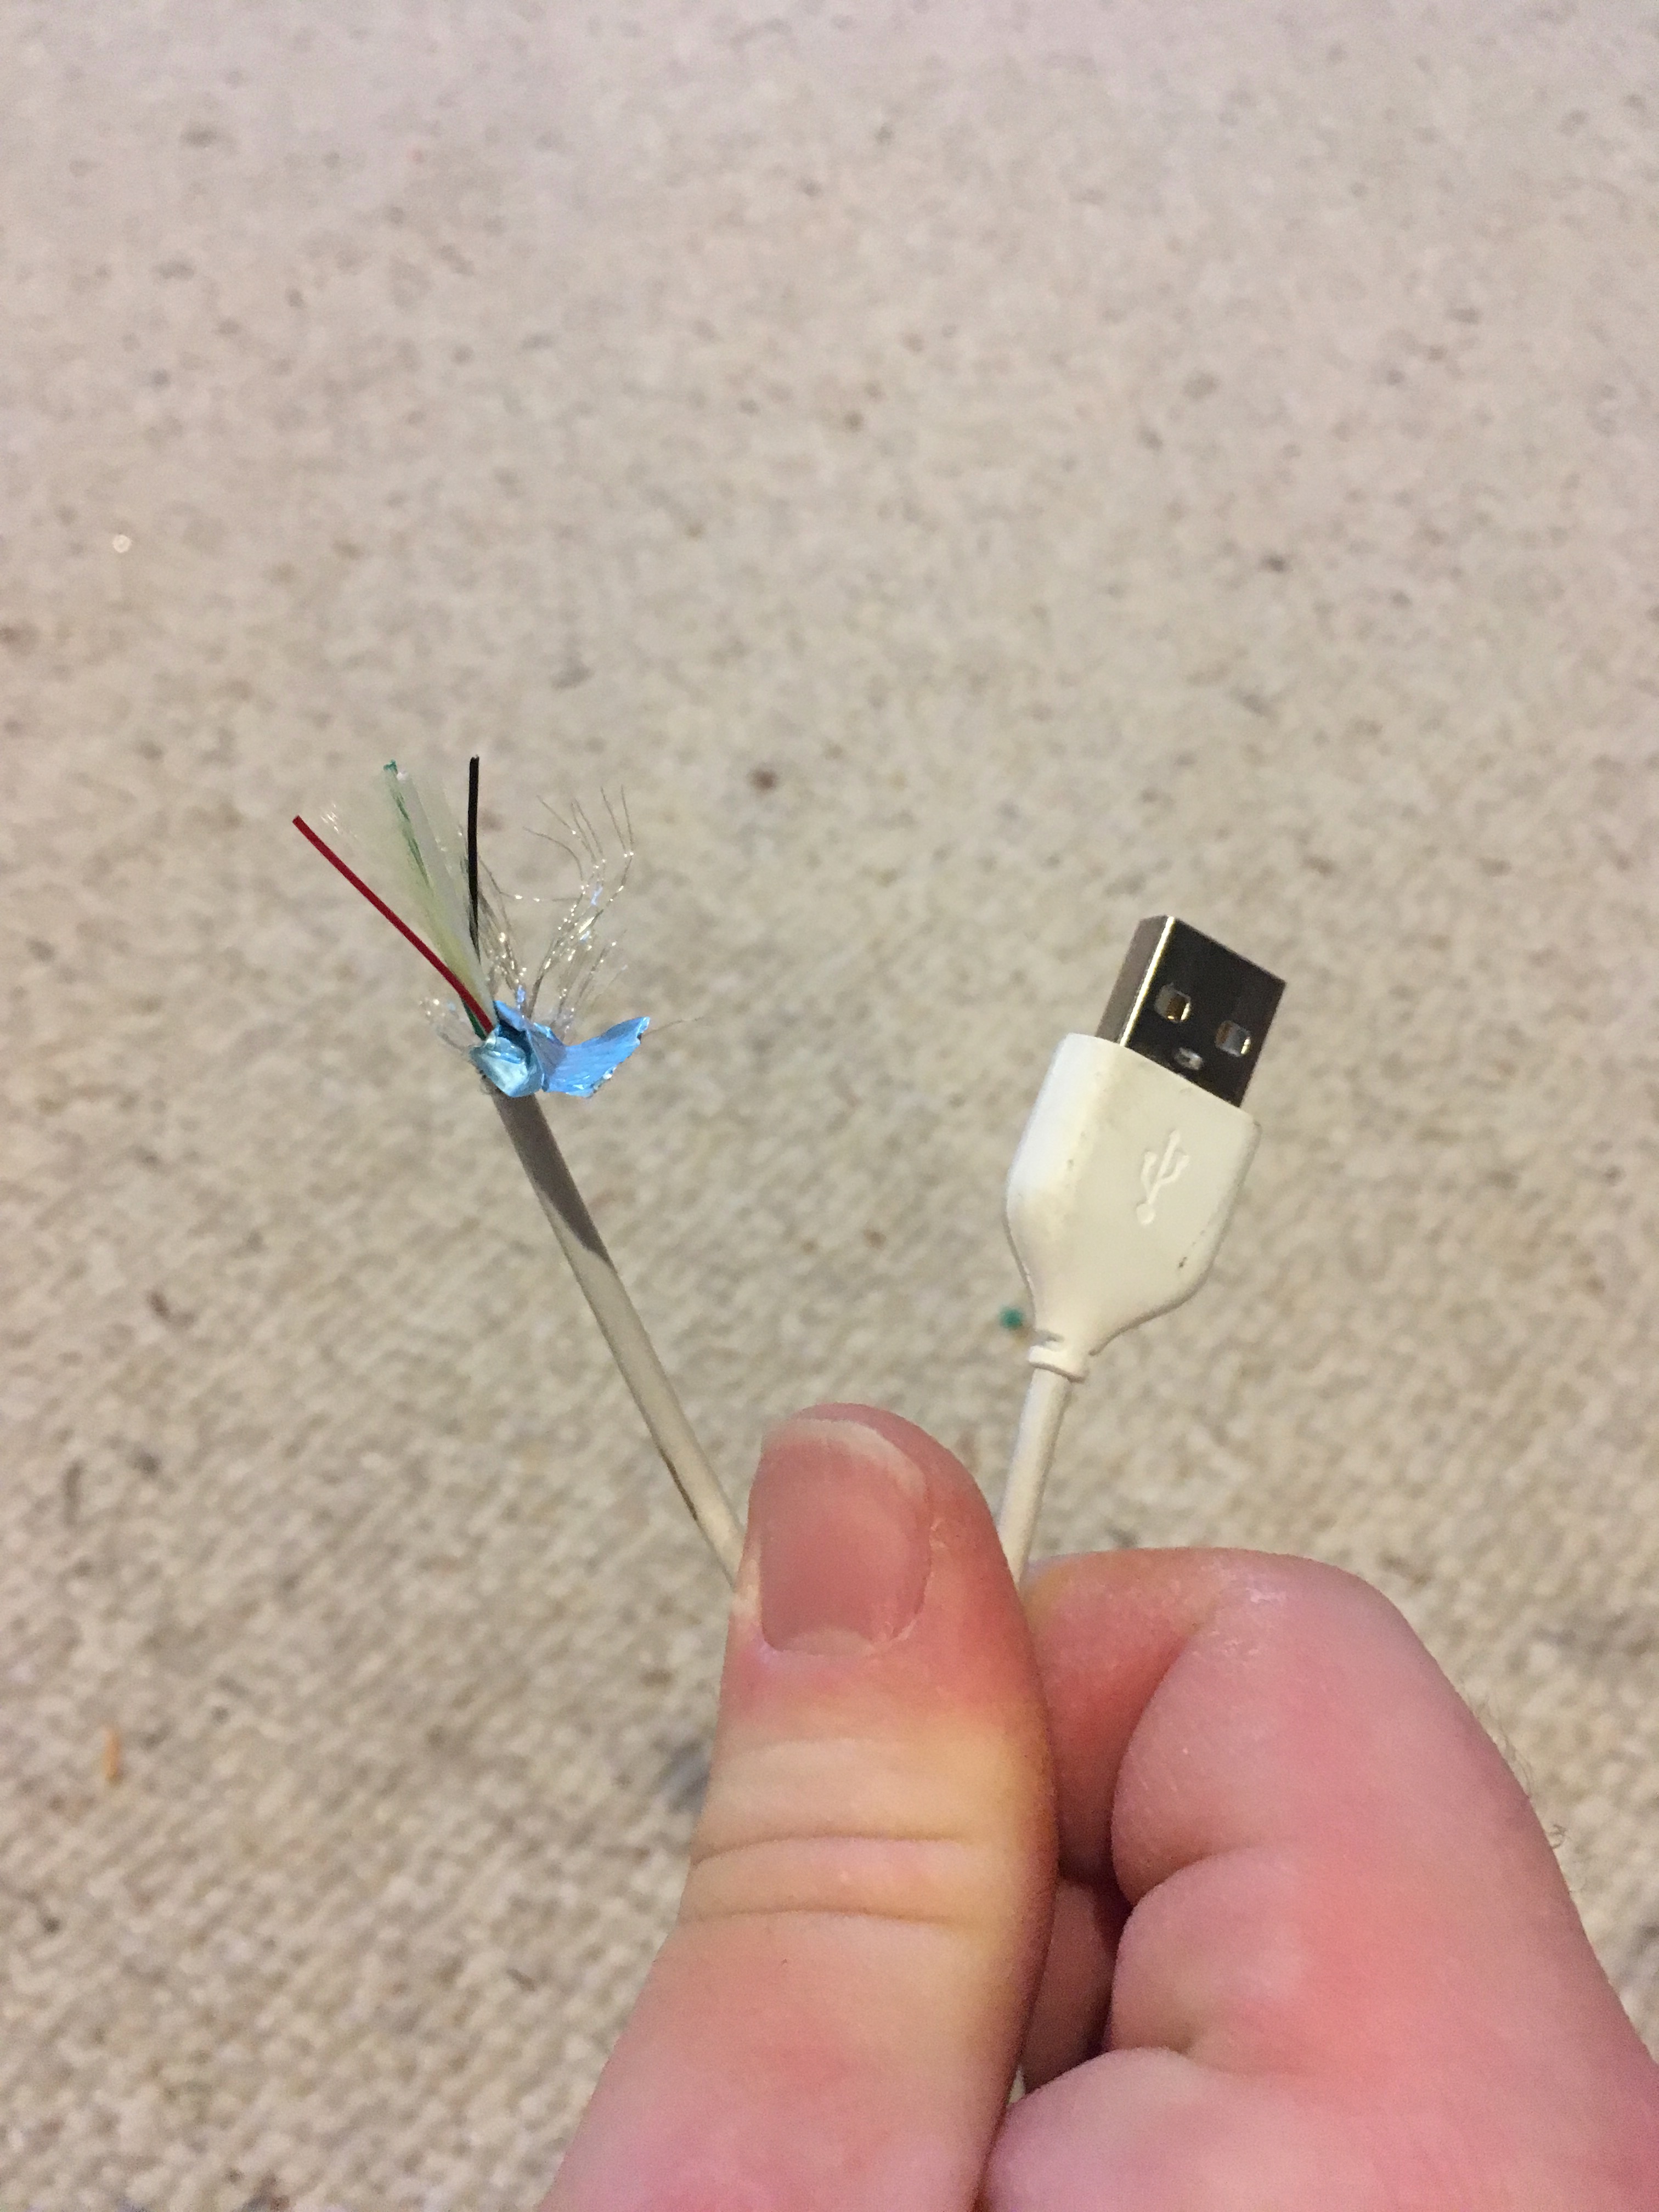
Cut out the parts you don't need. Strip the red and black wires (these were too thin for my wire strippers, so I took an exacto-knife to it, very carefully).
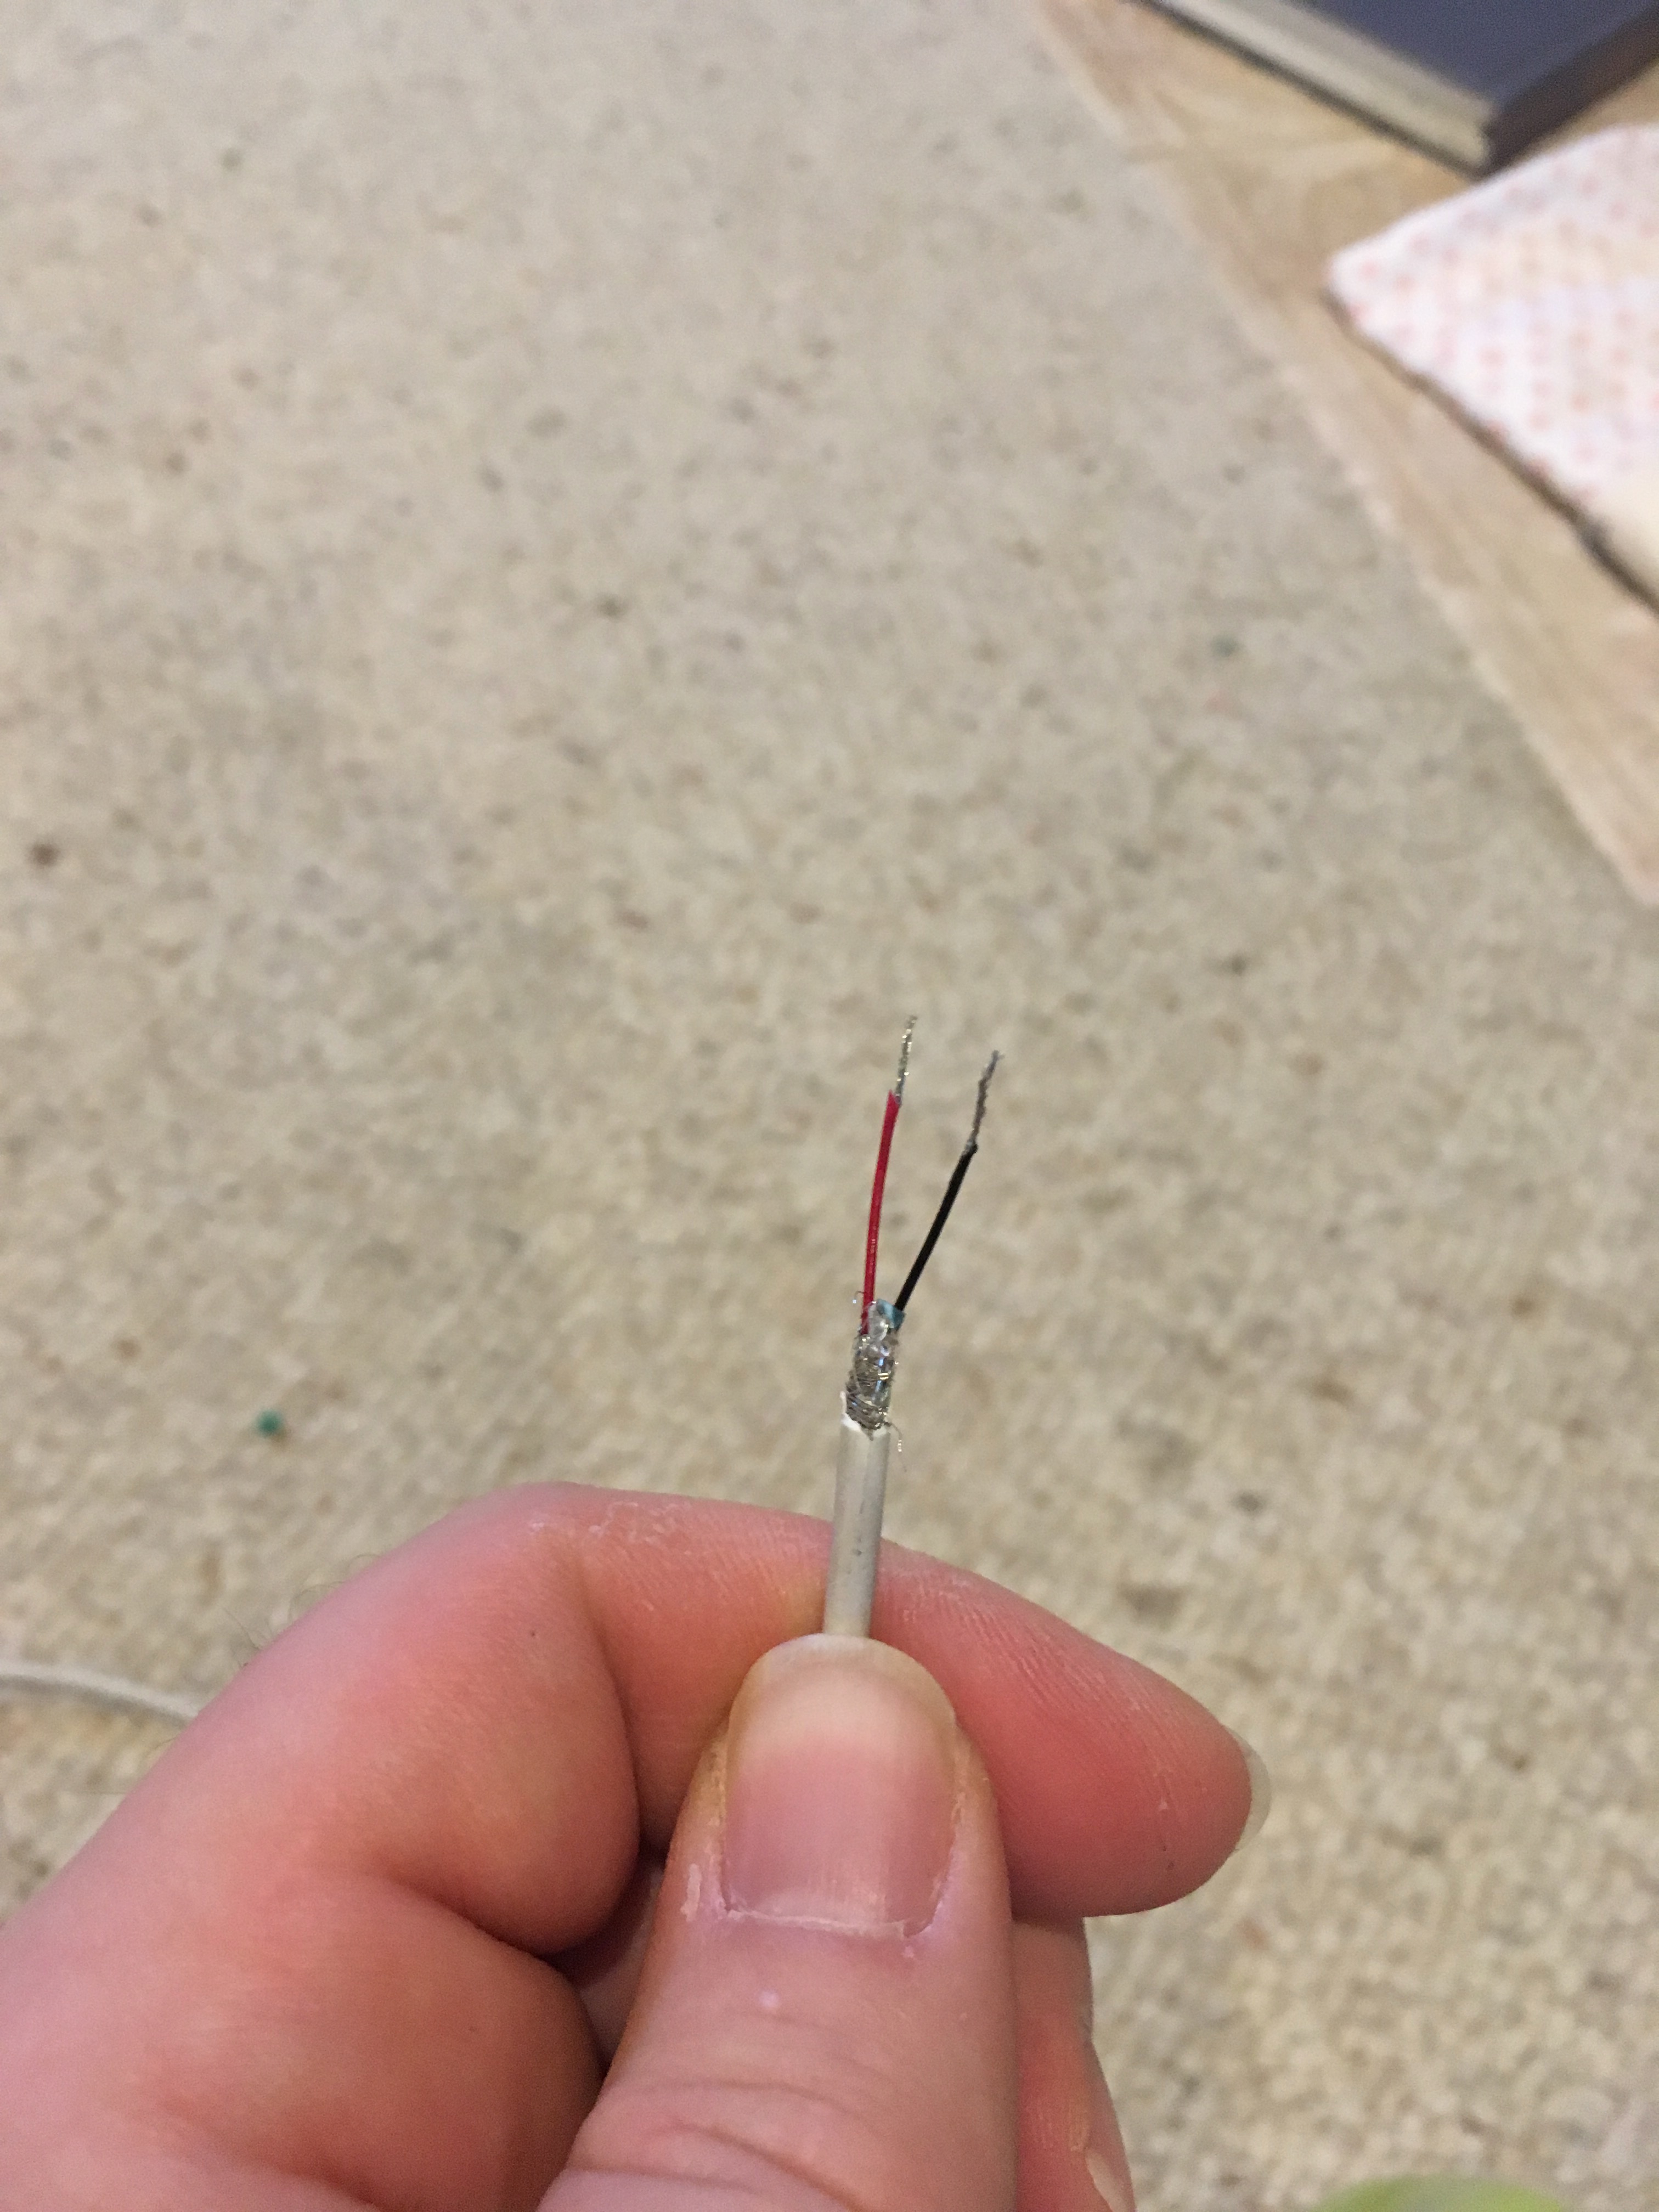
The green thing in the relay pulls out with your fingers. There are screws on the top and a place to insert wires. Red is positive, black is negative. Put the wires in and tighten the screws to hold them solidly.
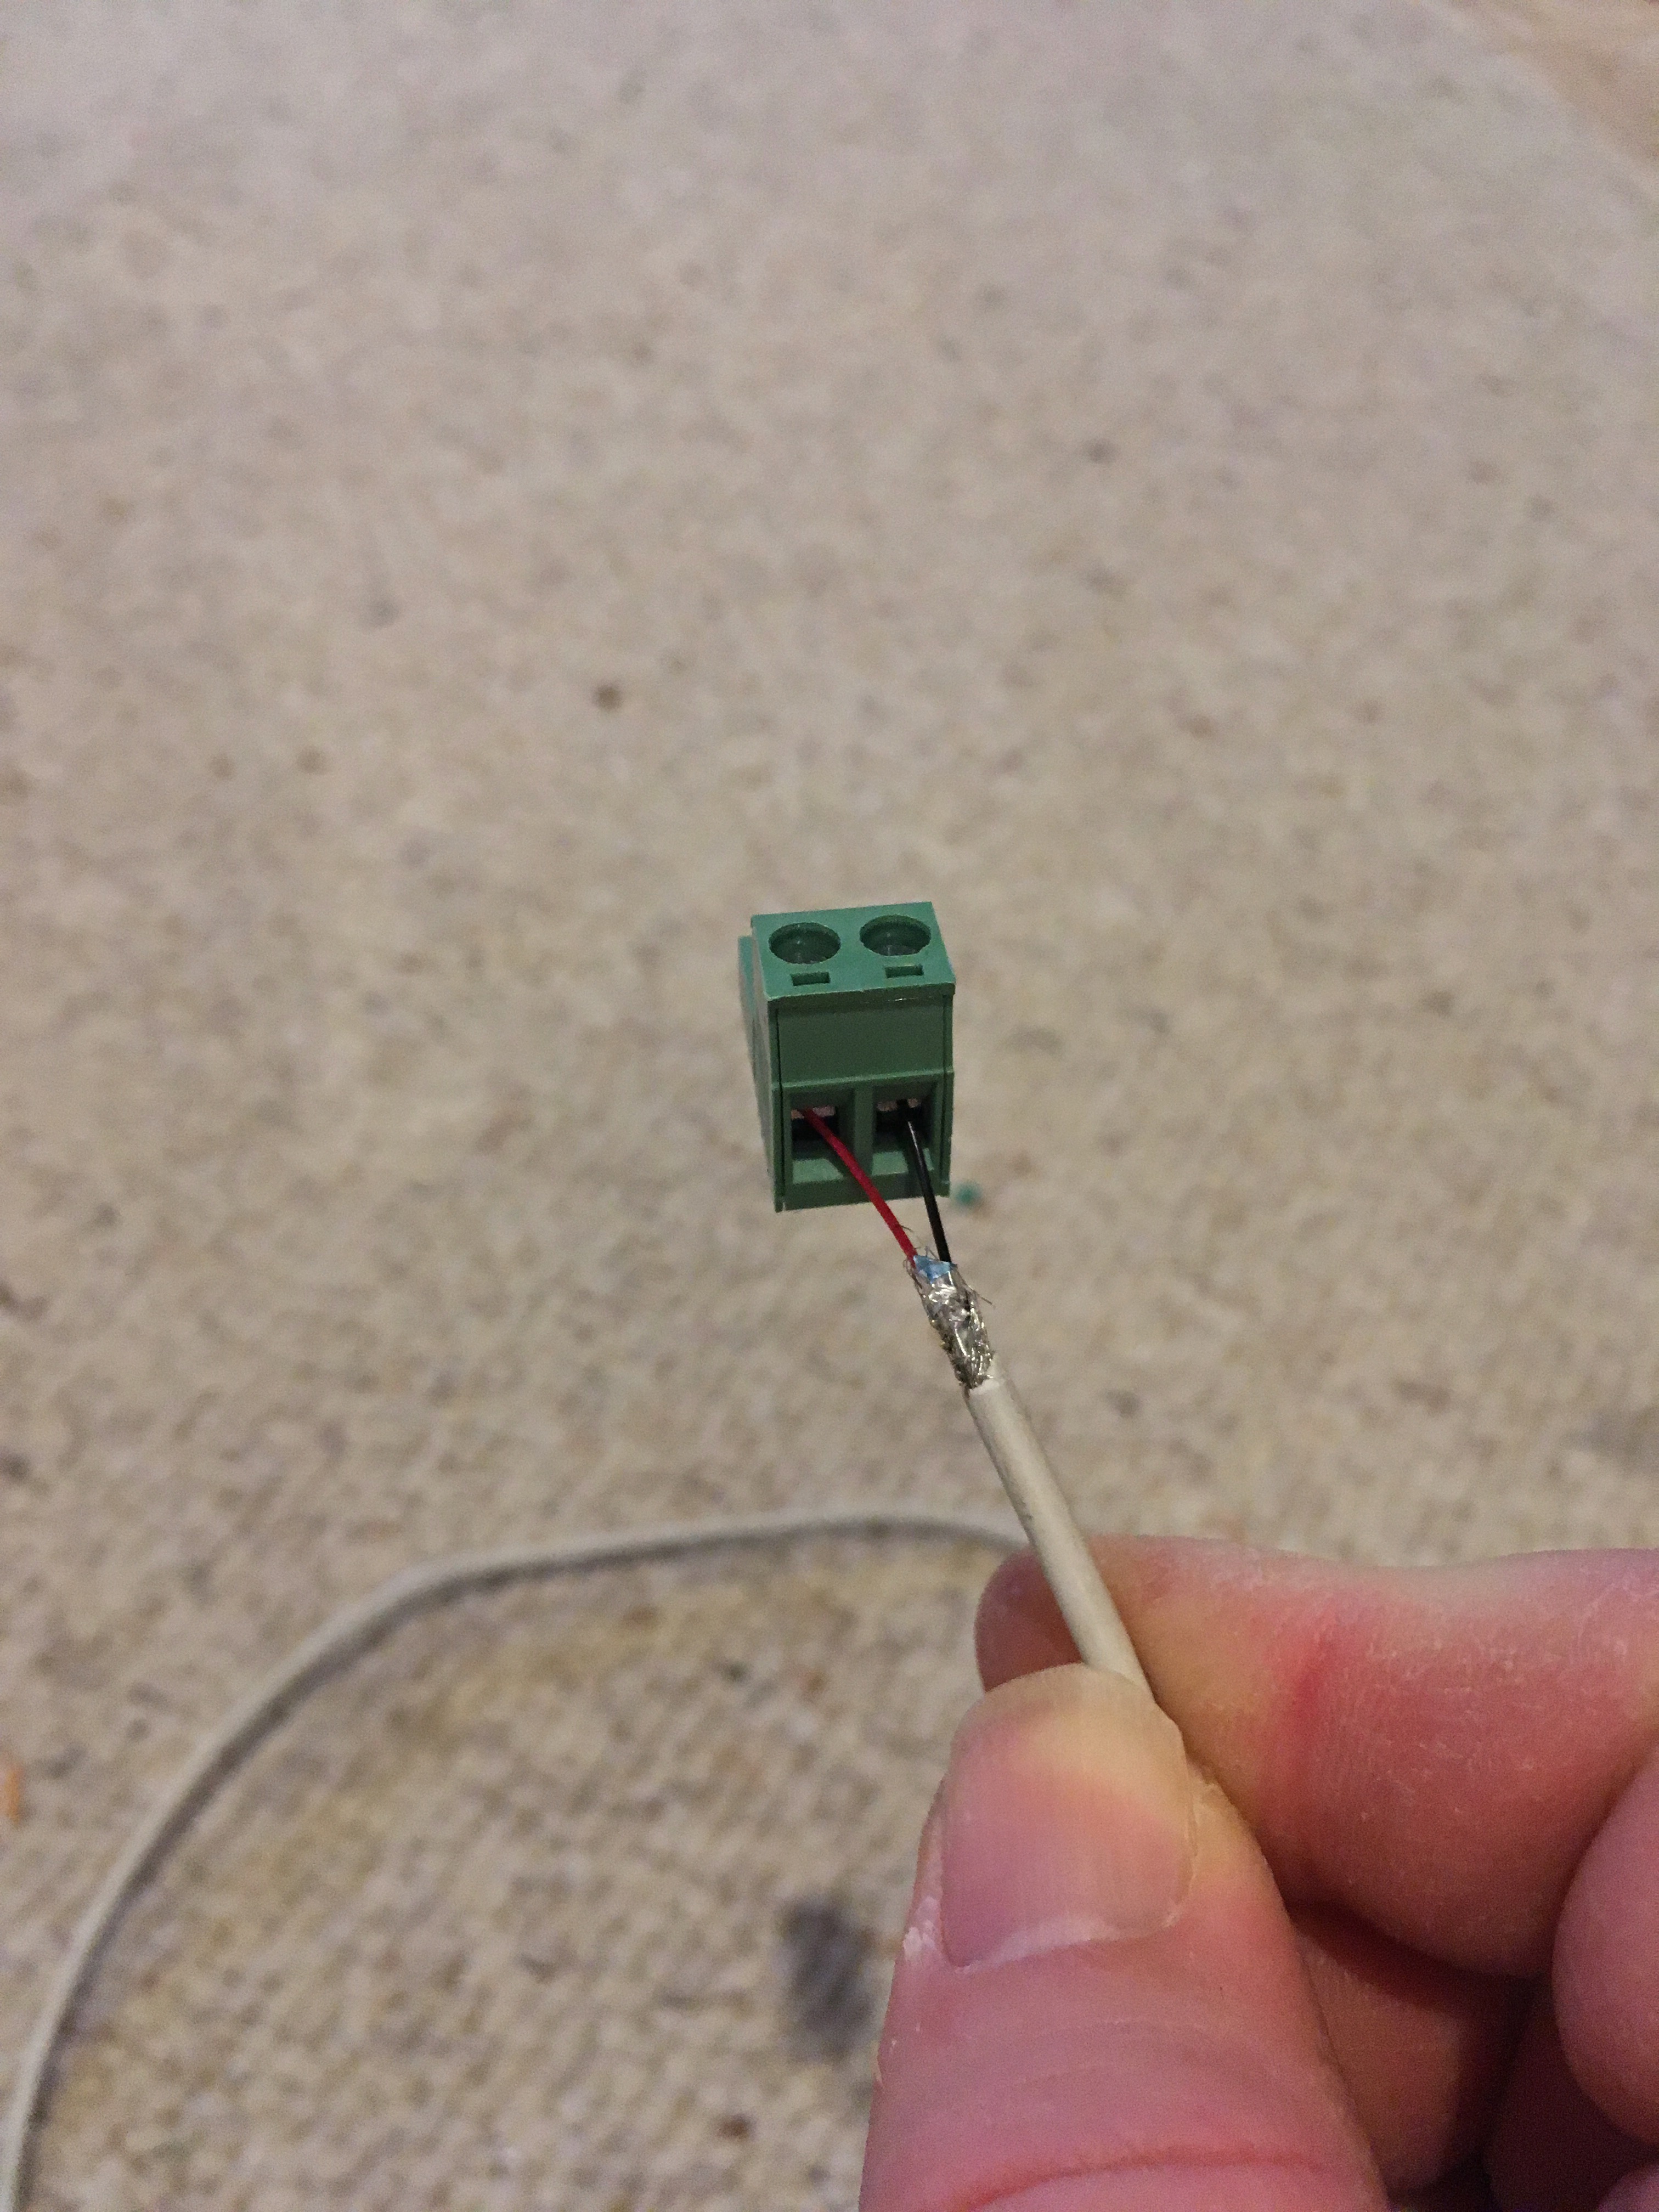
Plug the green thing back in.
Now your Pi goes into the "ALWAYS ON" plug and the other end of your USB cable goes into the Pi. Everything else in the cabinet goes into the NORMALLY OFF outlets. You can put a power strip in there if you need more than two outlets.
Ignore the NORMALLY ON outlet. Nothing goes into it, since it's only powered when the other outlets aren't.
The relay box gets plugged into the wall. I swapped the cable out with a standard desktop computer power cable, since the included cable is tiny.
Now turn the relay box on. The Pi gets power, and when it boots enough to load the USB drivers, it'll start sending power down the USB bus, which will go down our hacked cable and power the relay. Everything else should power up.
When you're done, flip the power switch on the arcade cabinet. The Pi should shut down cleanly, and halt. When it halts, its USB ports power down. When the USB ports power down, the relay kills the power to everything but the Pi with a most satisfying click. The Pi will remain halted but sipping power, in the ALWAYS ON outlet, acting like a standby mode, until you turn it back on with the stock cabinet on/off switch, powering the USB ports, and so on and so on.
Sharpie fixes everything.
The cabinet sides are sleekly black, but the screw holes are just wood.
Take out the screws and fill in the wood with a black Sharpie. Then Sharpie up the screw head too, and screw it back together.
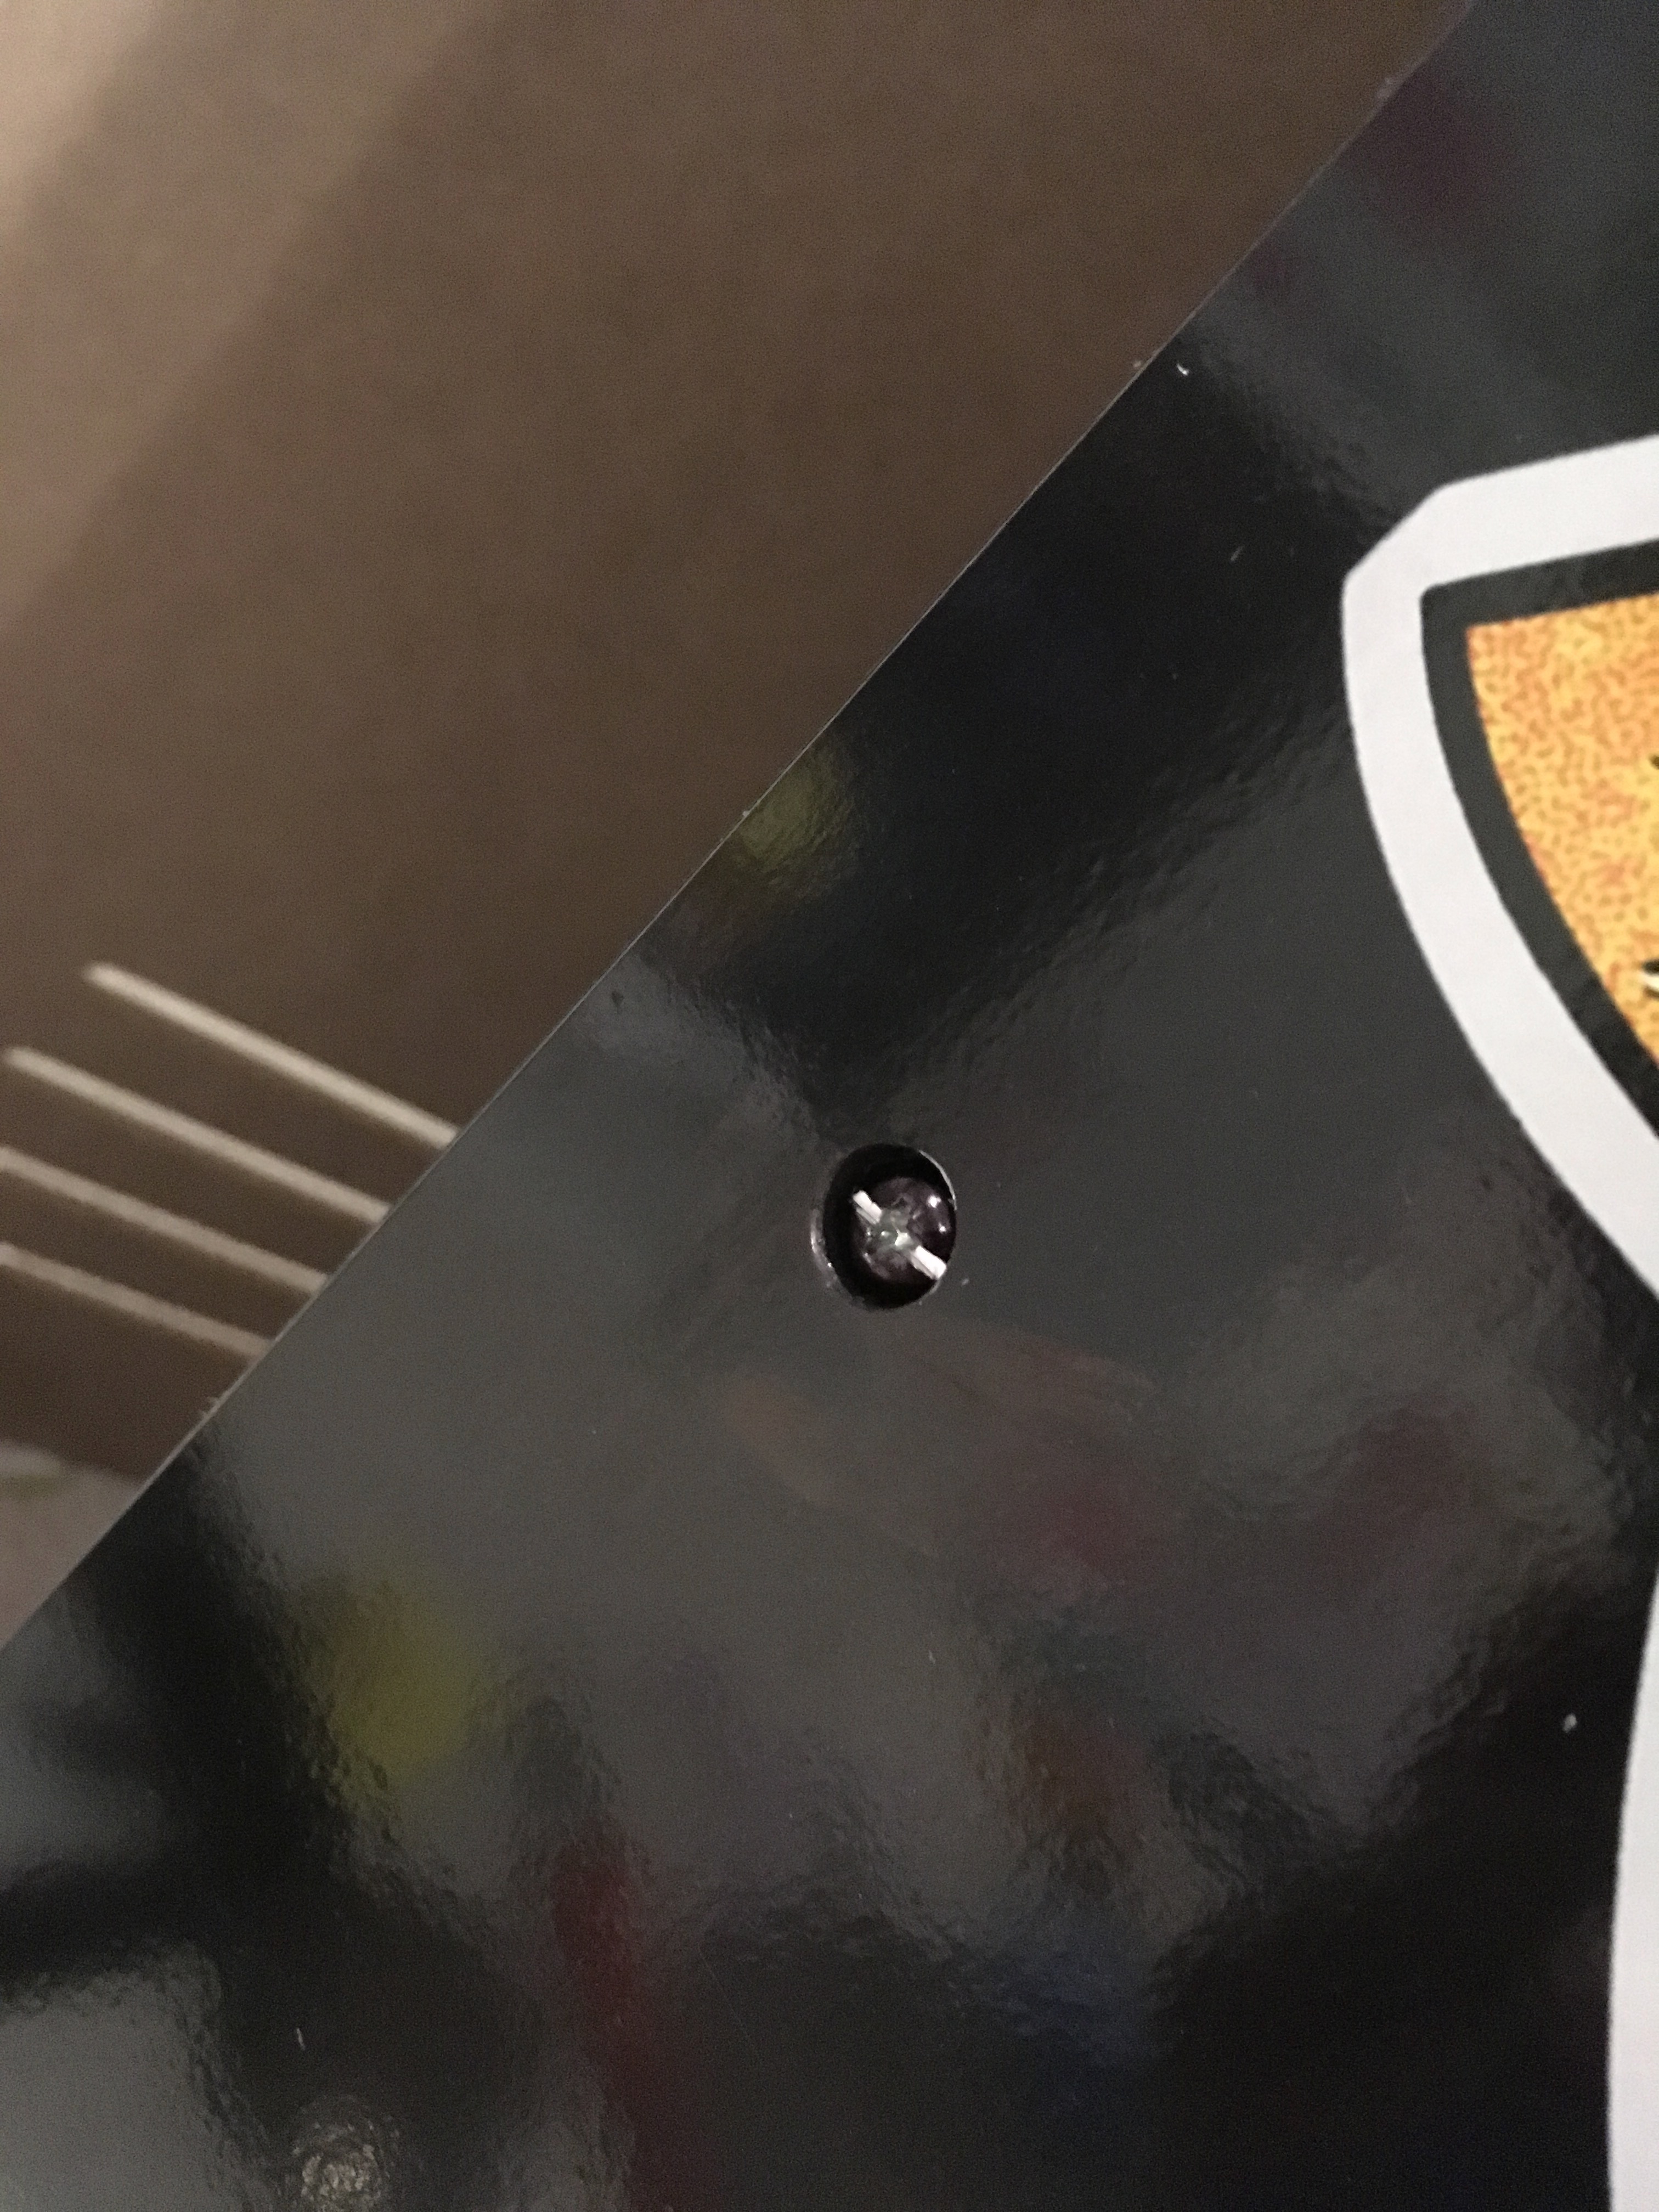
This looks much better. Here's the cabinet with the top, front screw done and the next lower one on the back undone, for comparison:
Extra credit if you embed the screws into a big piece of styrofoam, take them outside and spray paint their heads black. The pen won't get into the actual notch of the head. But it still looks much better for 3 minutes of effort!
Force the HDMI resolution.
My video controller, coming in from a cold boot, often would have the wrong resolution. Something blurry from being too low. A reboot would fix it, like maybe the Pi saw the wrong maximum resolution if it booted too quickly. The fix was to force the resolution in /boot/config.txt so it's always right without fail. These are the settings that worked for me.
# This tells the Pi to force the Arcade1Up cabinet's video resolution.
#  Often on cold boot, it sets it too low without this.
hdmi_force_hotplug=1
hdmi_group=2
hdmi_mode=35
HDMI group 2, mode 35 is 1280x1024 @ 60Hz, which matches what the cabinet's stock display expects. If you want to check this list yourself, you can check raspberrypi.org's boot settings documentation.
Once this was set up, the video was correct on every boot and reboot!
--ryan.