So if you missed last episode, we wired up the Arcade1Up cabinet's power and volume switches, over here.
This time, let's deal with the speaker.
ETAPrime's video probably got you to hook up an amp, and attach the original speaker's wires to it, which is enough to get you playing, but it has a fairly significant problem: it's only one channel of audio, which means if you have a game that wants to play stereo sound, it won't downmix to play on the one speaker, it'll drop half of the sound. I'm not talking like some audiophile, like oh, it's lesser quality, but literally some things just won't play.
So let's fix that. It's not hard or expensive, and you still don't have to solder any wires. You don't even need any software.
...you will need a drill, though. And something to strip wire.
Here's what you need. I got these from Adafruit, but they're standard parts you can get anywhere that does hobby electronic stuff.
- Two 3" speakers. Adafruit has them for 2 dollars here.
- A bunch of wire to string these up, like this, 25 feet for three bucks.
- A Raspberry Pi sticker, because you really should slap one of these on the cabinet and they'll still charge you seven bucks for shipping even if you aren't buying it with the other items. :)
- You'll need 8 very small wood screws to mount the speakers. Not too long so you don't go through the wood. If you get desperate, you could just duct tape the things on there, since you'll never see them again, but really splurge and spend the 20 cents at Home Depot on this one.
I ended up using the entire spool of wire, between the four runs you'll do for the speakers and spending the rest to extend those tiny power and volume switch wires. 25 feet was just about perfect.
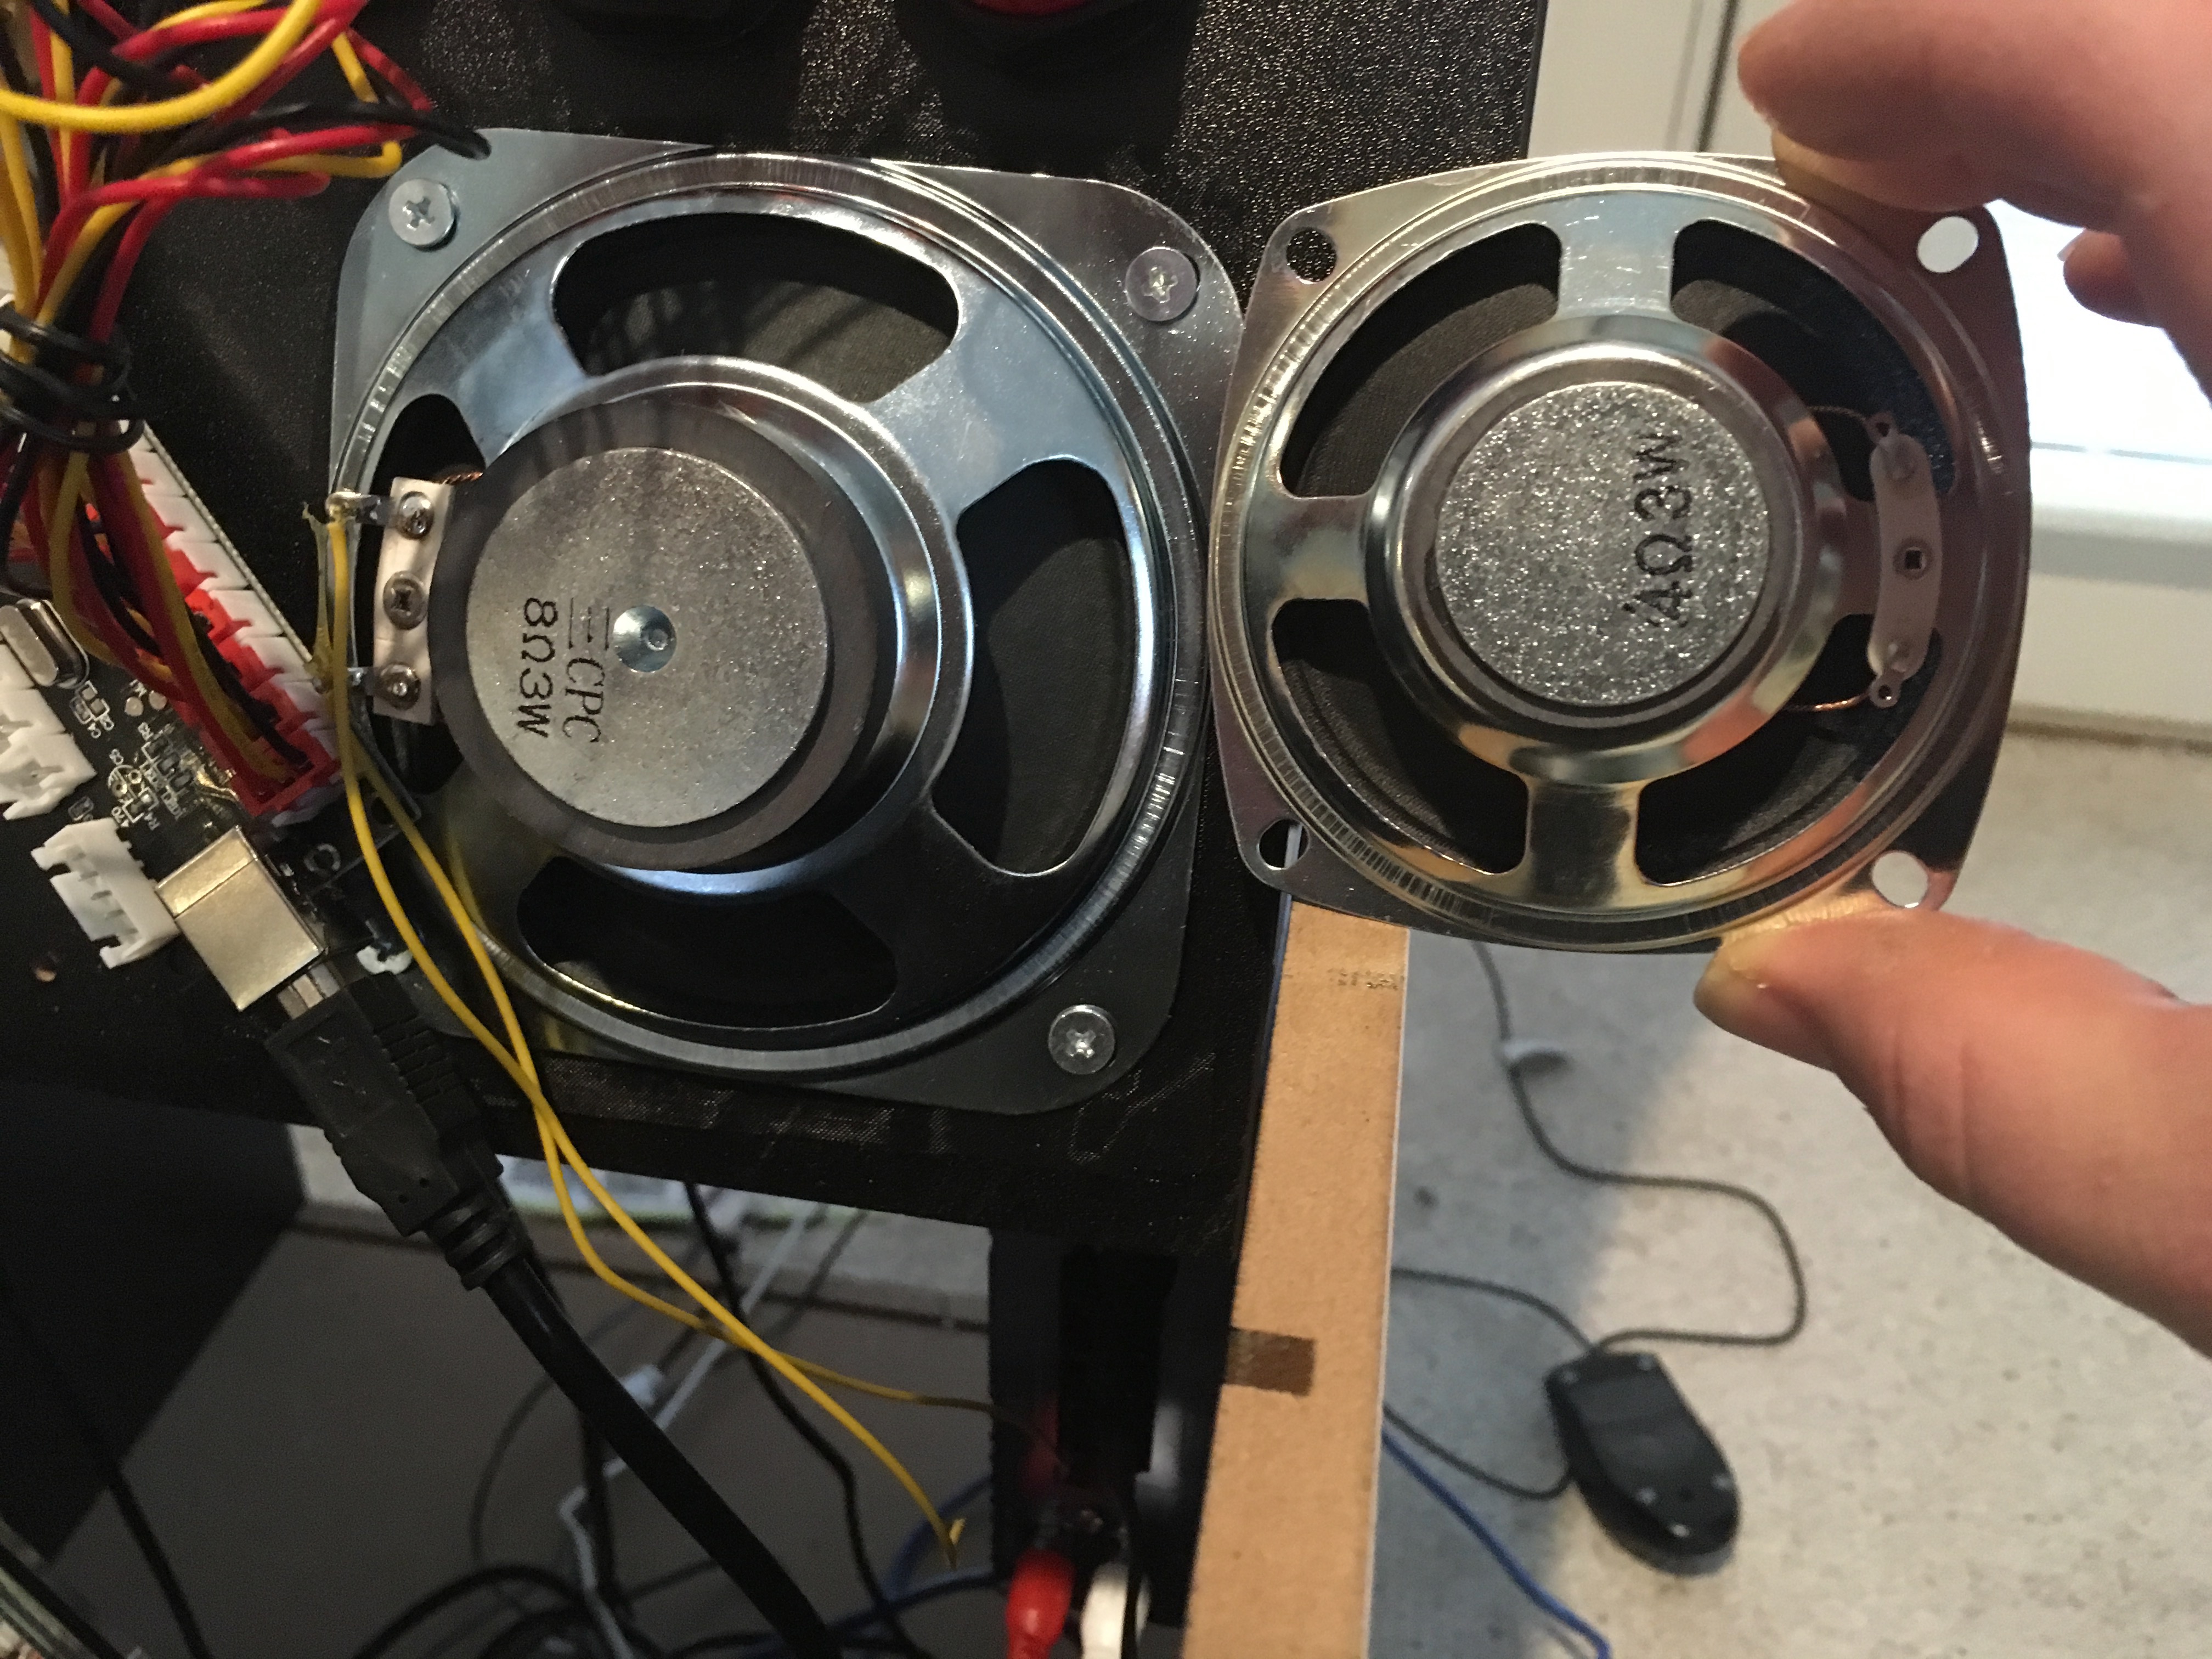
Note that these speakers are smaller than the original 4" one in the cabinet:
This was actually a mistake on my part, but I straight up Bob Rossed this into a happy accident. First: where the hell were you going to put a second 4" speaker in here? This is the best place to fit it, and it has to share a screw hole with the Player 1 joystick:

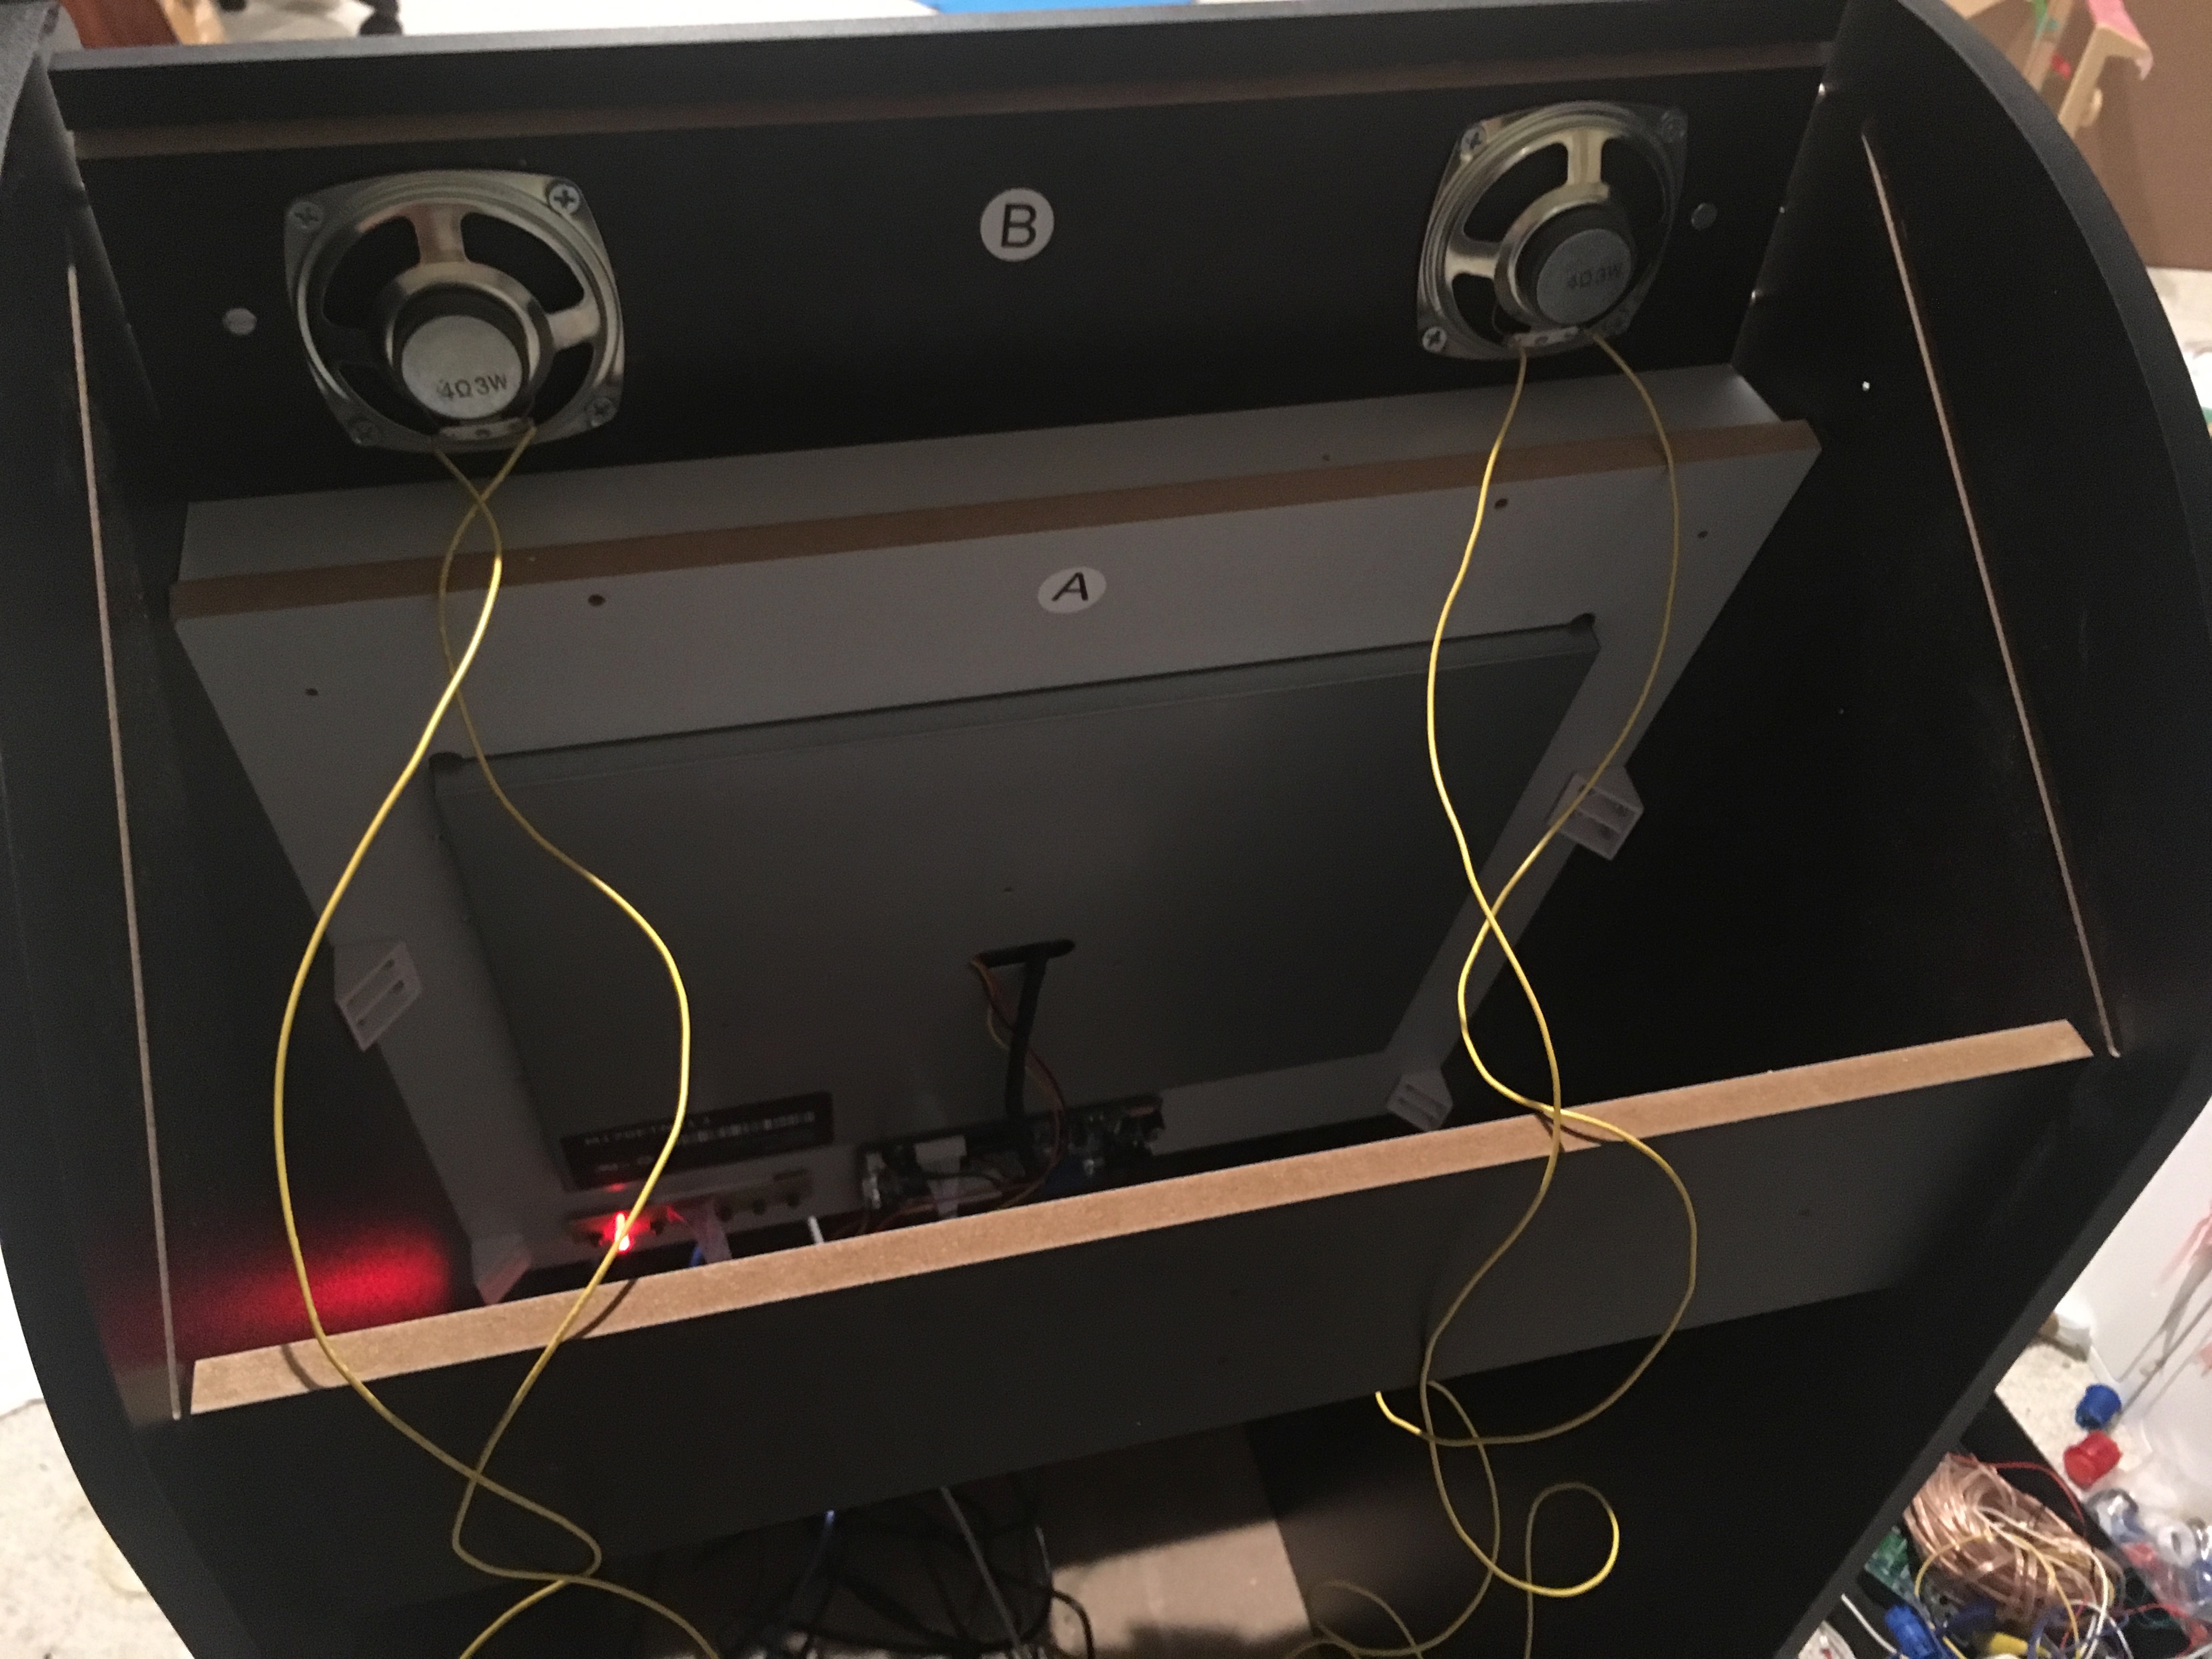
This would not do. Since I had two matching 3" speakers, though, I considered replacing the original under the control panel too, but then I realized that there was a place that these would fit super well that makes a lot of sense, too: the marquee!
Look how perfect this fits!
Now all you need to do is drill some holes in the marquee for the sound, mount the speakers, run wires to them, and call it a day.
I was too lazy to take apart the whole case to get at the marquee, so I took out the screws on the top back of the display's wood that hold it steady, and some of the screws out of the cabinet sides and pulled apart the sides--gently!--until I could pop the marquee and top sheet out:
If you're less brave and have more time for trifling matters, you can take more of the cabinet apart, or if you possess more foresight, do this mod before assembling the cabinet at all.
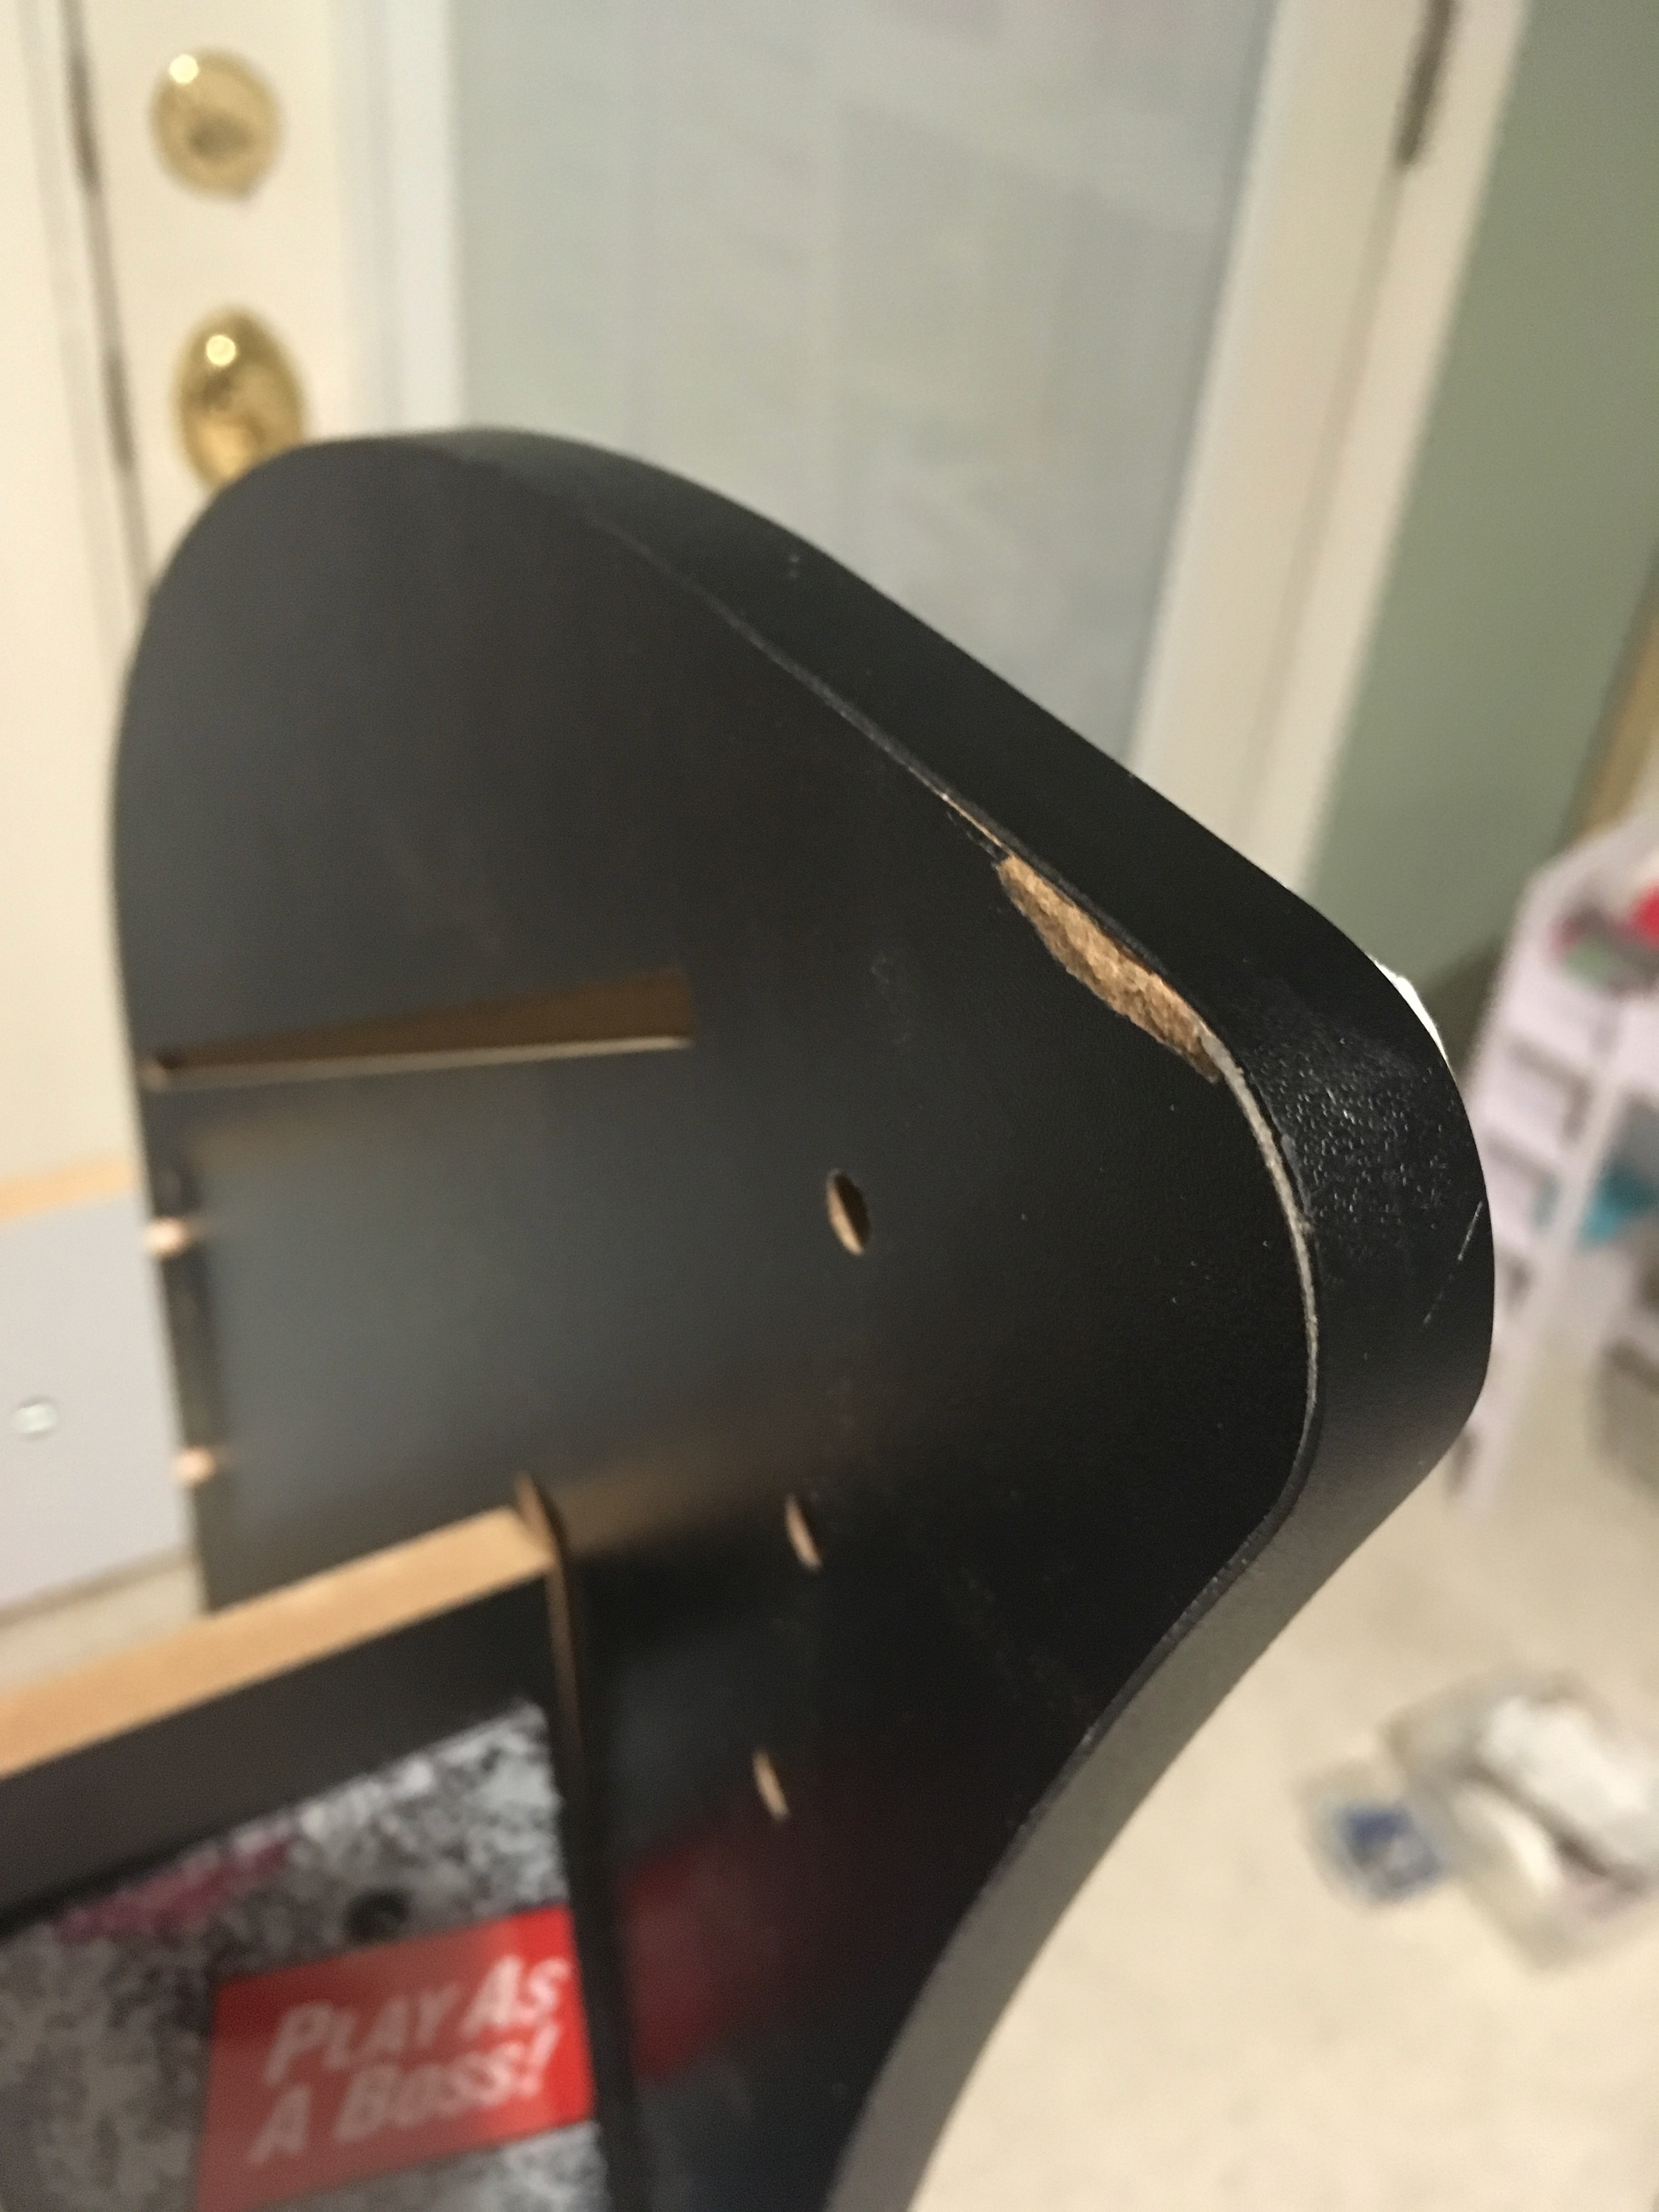
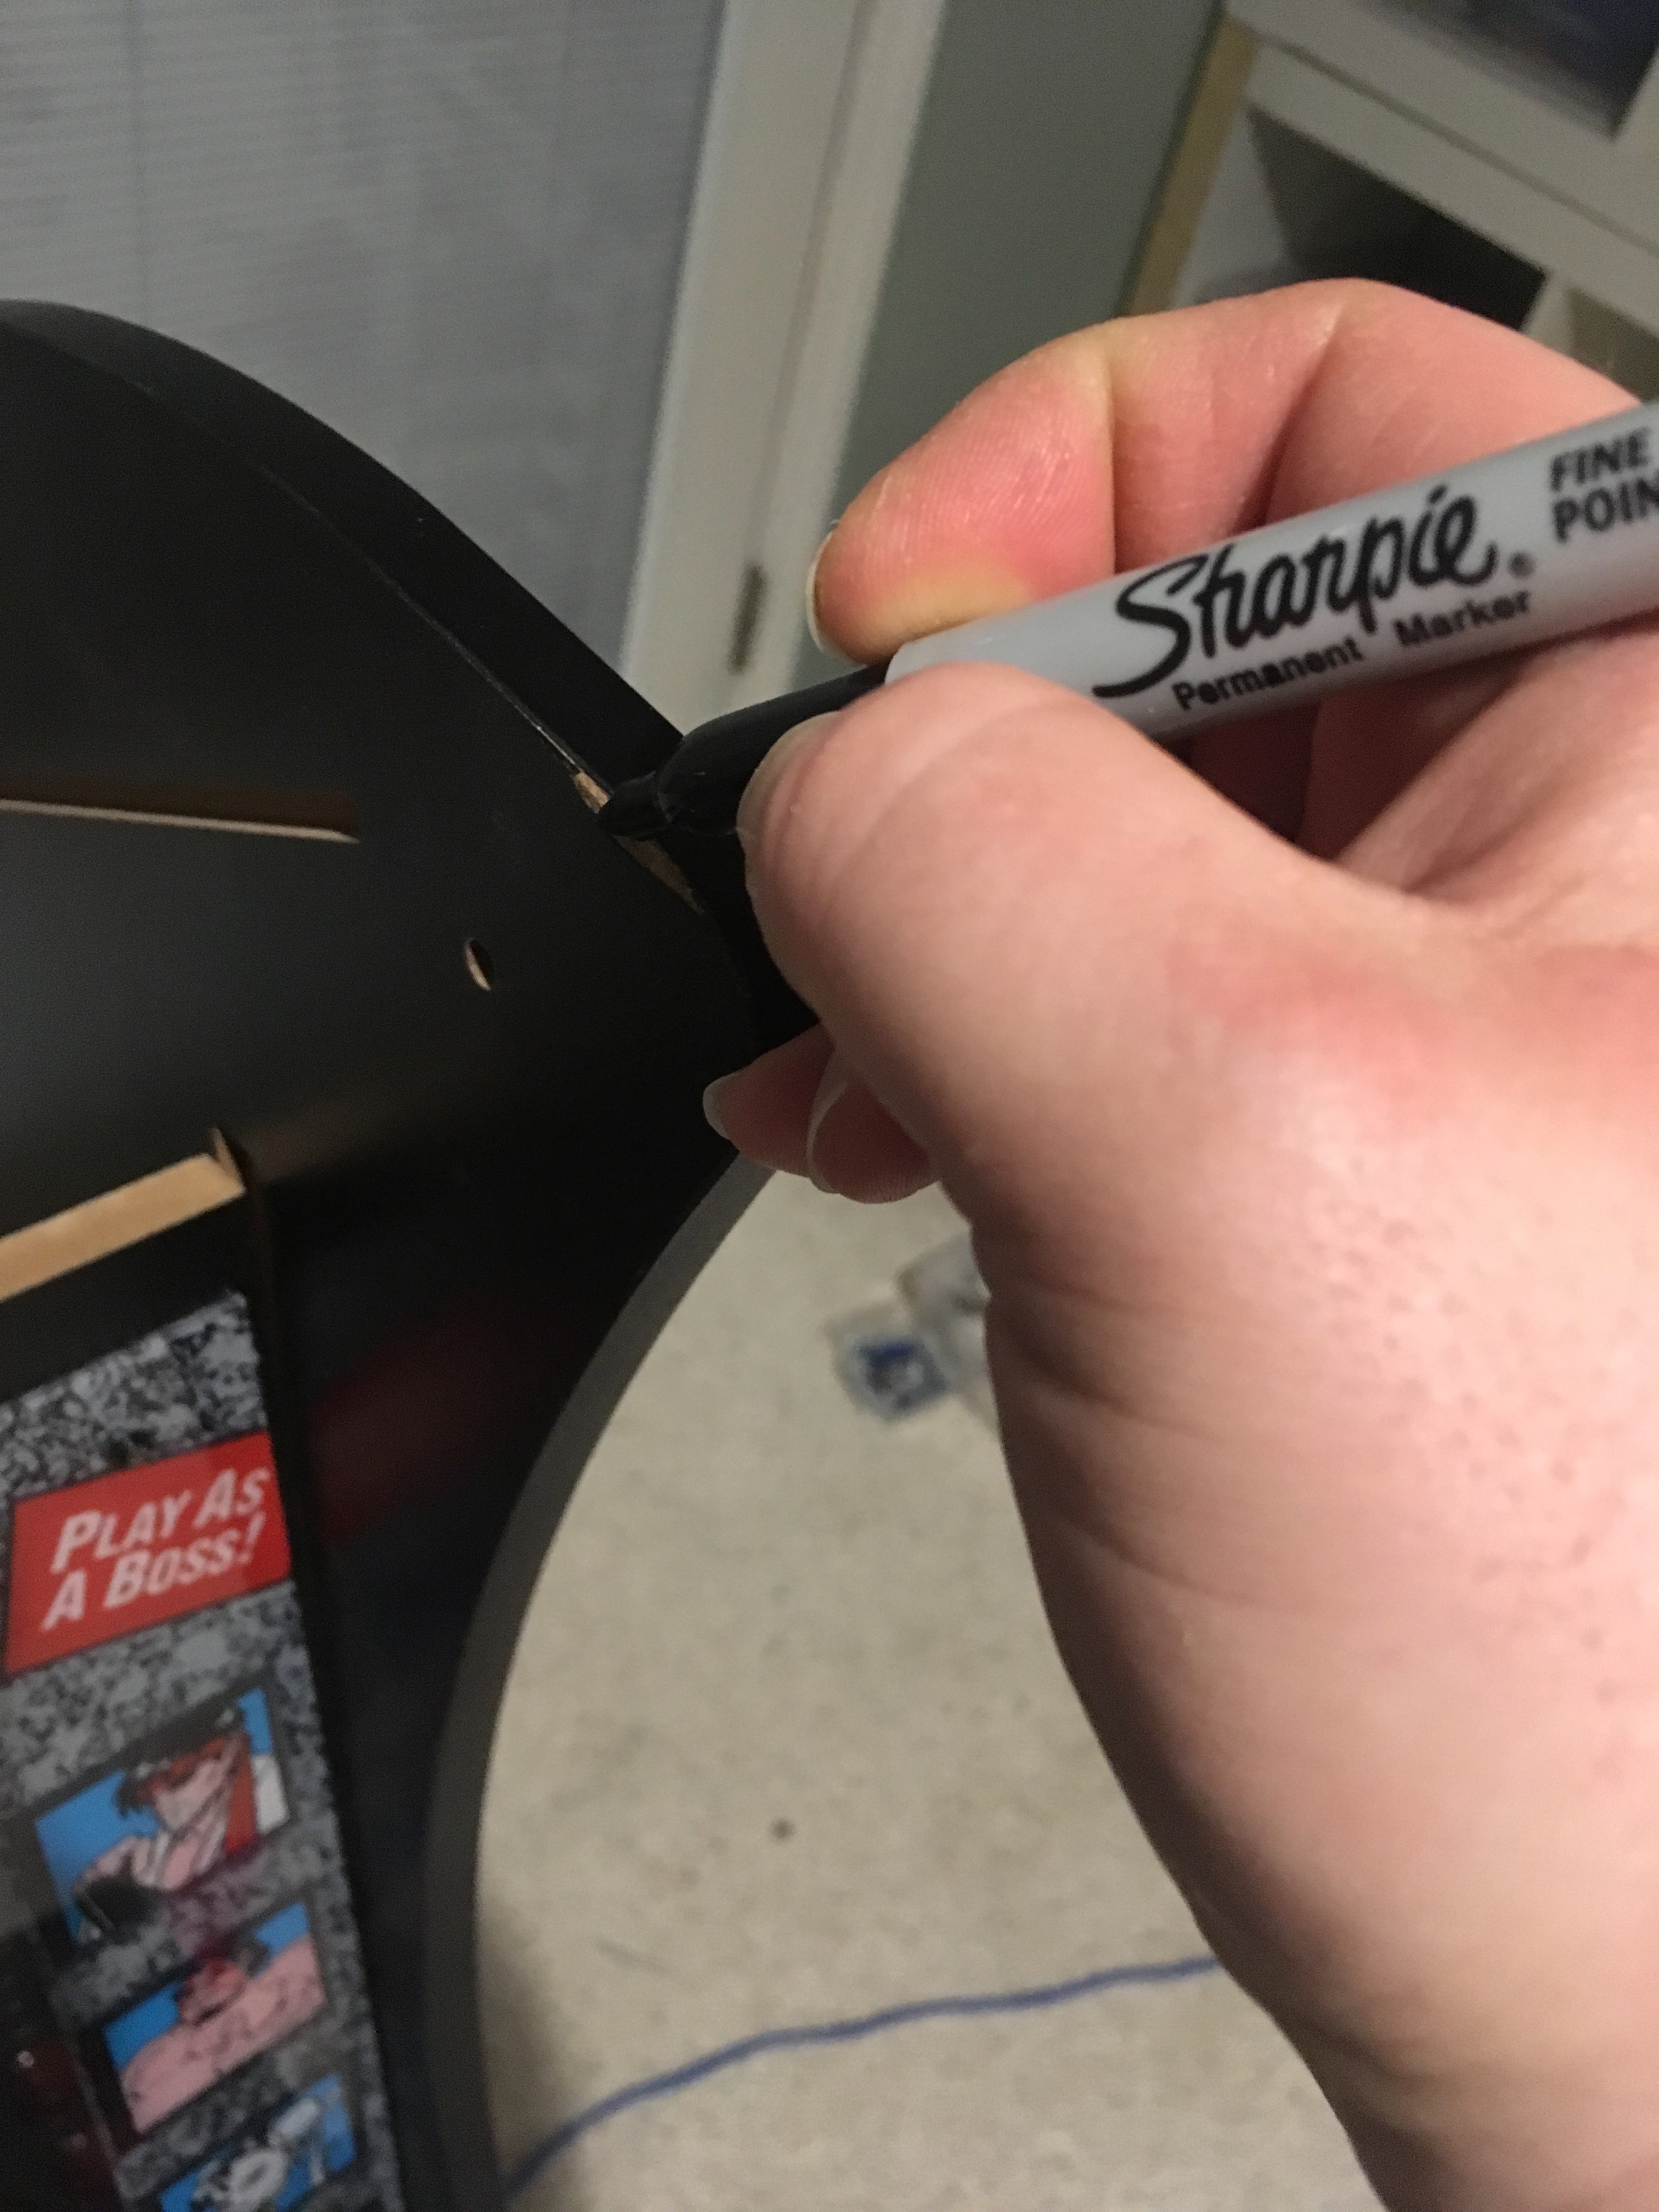
While we're here, let me be frank: that damage was on the side panel when it shipped to me, but sometimes the best solution is decidedly low-tech...
Okay, we need to drill some holes, so the speaker isn't blasting into a solid piece of particle board. Same idea as what the stock speaker has on the control panel.
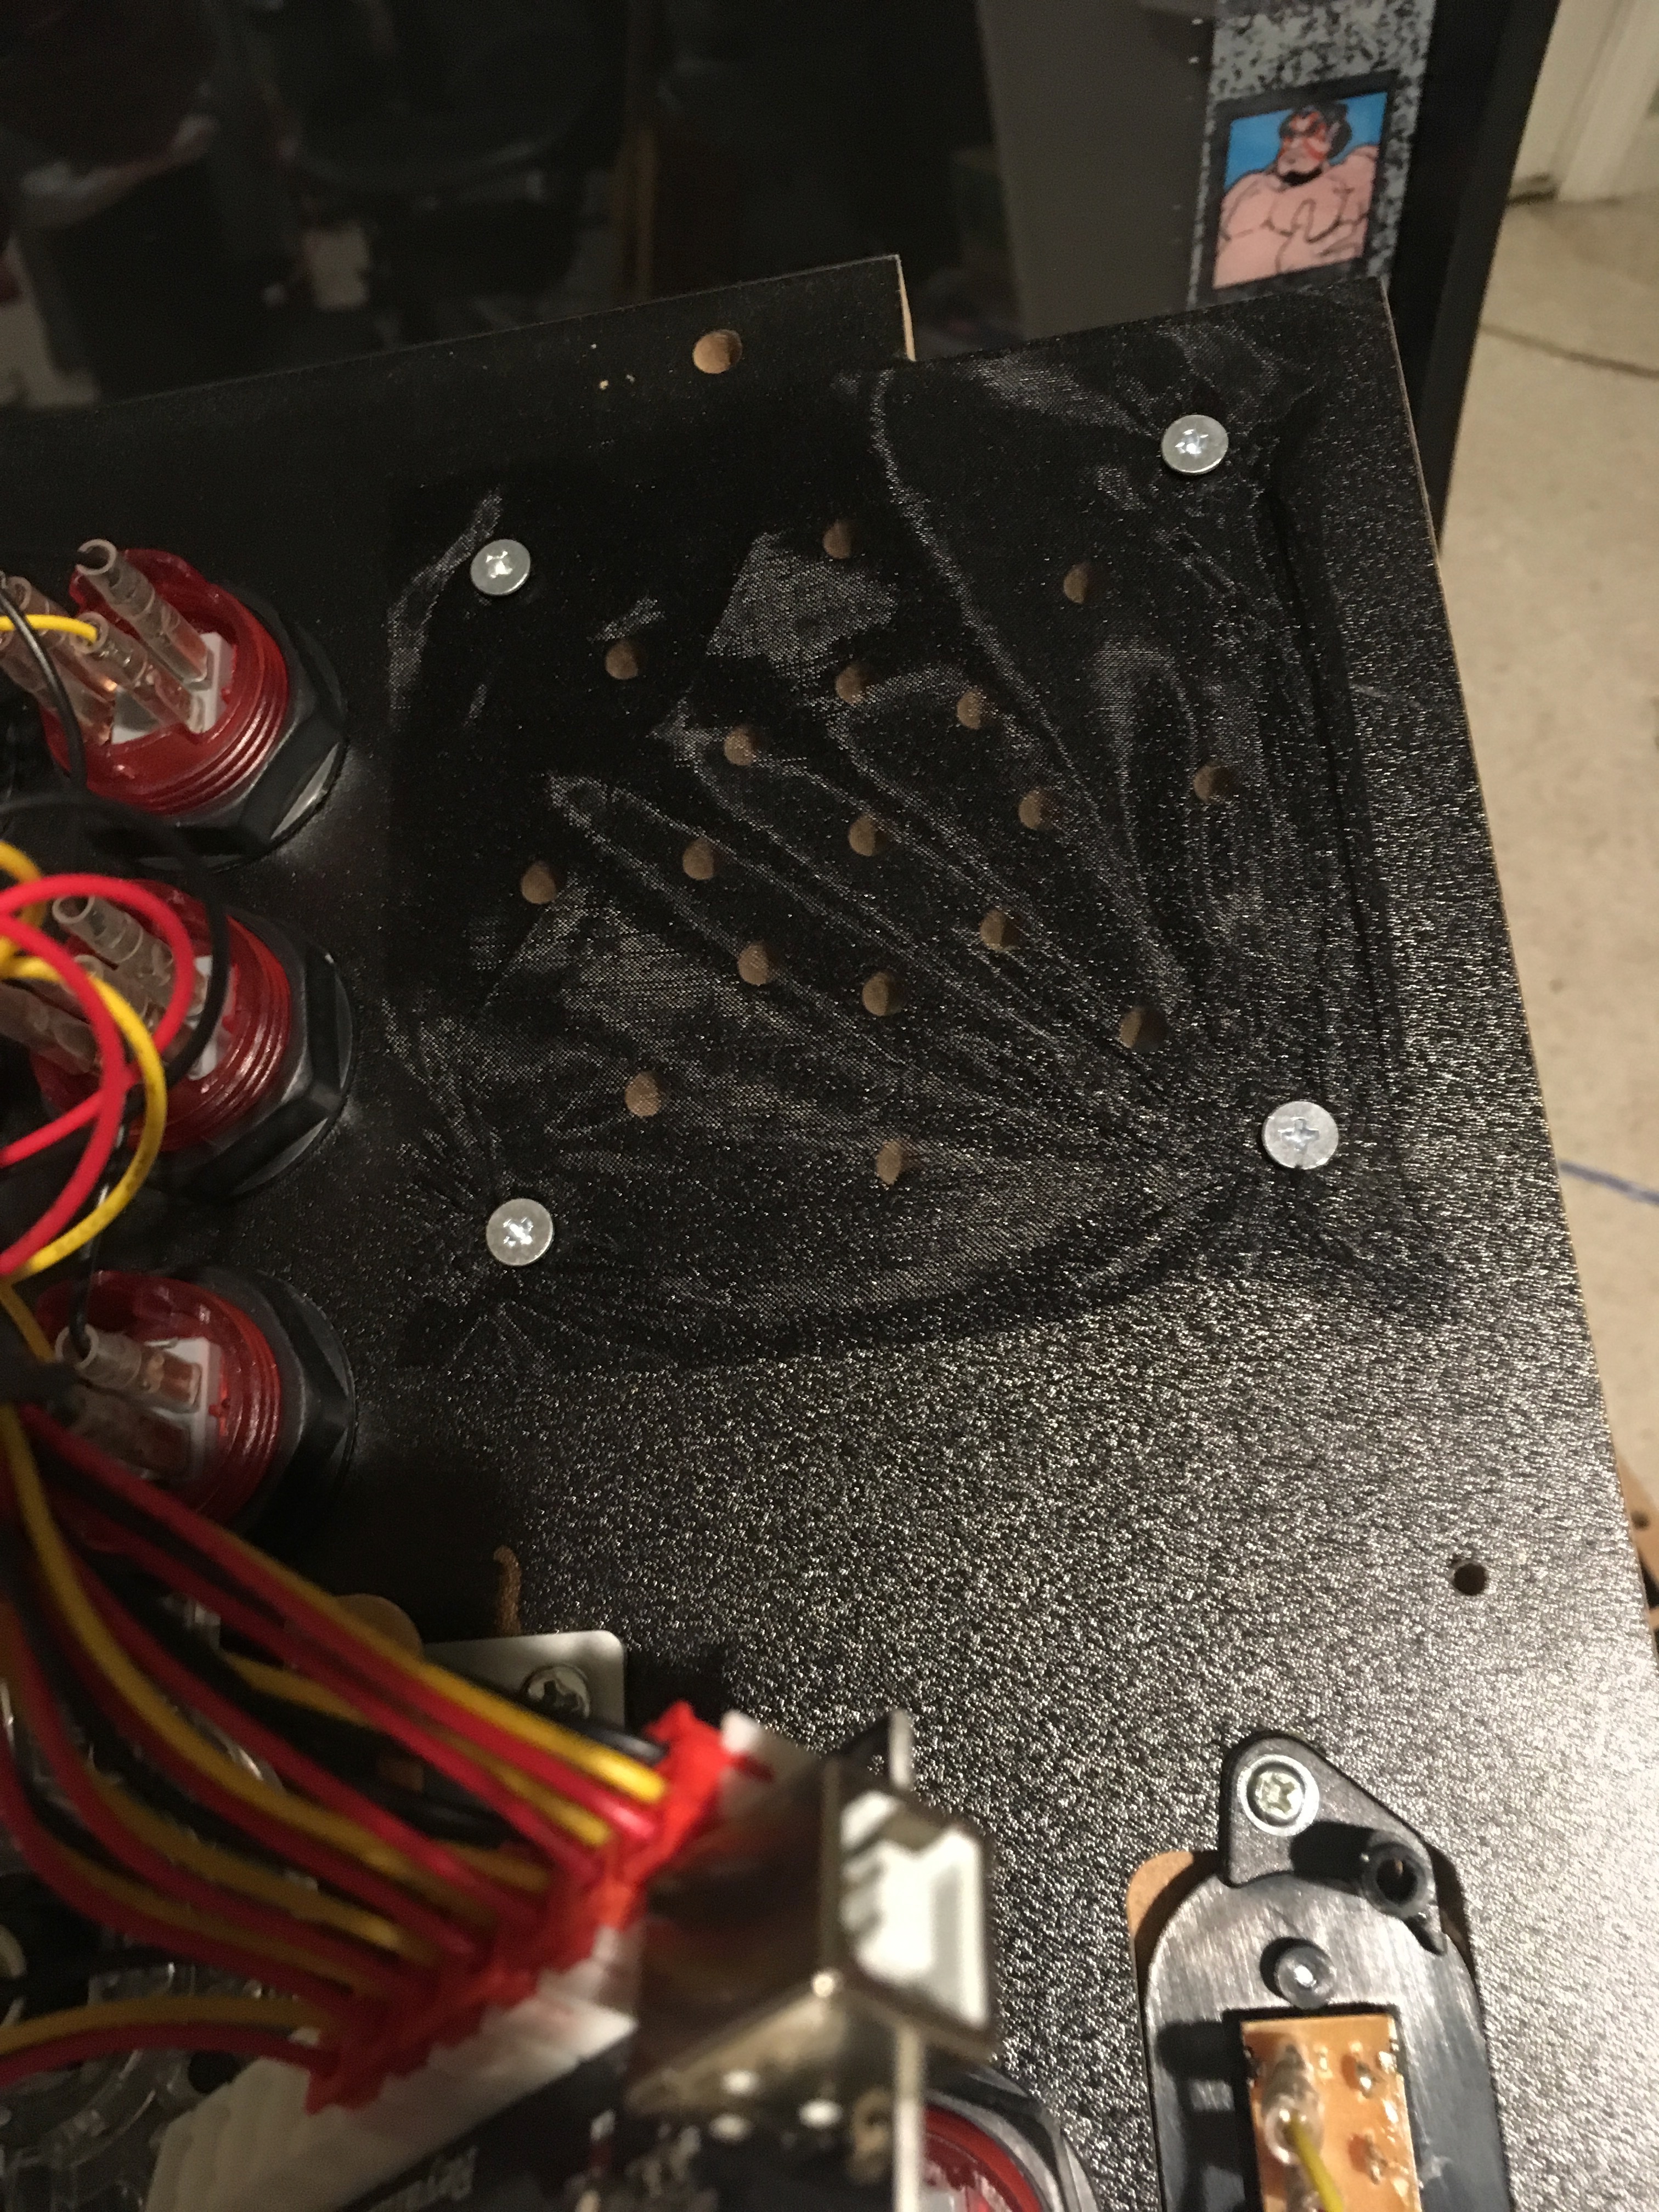
Now I should warn you, I went crazy trying to line these up and make them look straight and professional, and this was a huge mistake:
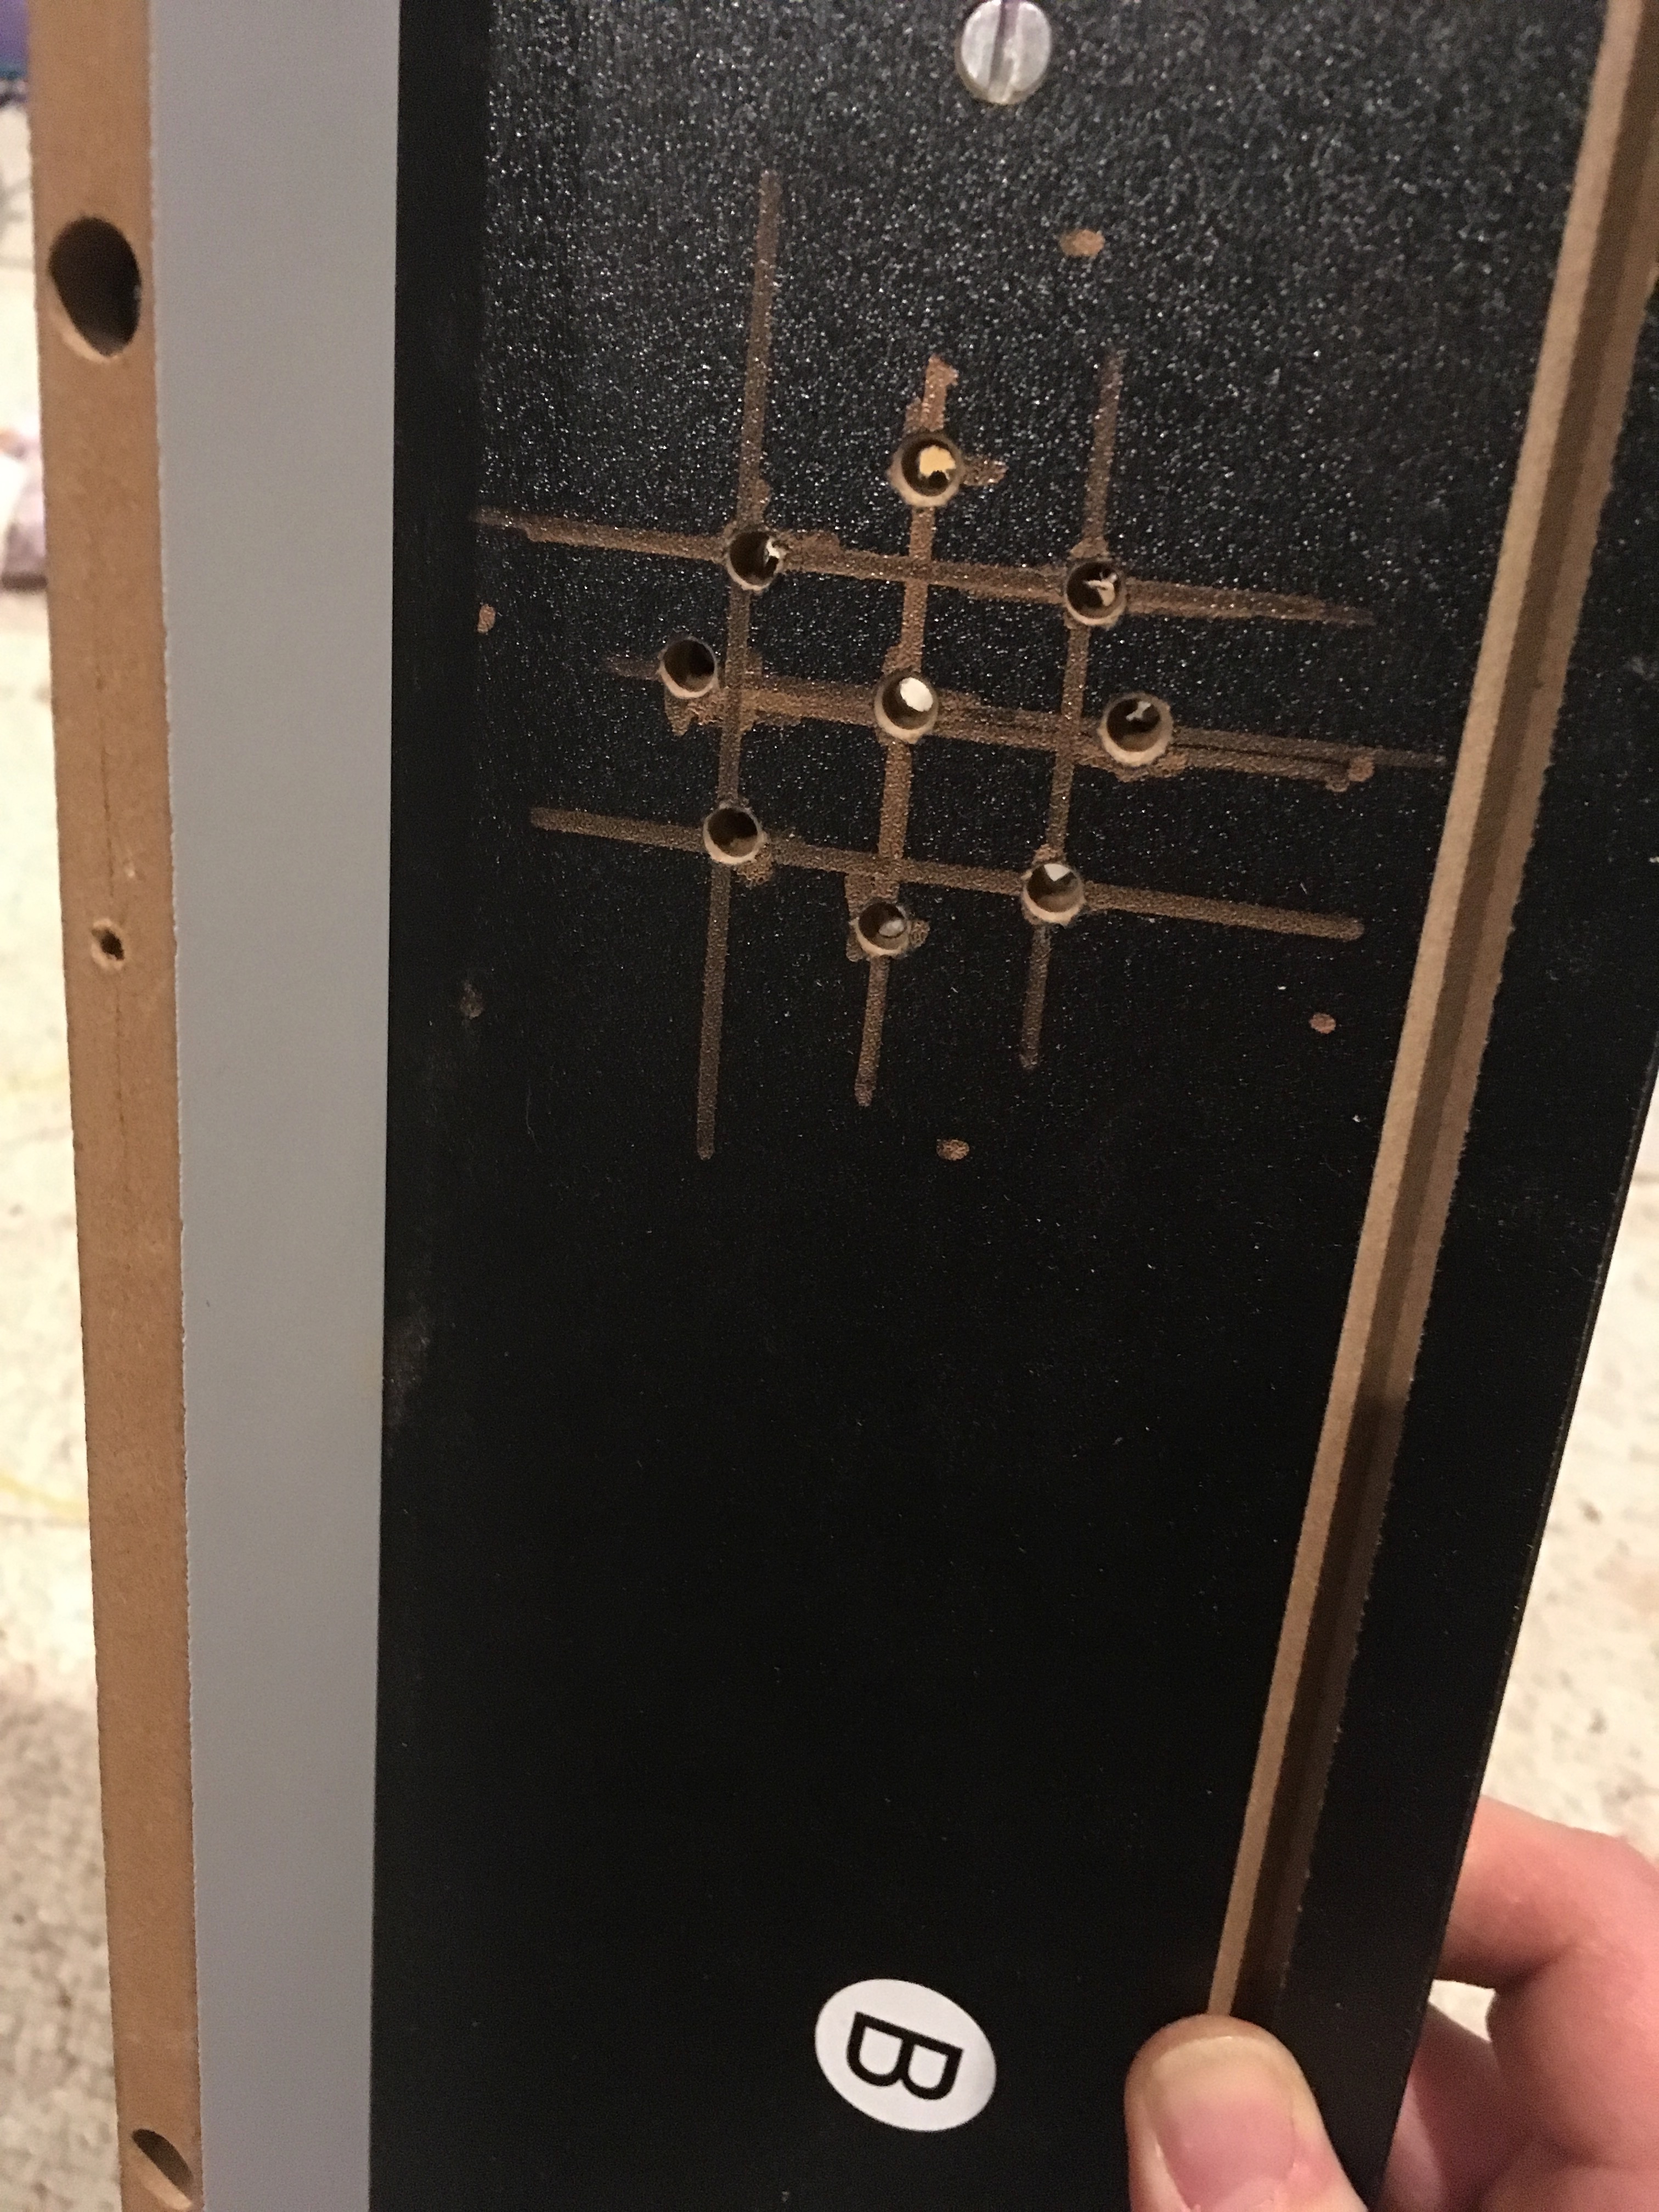
First, to be perfectly honest: these aren't straight. Second: the pretty picture on the front of the marquee appears to be paper glued on, so when you drill from the back, it rips it up something awful:
I went in there with an exacto-knife to clean this up, but the righthand speaker holes were a total Pinterest Fail on my part.
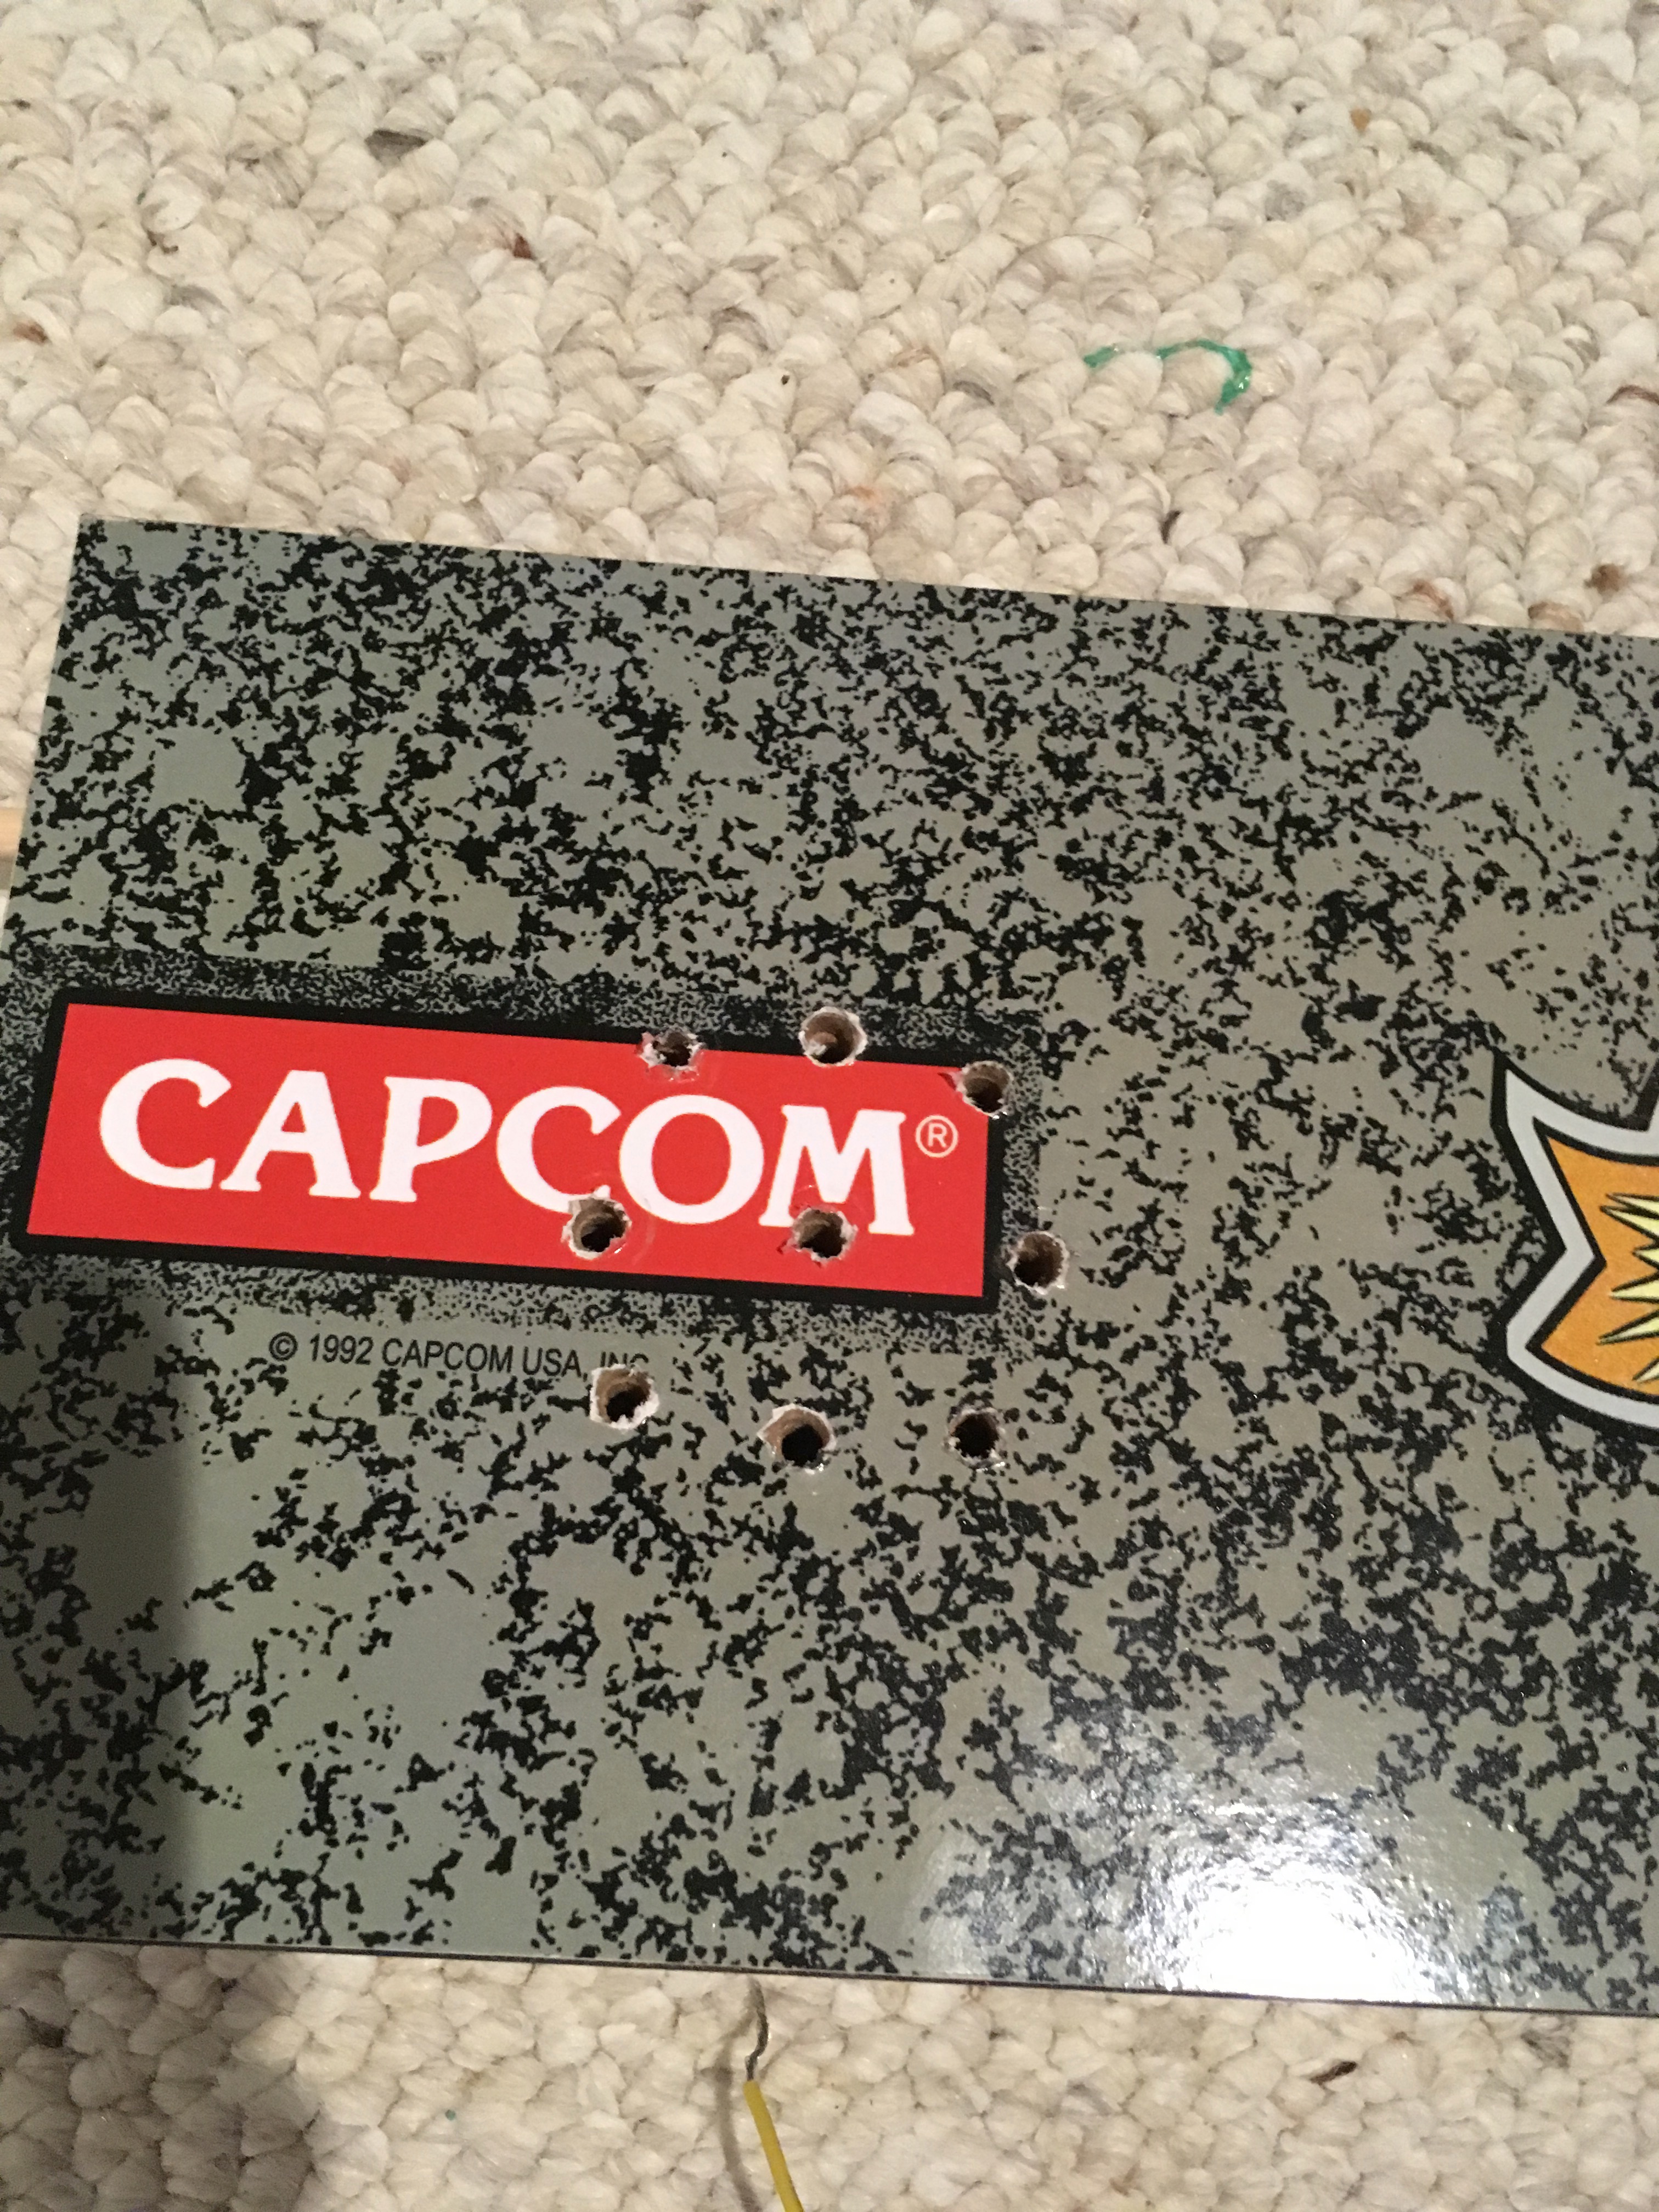
Instead of getting all mathematical, do this: put a hole under the "M" in "CAPCOM" (which is three inches in from the left and 2.5 inches from the top, in case you have a different cabinet). Then just measure out 3/4th inches in a few directions out from it. Put a single dot with your sharpie there so you aren't marking up the marquee, and then drill directly on those dots. Do the same thing on the other side.
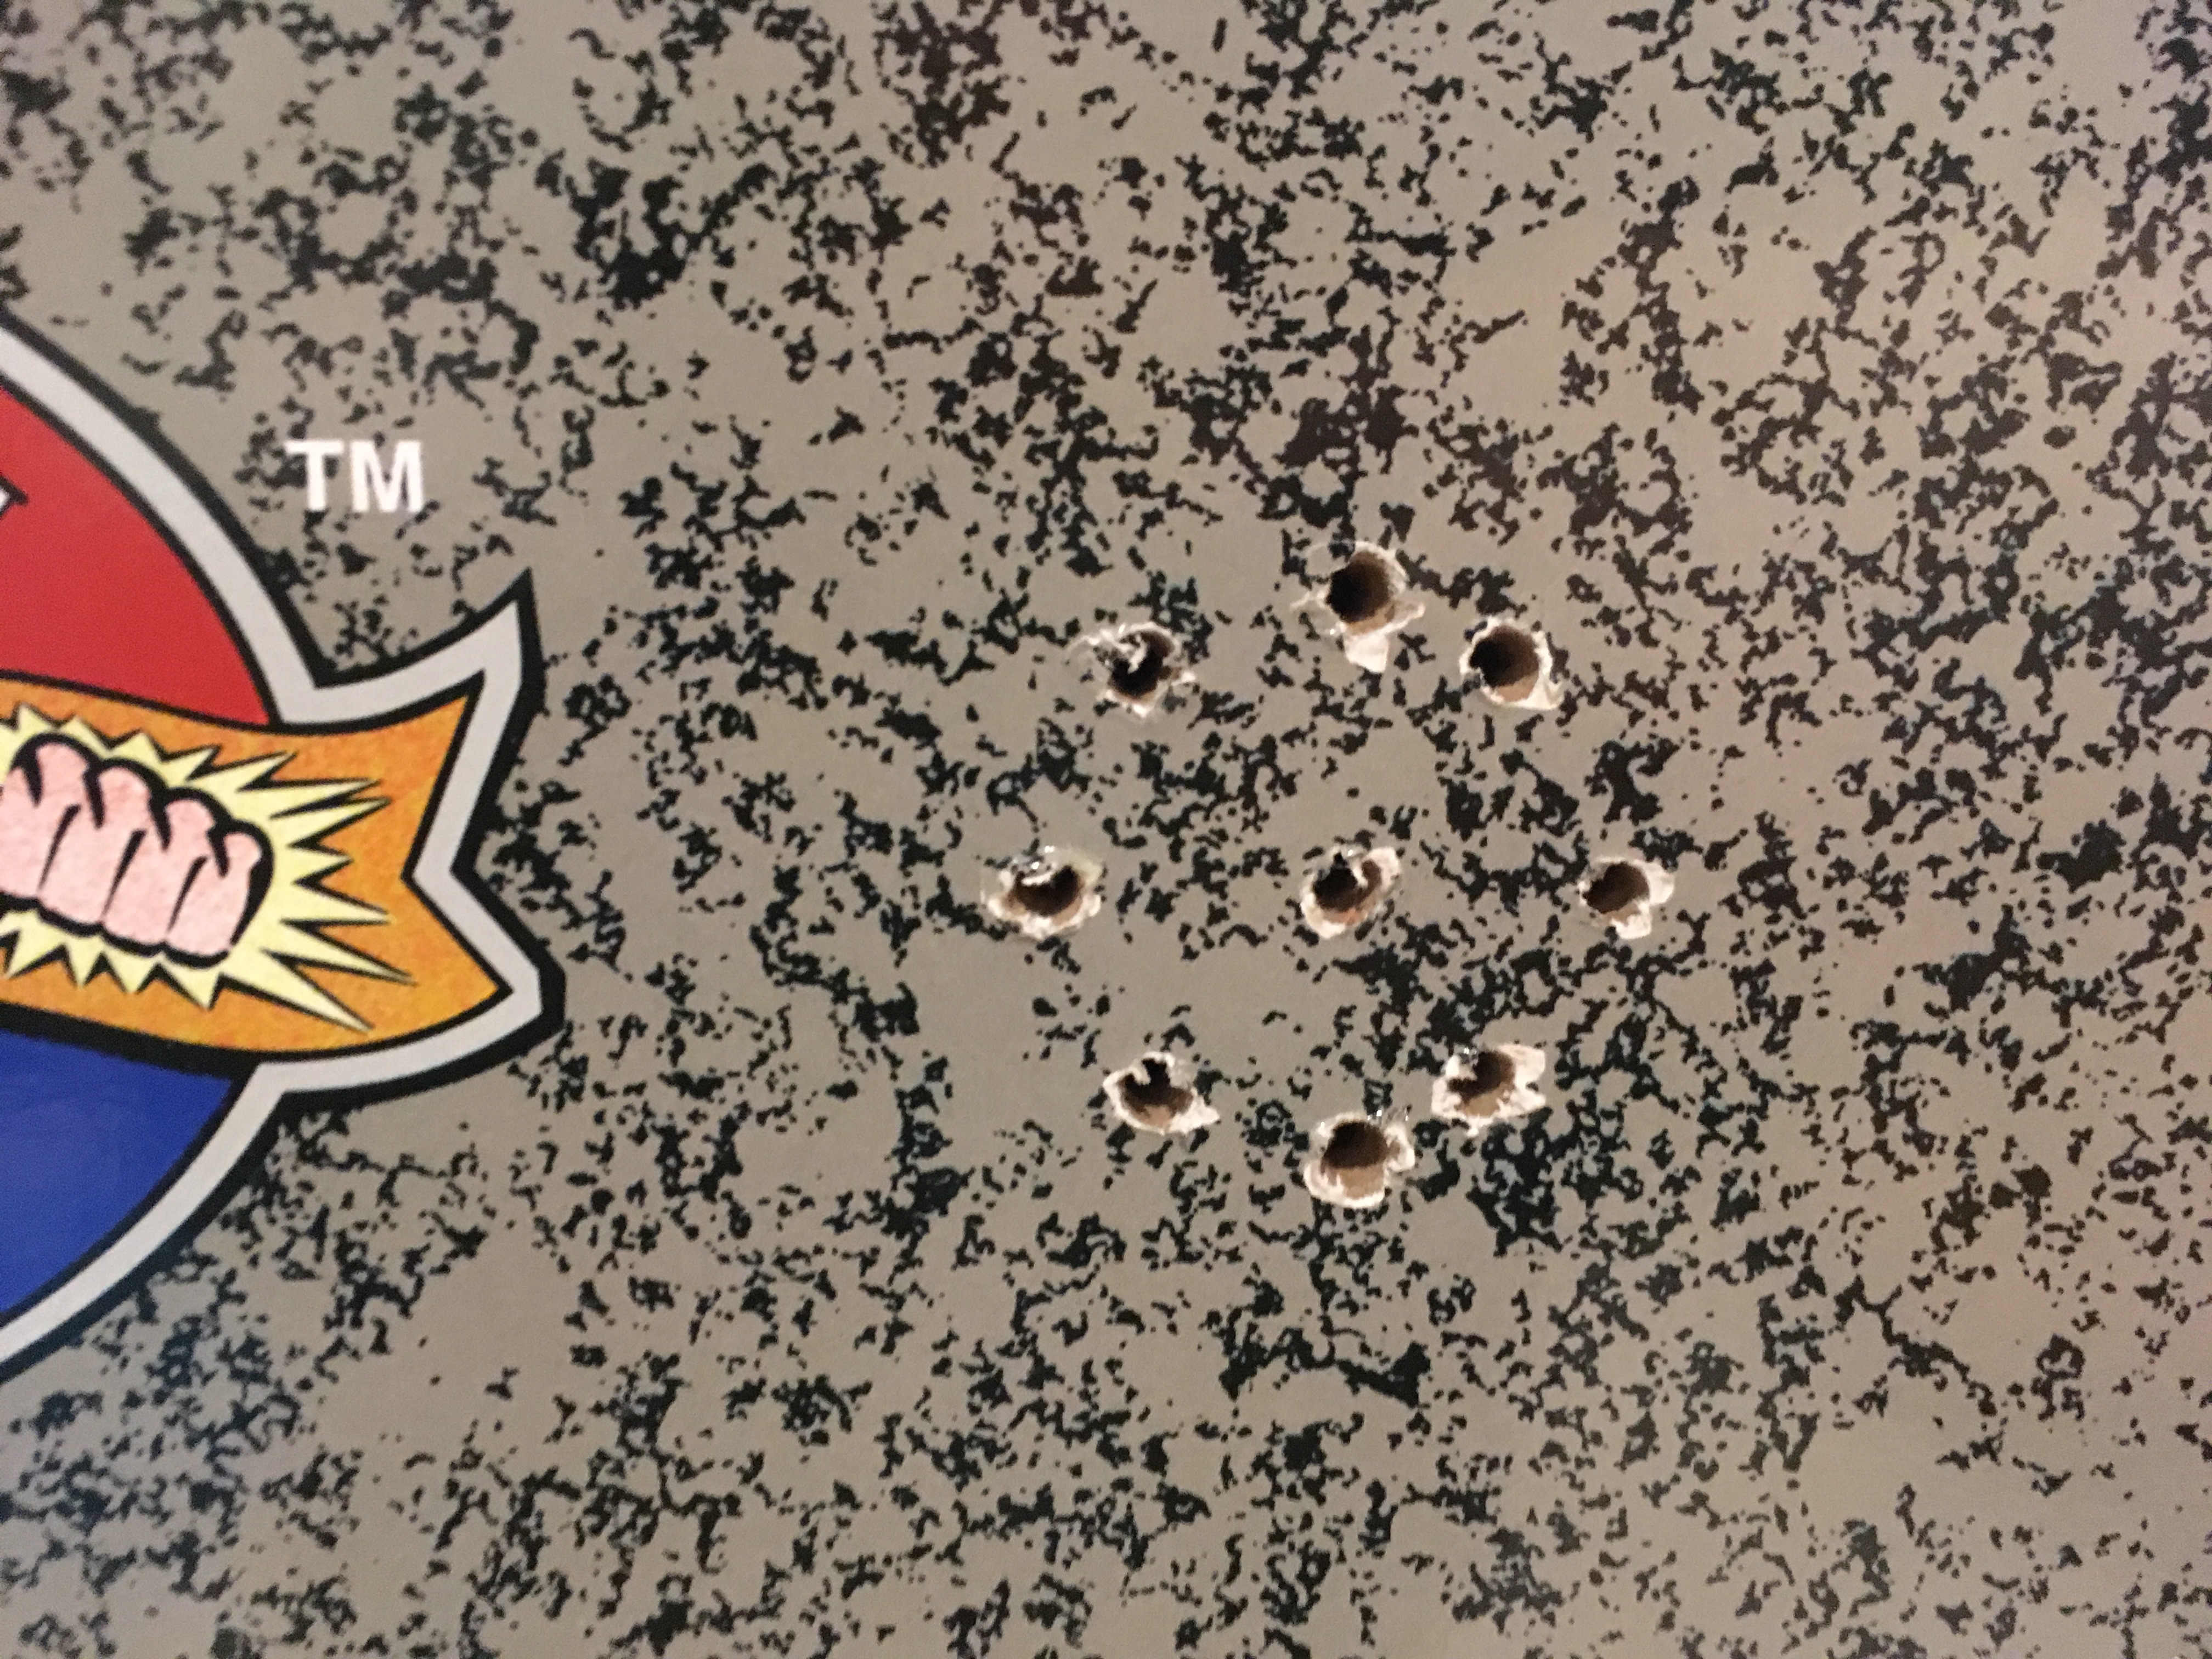
I (stupidly) tried to widen these holes with a step bit that was lying close enough to entice me, thus shredding the paper up here, too. Brilliant. Go through once on each hole and DON'T TOUCH IT AGAIN.
If you totally screw this up, you can always mount the speakers on the front of the marquee instead and put some speaker grills over them, which will block less sound and look nice, if you don't mind it blocking the marquee significantly. But trust me, these speakers are plenty loud even with a few drill holes to play through.
Time to mount your speakers to the back of the marquee. Four screws each, mount the things centered over the holes you drilled.
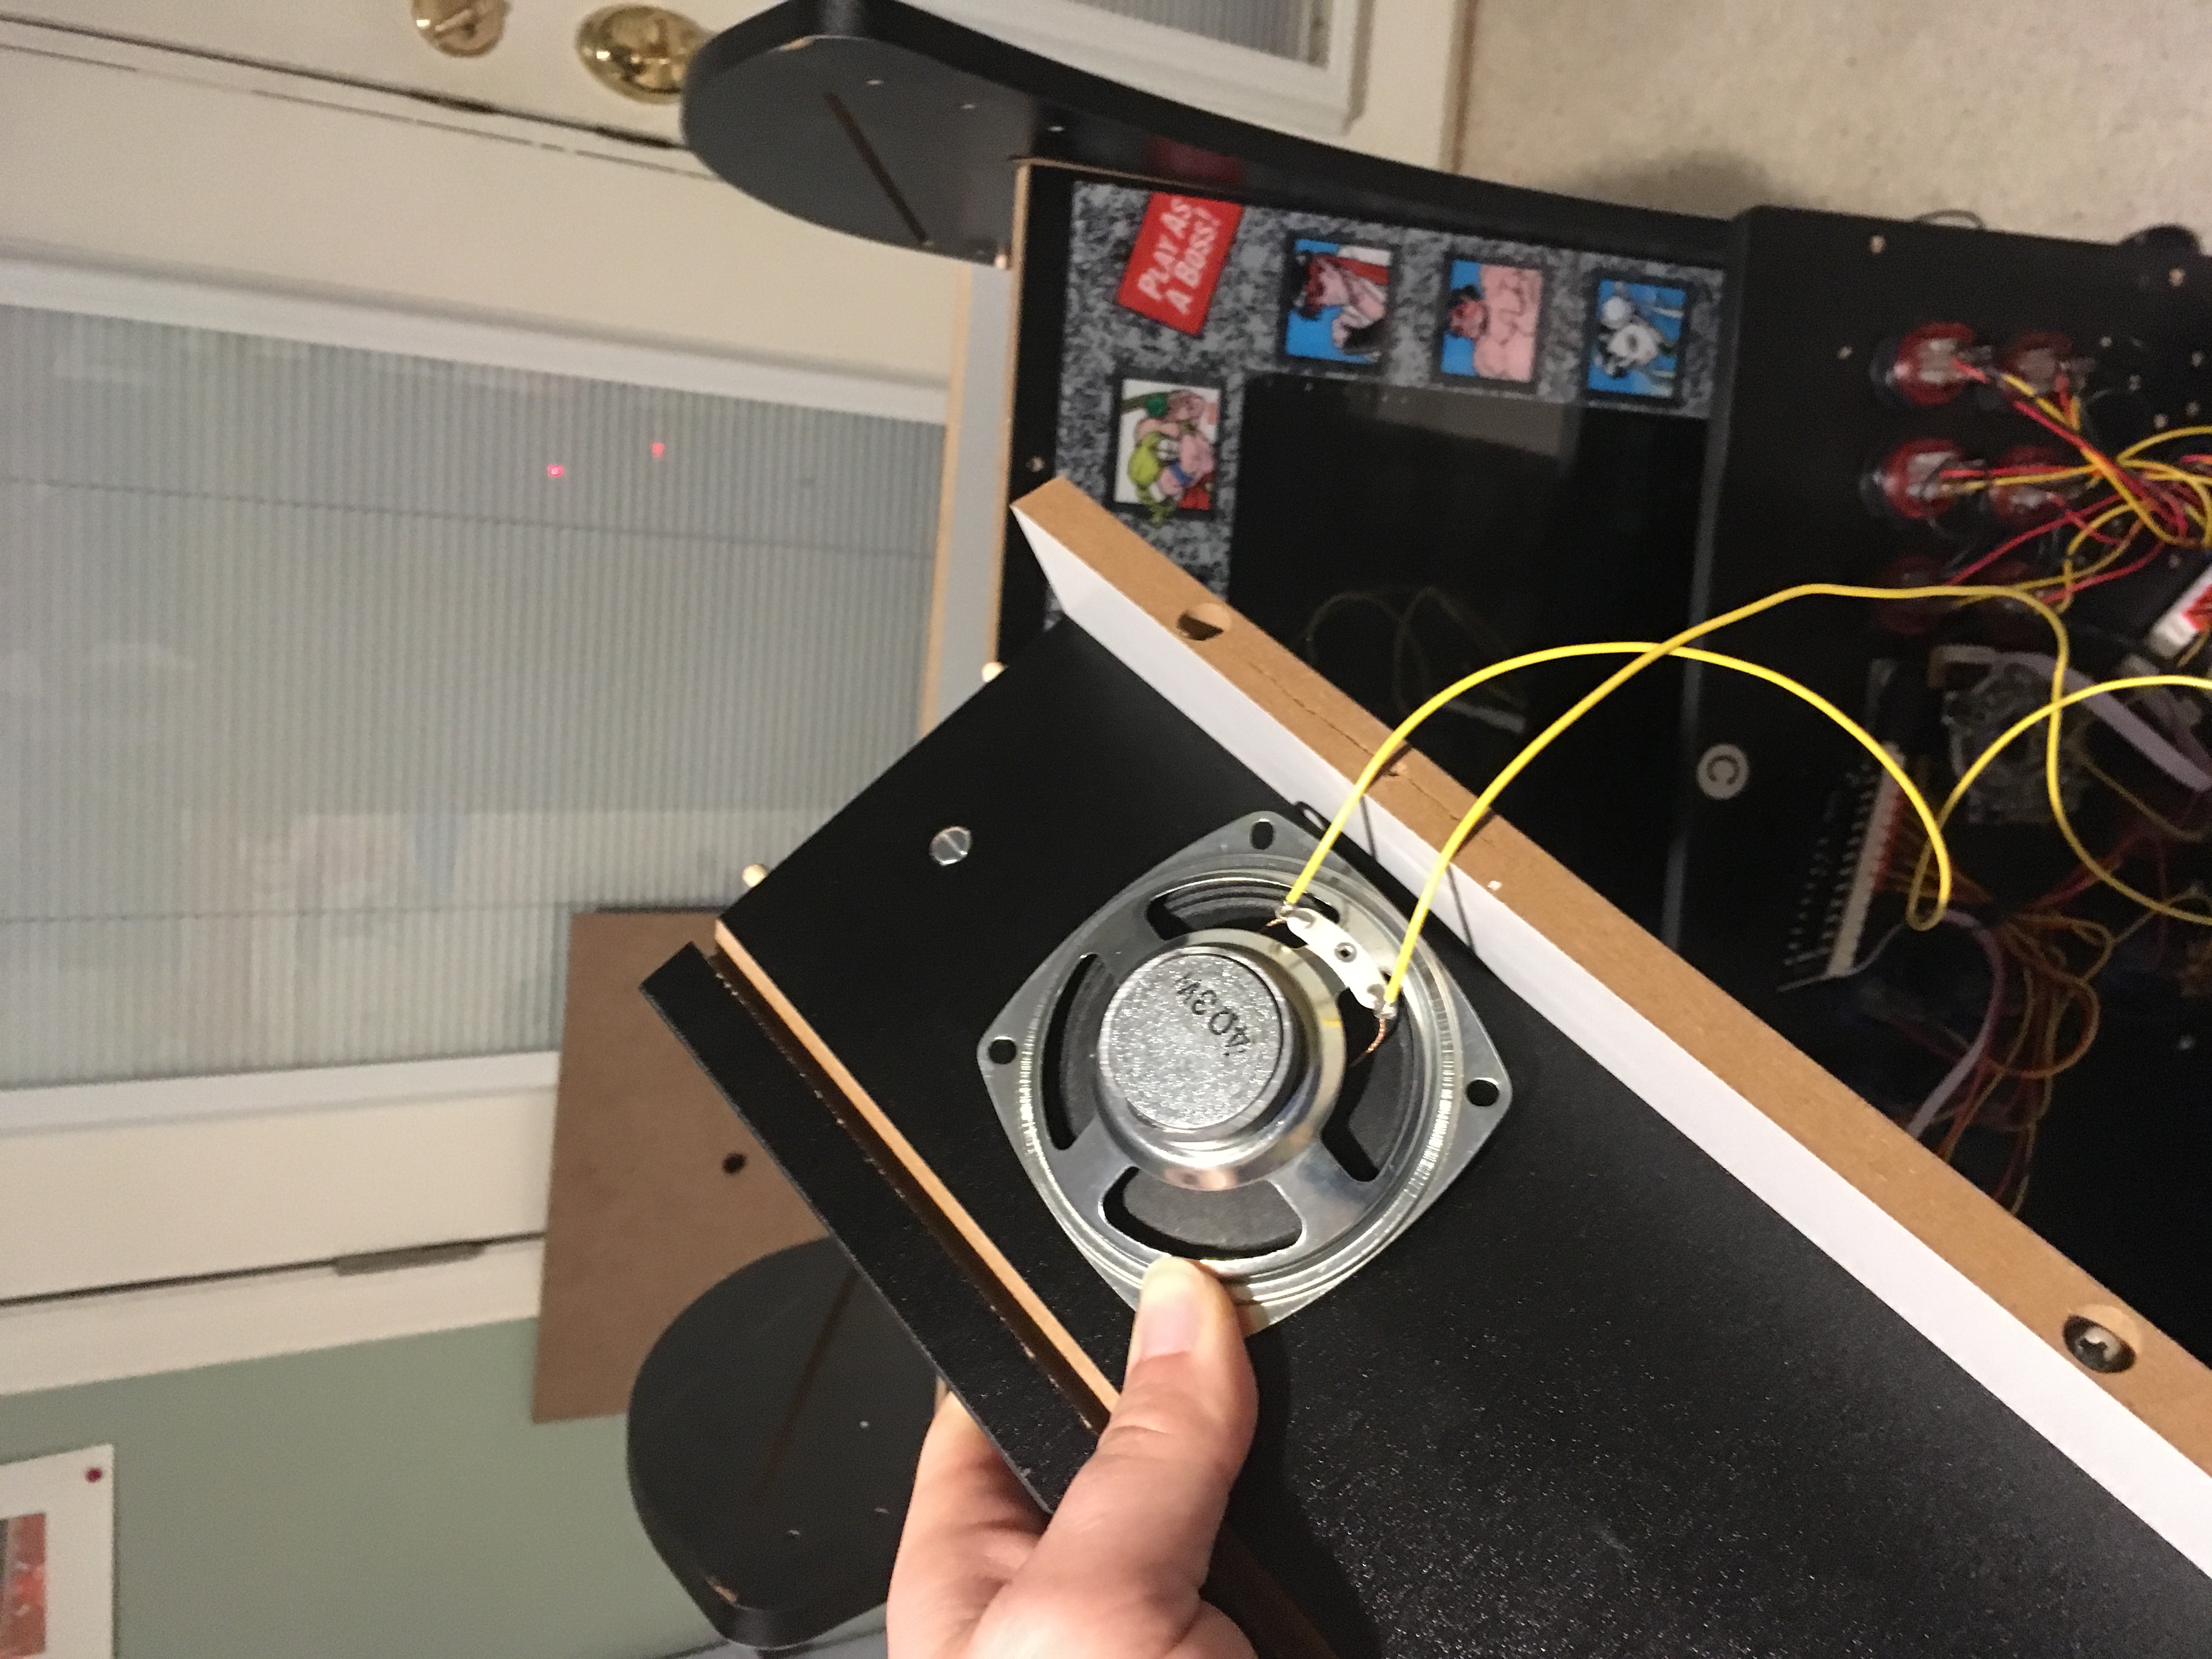
Now you're going to wire these up. Get your spool of wire. This is simple. Strip a bit of the wire's sheath from the end and connect it to the speaker. These speakers have little loops you can connect to without soldier (although you can certainly solder them if it makes you feel superior, I don't care). I am both lazy and terrible at soldering so I just twisted the wire on like this:
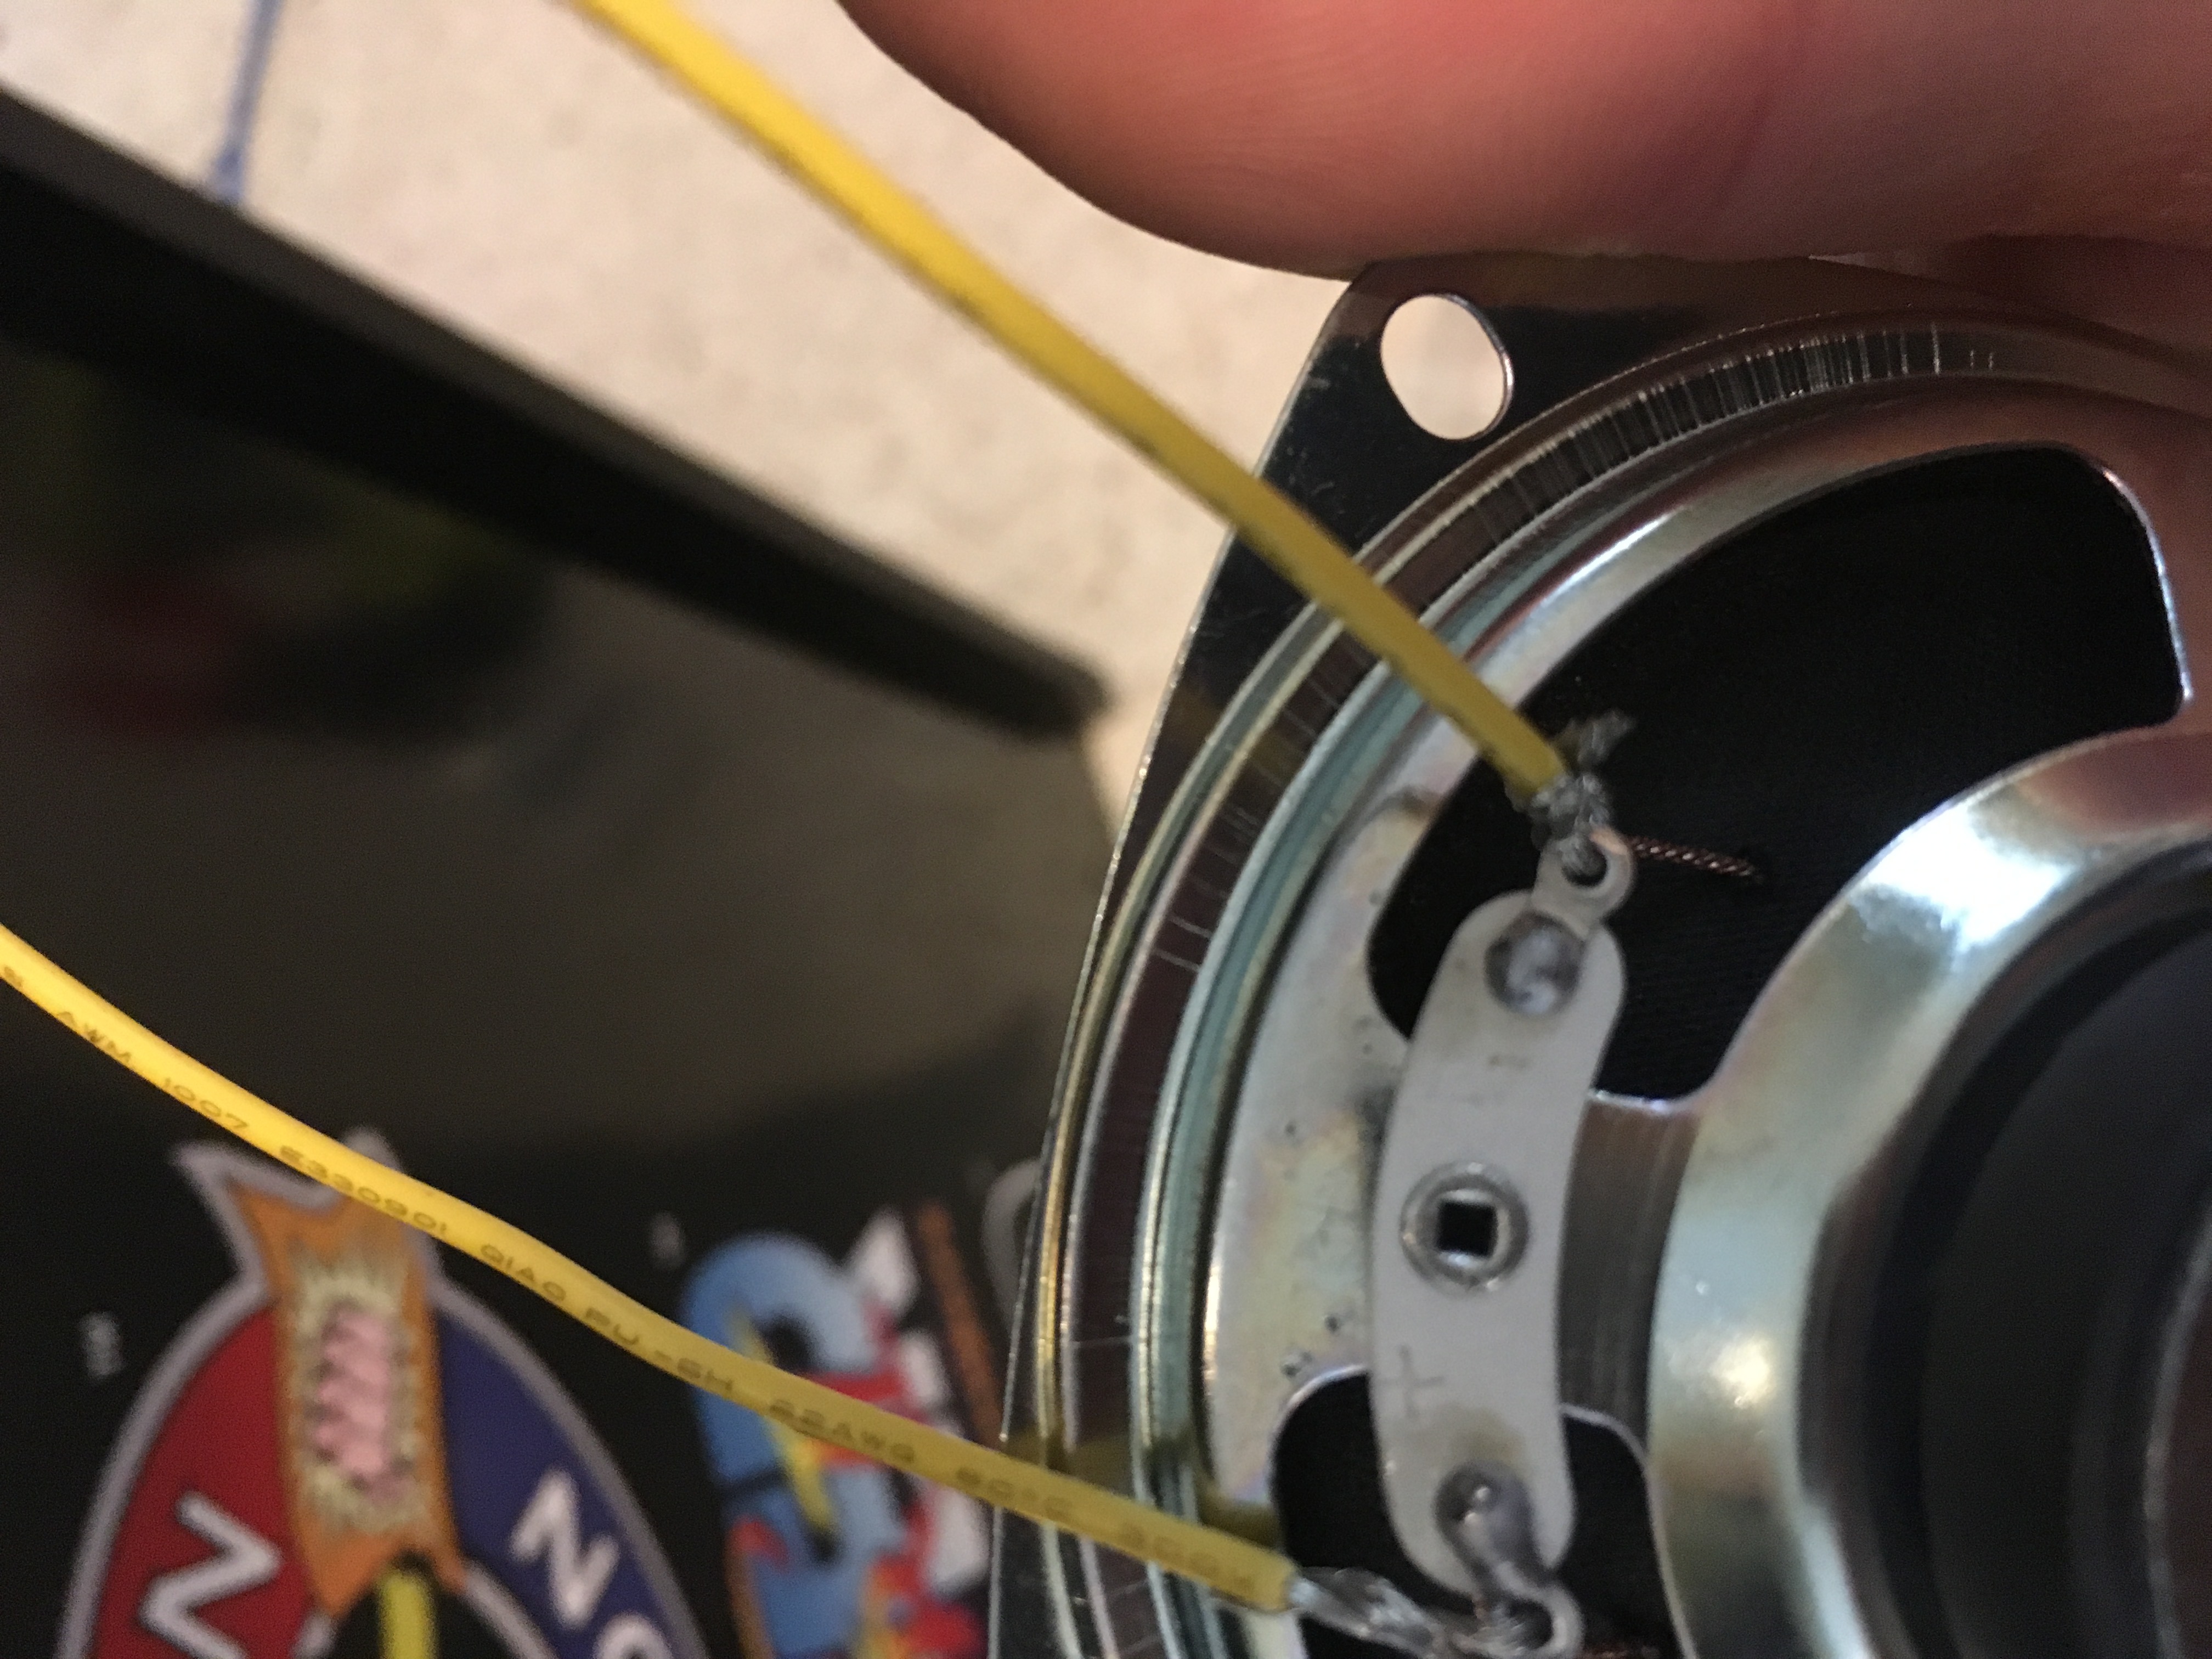
Now make sure you have enough wire to reach your amp from the top of the cabinet, and remember it's easier to roll this wire up than stretch it out, so leave yourself some extra. Do this twice on each speaker.
The other ends of these wires go into the amp. The amp should be labeled to let you know which connection is left or right speaker, and positive and negative wire, You can see a little "+" for the positive wire on the back of the speaker itself. The wires from the original speaker should be disconnected at this point, if you haven't already done so.
In fact, just take that speaker off the control panel entirely. Maybe you'll reuse it on some other project. When you remove the four screws holding that to the panel, you'll see there's a little fabric between the speaker and the wood:
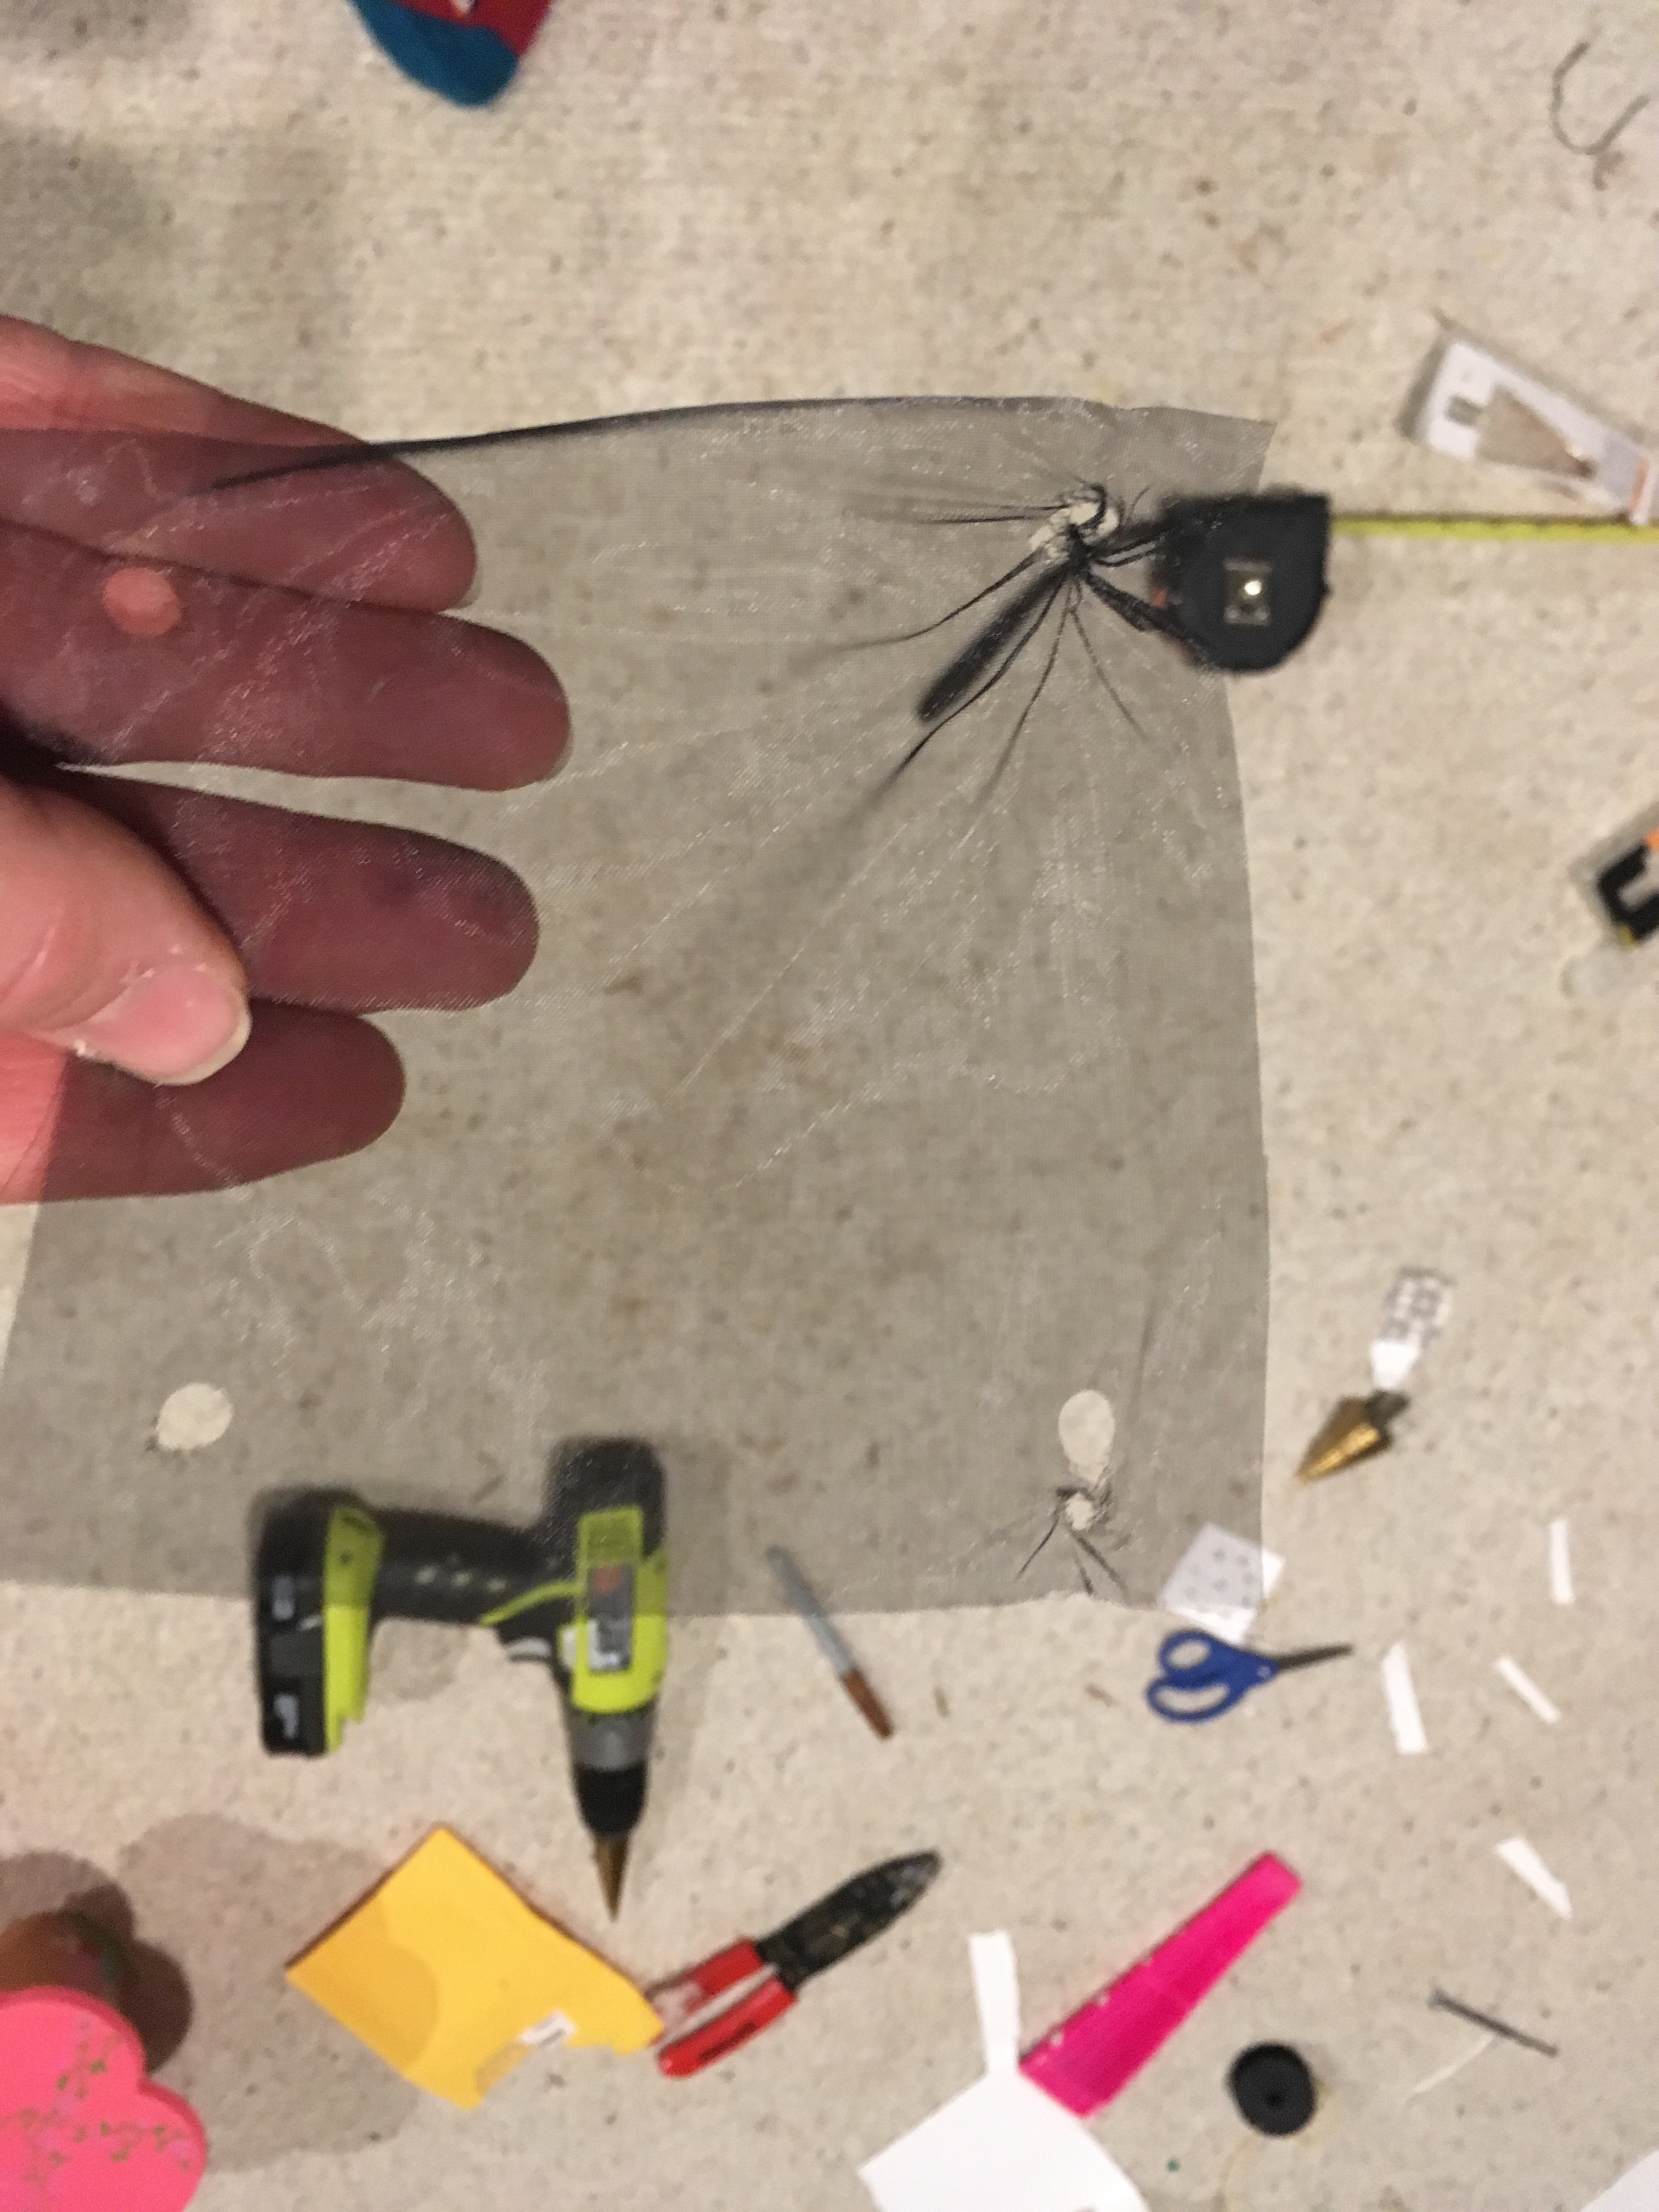
I ended up leaving that in place, so if some Peeping Tom is really staring down into the speaker holes in the panel, your Raspbery Pi gets a little privacy:
After that, throwing caution to the wind and assuming everything just works, put the cabinet back together. Now you'll get good quality stereo sound out of the system. As an added benefit, the marquee is (probably) closer to your ears than the control panel, and it's tilted slightly down, focusing the speakers nicely towards the player.
One last note: these tiny little speakers you installed are extremely frickin' loud. With the amp set to 25%, they'll just about pop your eardrums. Plan accordingly.
This is what it looks like at the end, even with my not-so-great drill work it doesn't really pull the eye, and it sounds great!
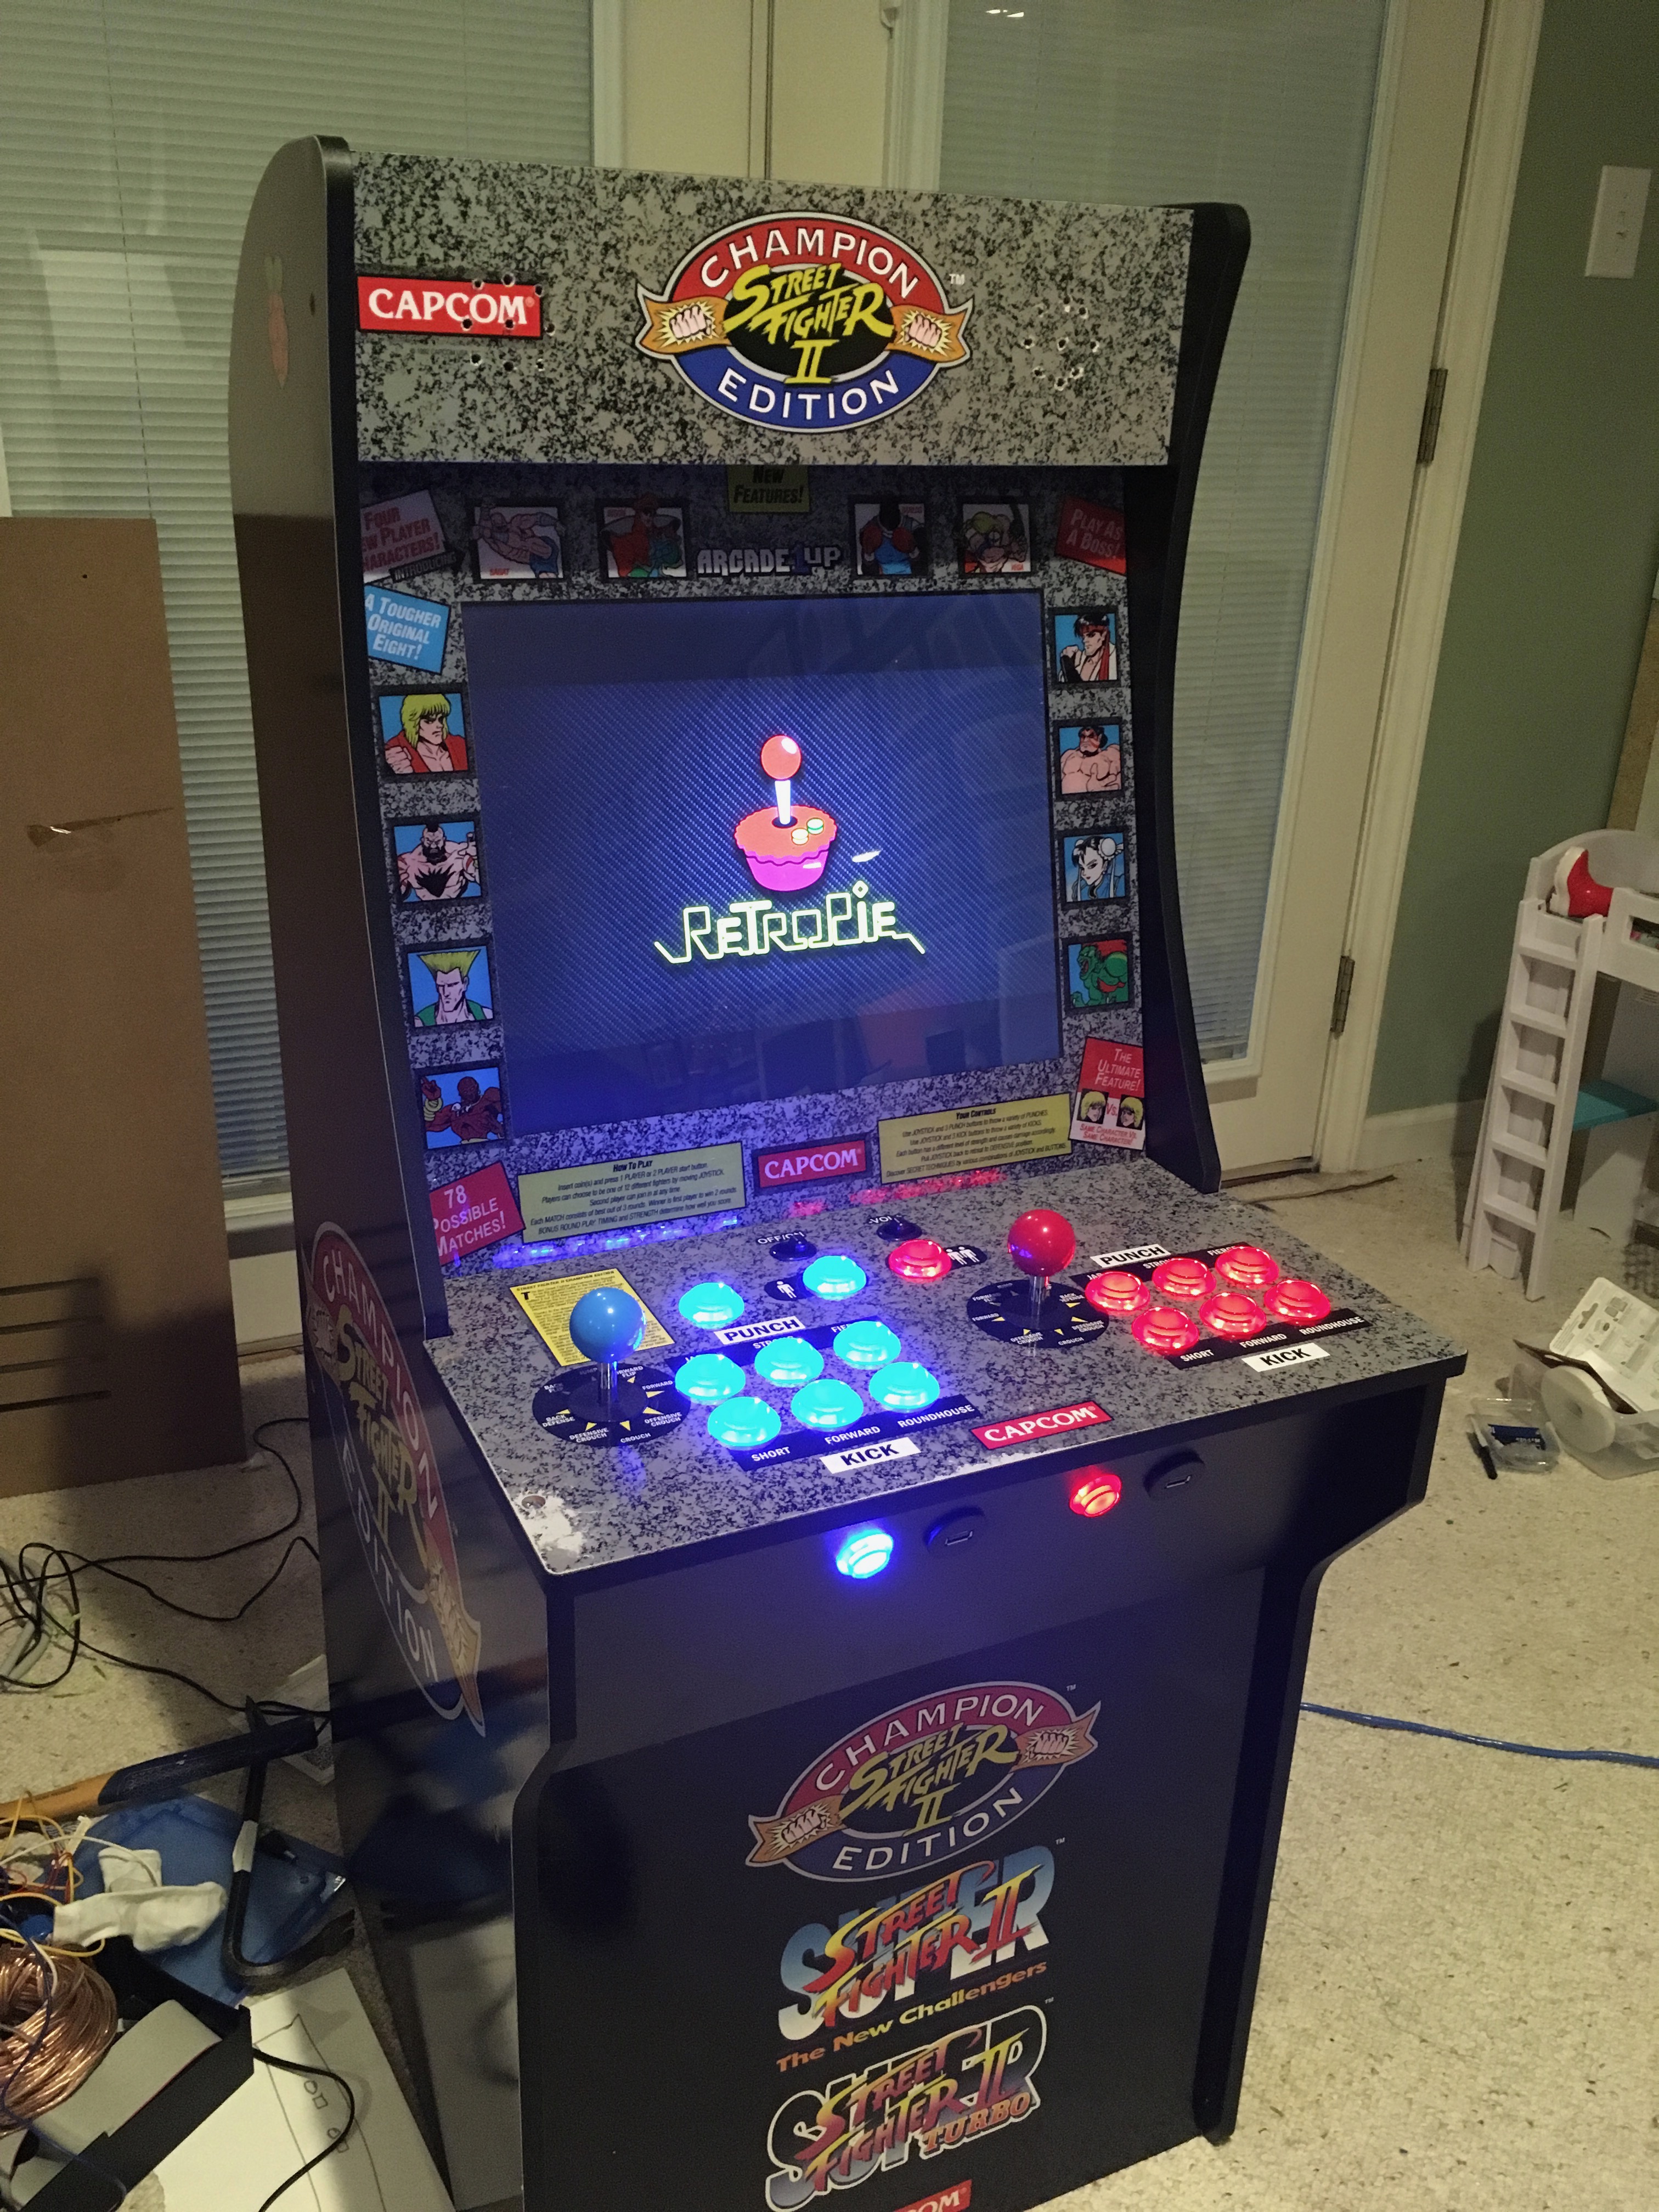
--ryan.