|
|
Wings 3d Tutorial www.wings3d.comFirst Steps Put a primitive on the plane by right clicking, then selecting an item from the top of the menu. There's a lot of primitives, I prefer the cube. 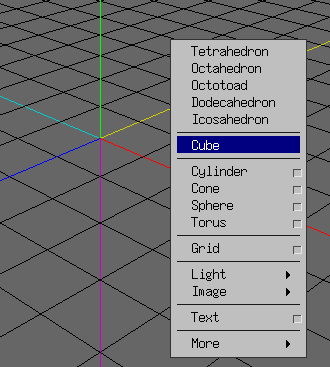
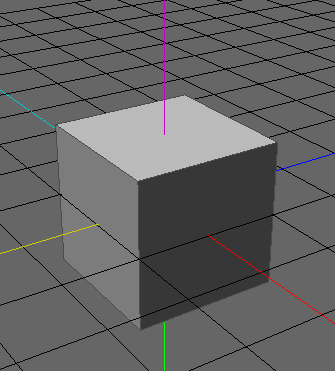
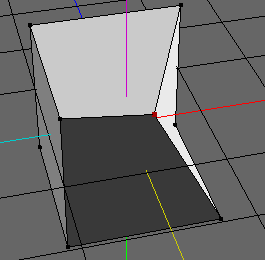
Hold down the middle button to rotate around the center of the xyz axis. I'm not sure how this is done without a middle button. It's a good about to rotate your creation around to view it from various angles after making any changes. The cube is pretty boring, so select a vertex and move it around. Left click on the vertex icon (the leftmost icon on the bottom of the page) and note how black squares are now visible at the cube vertices. Click on one of the cube vertices and it should turn red. Right click and select Move-Normal. 
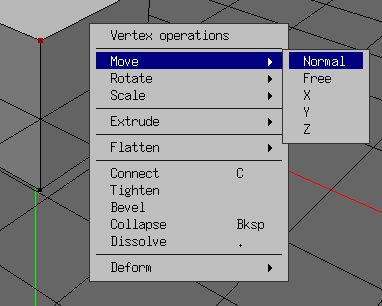
Move the mouse to the right to move the vertex along the normal direction, and to the left to go the opposite direction. The middle mouse button still allows rotation. Click the left-button to commit the changes, and the right to go back to the unmodified state. 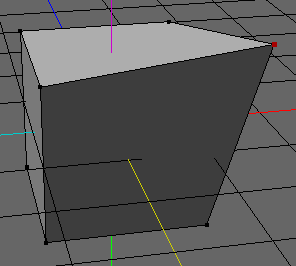
I find it helpful to actually view the normals so the direction move|normal makes is obvious. Go to the top menu and select View|Show Normals, and a check mark should appear. You'll have noticed that selection in Wings differs from the standard windows selection where clicking on different items will deselect other items. Instead items, or vertices here, stay selected until clicked on again. Wings allows a kind of paintbrush effect where the left button can be held down and moved around, selecting vertices it passes over. All items can be de-selected by hitting the space bar. With multiple vertices selected, try the move|normal option again: all the vertices will move out on their individual normals. 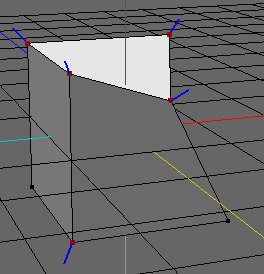
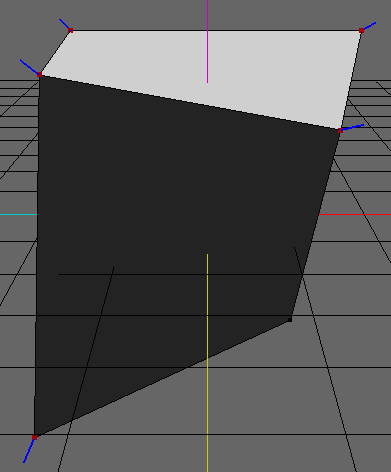
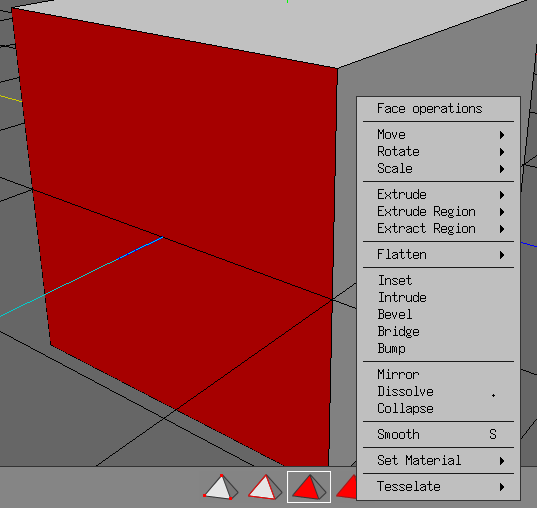
Selection Modes Disregarding those changes, lets go back to the unmodified cubes. Try selecting each of the different icons at the bottom of the screen, the vertex, edge, face, and object selection mode tool. In edge mode, right clicking will show similar options to the vertex operations. Now the normal sprouts from the center of the edge, and points as appropriate. The surface selection will show the most obvious normal (perpendicular to the plane of the surface), and all other edge and vertex normals are averages of the normals of adjacent surfaces, giving them a diagonal slant in this cube. 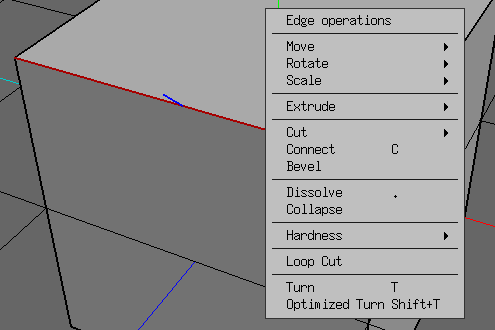
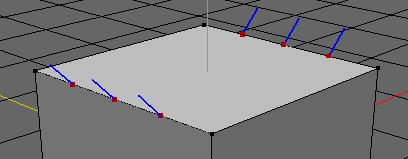
Cut It's probably pretty obvious that there aren't a lot of objects to be made using just the eight cube vertices, no matter how they're rearranged. One way to add additional vertices is the cut edge operation. There are five different possibilities, and the number is the amount of new segments (not new vertices) per edge that will be created by the operation. I'm not sure why the number is repeated. Select a couple of edges and cut|4 4, and automatically the vertex mode will be set, with all the brand new vertices selected. 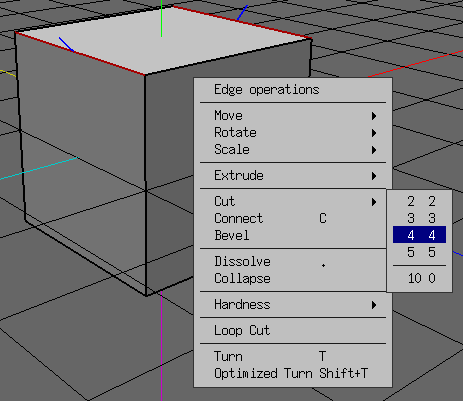
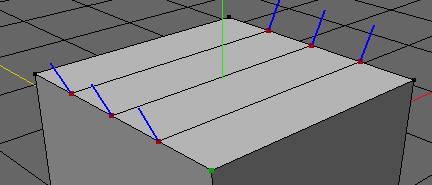
While these new vertices can now be manipulated, it's probably better to make smaller four-sided polygons rather than deal with this twelve-sided nightmare. Use the Connect operation to do this, or hit the C key. All operations with keyboard shortcuts have the key noted in the menu, but make sure the proper selection mode is set before using the keys. 
Usually the connect operation does what you intend, but occasionally you'll have to select just pairs of vertices and connect them individually. With just these operations, you could go on dividing edges, connecting vertices, moving them, and subdividing further until satisfied. Repeat until all the basic operations are second nature. Copyright © 2002-2003 Lucas W |